











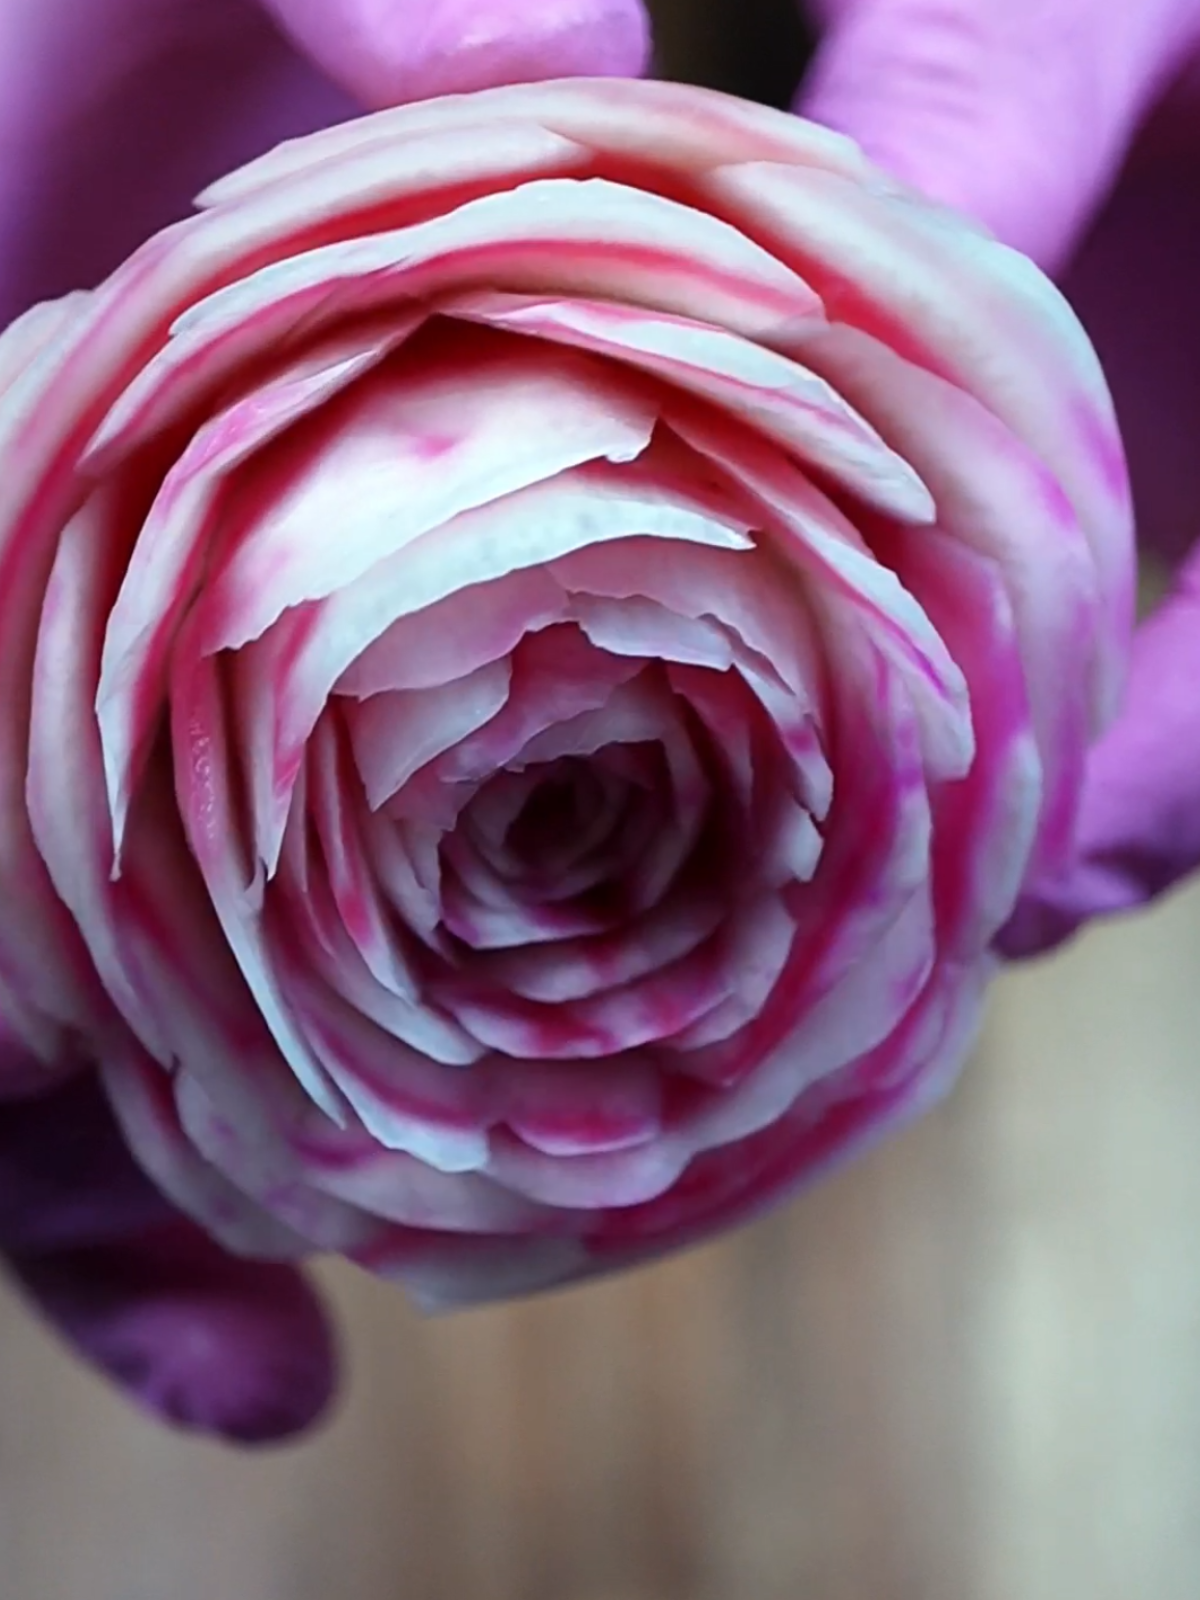
Introduction: The Natural Beauty of Candy Beetroot
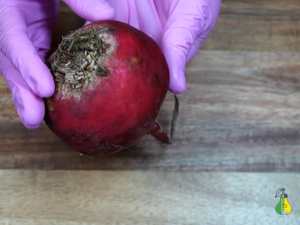
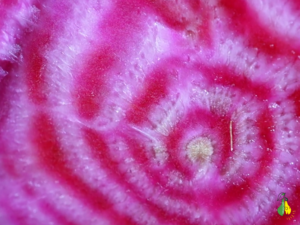
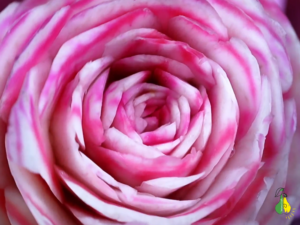
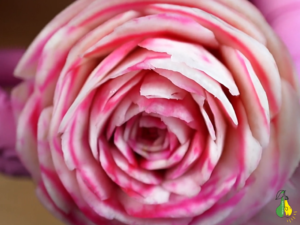
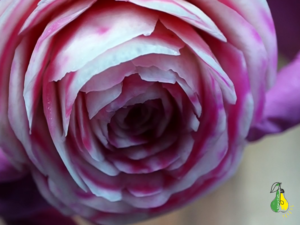
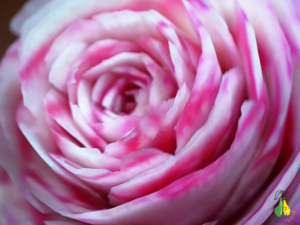
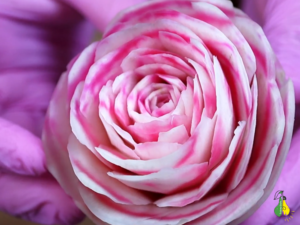
If you are passionate about food carving, I highly recommend checking out candy (Chioggia) and golden beetroots. Today, using candy beetroot as an example, I’ll show you the stunning rose you can create from it. Candy beetroots feature a breathtaking, one-of-a-kind pattern when sliced – a true head-turner on any dish!
Essential Tools for Carving
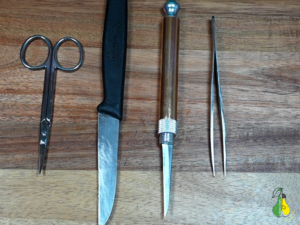
To carve a detailed beetroot rose, you will need the following tools:
-
Small Precision Scissors – Perfect for trimming and shaping delicate petals.
-
Small Utility / Paring Knife – For initial shaping and cutting away larger pieces.
-
Thai Carving Knife (Sculpting Knife) – A thin-bladed knife for precise, intricate cuts.
-
Tweezers – Essential for reaching into tight spaces and removing small scrap pieces from between the petals.
Step 1: Preparing the Base
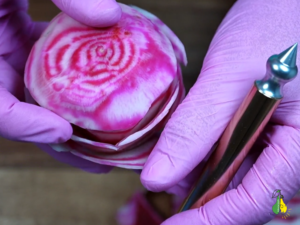
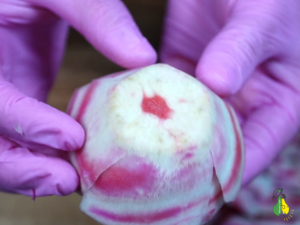
Before carving the rose, use a small paring knife to peel the skin off the beetroot and taper the bottom into a slightly conical shape. This creates a solid foundation for building the flower layers.
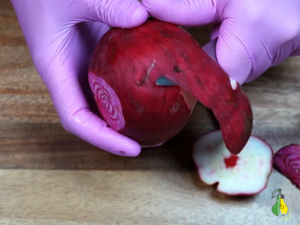
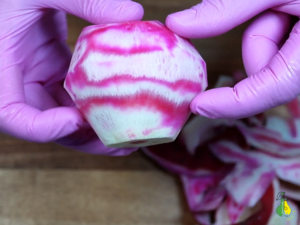
Step 2: Carving the Petal Layers
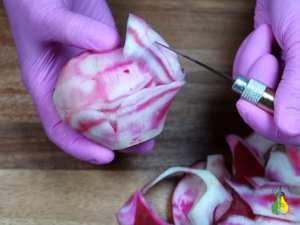
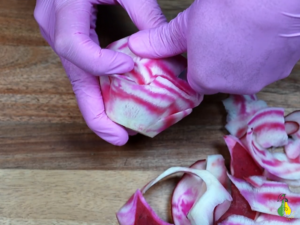
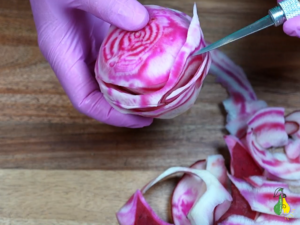
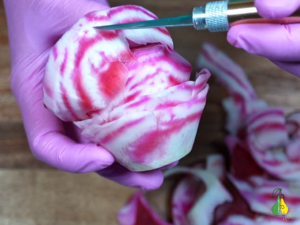
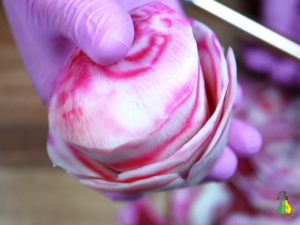
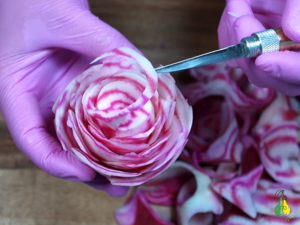
I have a handy rule I love to follow: the first (outer) row consists of 4 petals, and the second row has 5 petals. The technique for carving each layer remains the same throughout the process:
-
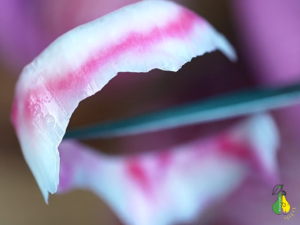
Carve the Petals: Carefully cut out the row of petals, striving to make them as thin as possible. Insert the knife deep enough for definition, but work cautiously to avoid injury.
-
Clear the Space Between Rows: Before starting the next layer of petals, you must create depth and separation. Angle your knife to trim away the excess flesh beneath and behind the carved petals, removing any loose scraps.
-
Move to the Next Layer: Once the gap around the freshly carved petals is cleared, you can begin carving the next row.
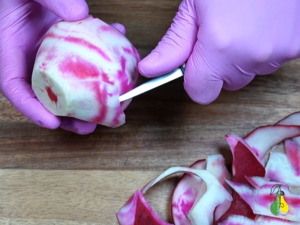
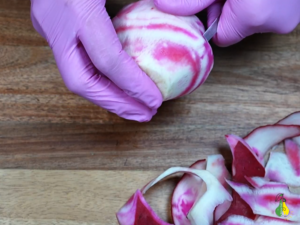
Step 3: Shaping and Adjusting the Center
Two rows of petals are now complete. If the center has a pronounced conical shape, you need to trim it further to make the sides straighter. If you skip this adjustment, carving the subsequent rows will become much more difficult due to the steep angle, and there is a risk that the petals might break off when making deep cuts.
Step 4: Finishing the Inner Rows and Shaping the Core
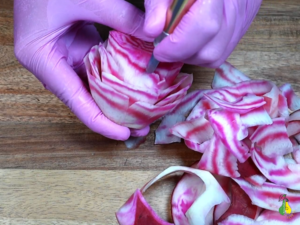
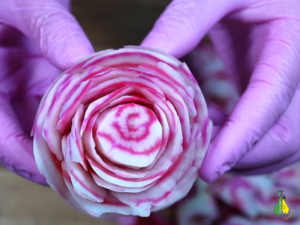
When carving the third and subsequent rows, I don’t follow a strict rule for the exact number of petals in each row. Nor can I say precisely how many rows you will need to carve. Every rose is unique, and its size, as well as the total number of petal rows, will depend on how thin you make the petals and the spacing you leave between them.
However, keep a few important rules in mind:
-
Maintain proportions: The closer you get to the center, the smaller the petals should be.
-
Make deep cuts: Even for the smaller inner petals, ensure your cuts are deep enough to define them well.
-
Shape the core: As you approach the center, remember to round it off and trim it down.
-
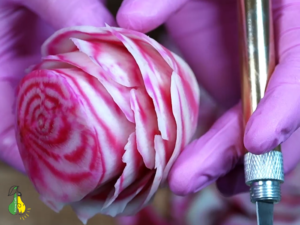
Create depth: The central, tiny petals should not tower over the outer rows; instead, they should nestle deeply inside, as if sinking into the center.
-
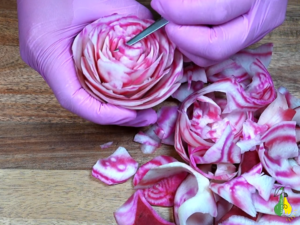
Use precise tools: When working with these delicate miniature petals, I use thin tweezers, which make it extremely easy to clear away tiny scraps.
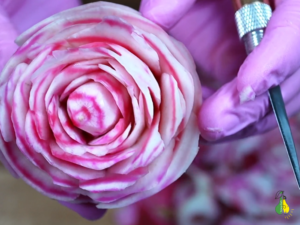
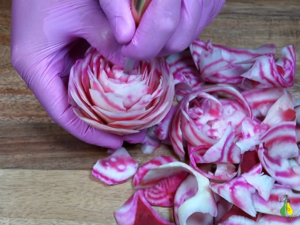
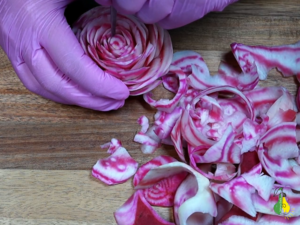
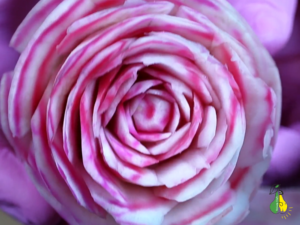
Step 5: Final Touch-Ups and Perfection
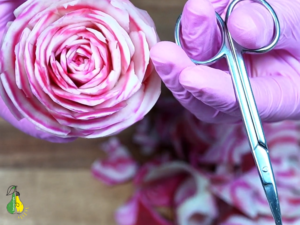
Once the rose is fully carved, some petals might turn out slightly uneven. As you can see in the photos, I prefer to take small precision scissors and give the petals a cleaner, more refined look. I don’t trim every single petal – only the ones that look a bit imperfect or jagged.
Step 6: Preventing Oxidation and Proper Storage
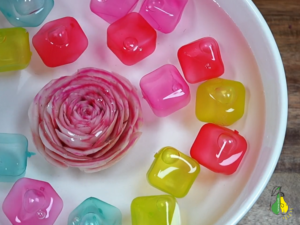
During the carving process, the candy beetroot might start to darken around the edges. To prevent this, it is helpful to dip the rose a couple of times into a cold solution of citric acid (use half a teaspoon per liter of water).
Right after finishing the carving, submerge the rose in this solution for 15–20 minutes.
How to store it correctly:
To keep your masterpiece fresh, store it in the refrigerator inside the vegetable crisper drawer, placing it in a sealed plastic bag or container to retain moisture.
The Final Result: Comparing Colors
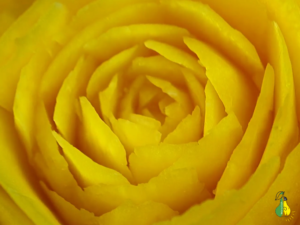
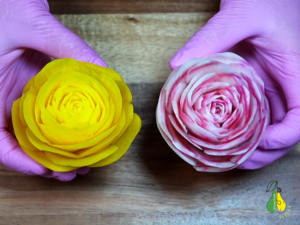
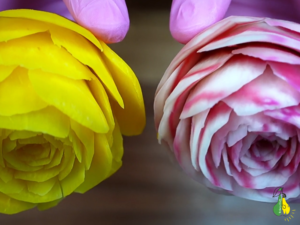
Below, you can see the finished piece! I have also included a few photos of a rose carved from a golden beetroot so you can compare the vibrant colors. The overall carving technique for the golden beetroot rose is identical to the one used for the candy beetroot.
Watch the Video Tutorial
I have also created a step-by-step YouTube video tutorial for you, which you can watch here:
If you prefer short-form content, check out the quick version on TikTok: