












Nature as the Ultimate Designer
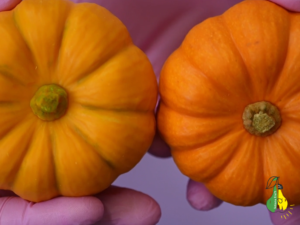
Nature is truly the best designer. This time, I decided to step away from sculpting master models out of modeling clay and simply picked the best specimen from the grocery store! Since it’s autumn, markets are full of adorable mini decorative pumpkins. Using one of these, you can create a completely unique dessert from scratch, and in this article, I will walk you through every step of the process.
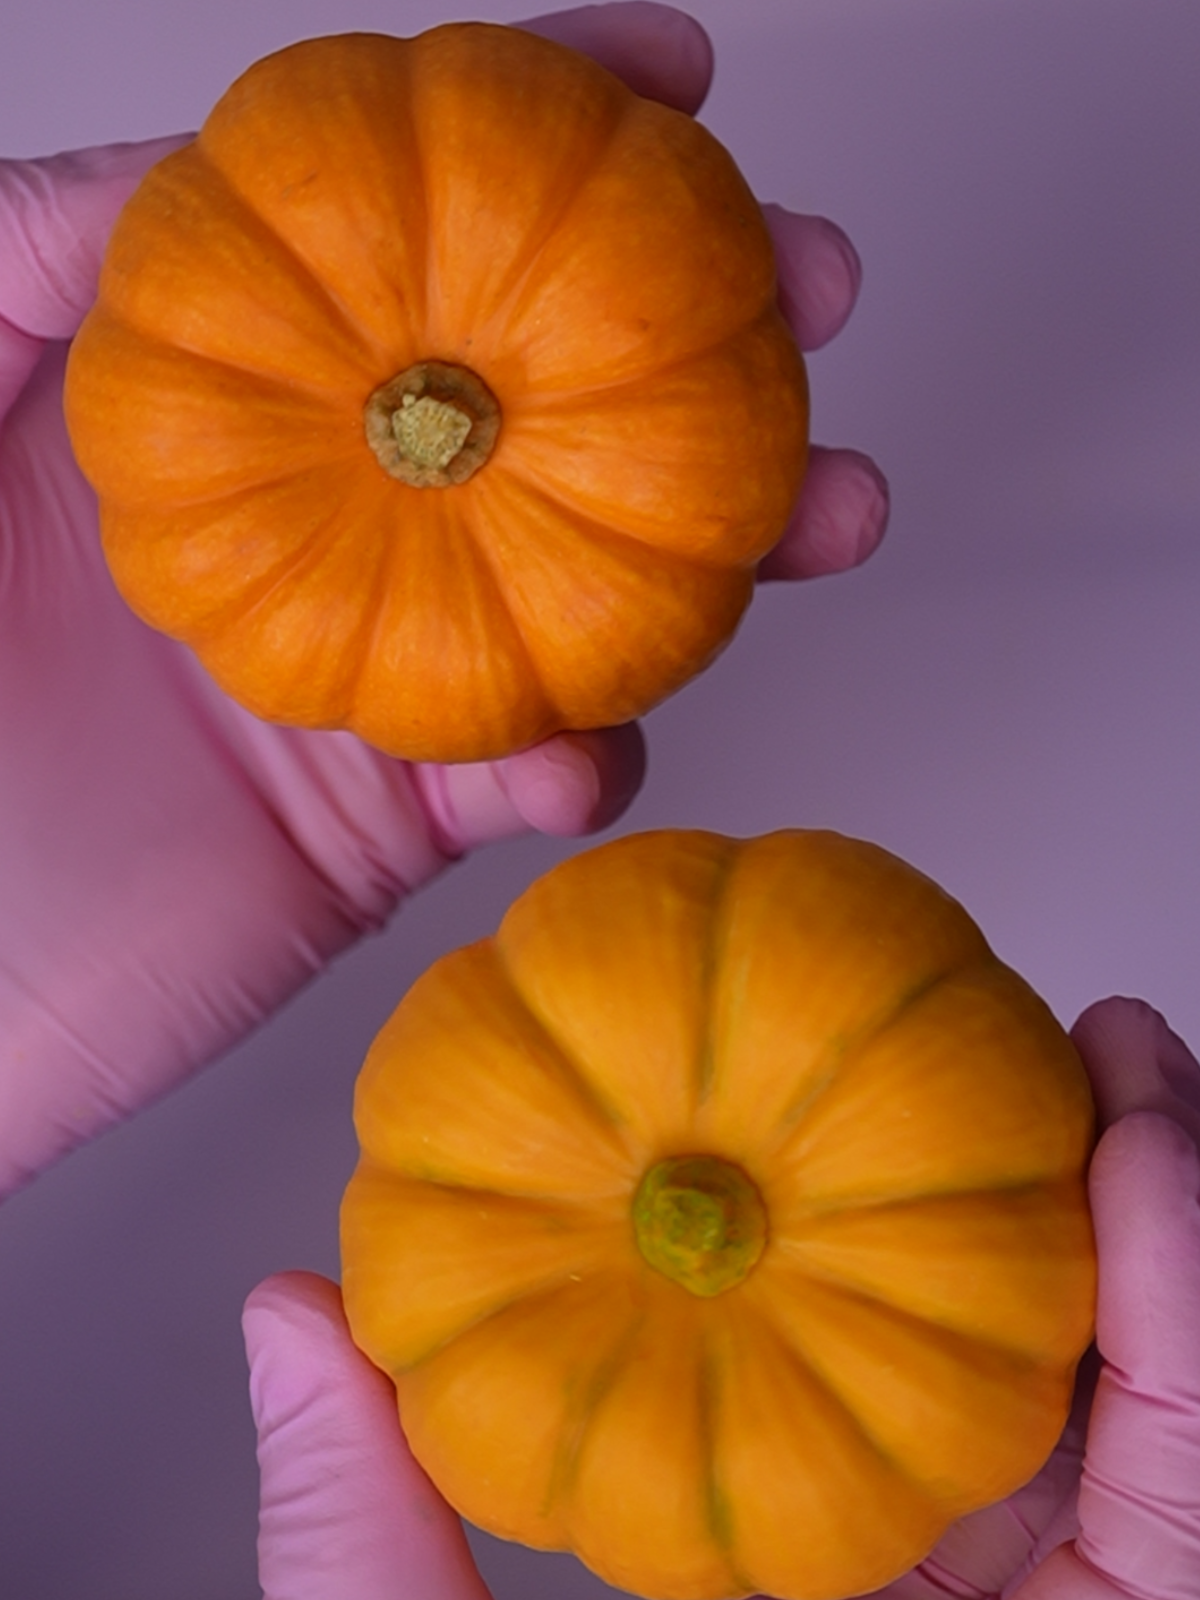
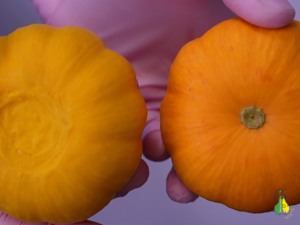
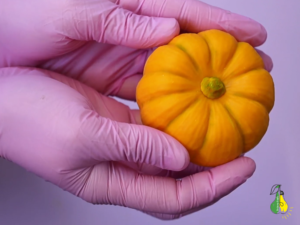
In the photo below, you can see the final result: a real mini pumpkin alongside its sweet twin dessert!
Preparing the Master Model
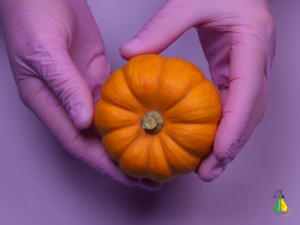
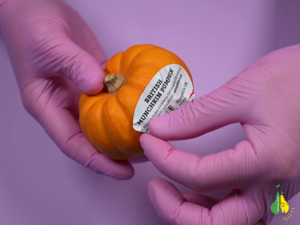
I simply couldn’t pass by these tiny pumpkins – they’re called British Munchkin pumpkins. In my opinion, they are absolutely perfect for creating an individual-sized dessert.
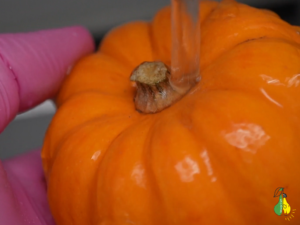
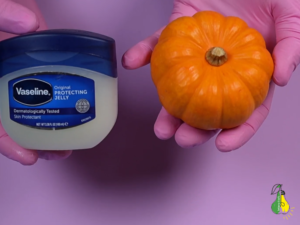
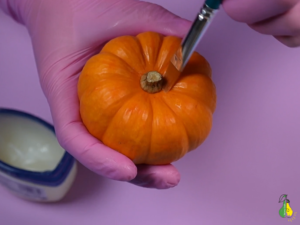
Before starting the process, I gave the pumpkin a thorough wash, dried it completely, and applied a thin layer of petroleum jelly using a brush. Petroleum jelly works wonders as a release agent, making it much easier to demold later on.
Choosing the Silicone and Preparing the Container
To make the mold, I chose BBDINO platinum-cured silicone. It’s food-safe, highly elastic, durable, and self-degassing, making it ideal for capturing high-precision details without leaving air bubbles.
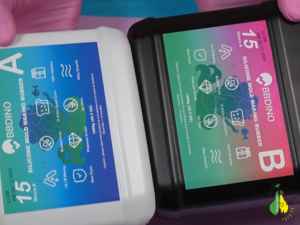
It features a simple 1:1 mixing ratio by weight or volume. I used a plastic measuring cup and wooden sticks to combine the two components, stirring thoroughly for at least one minute to ensure a uniform mix.
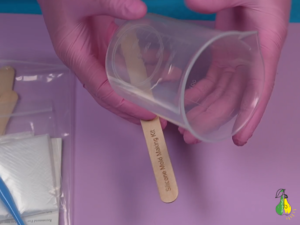
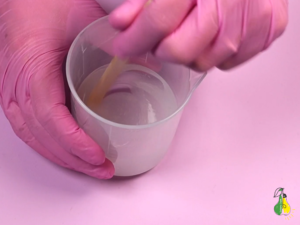
For the mold casing, clear round disposable plastic containers turned out to be incredibly convenient – their shape and size fit the mini pumpkin perfectly!
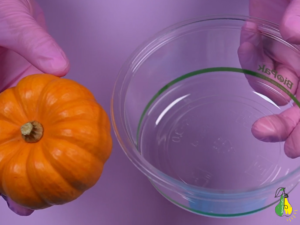
The Two-Step Pouring Technique
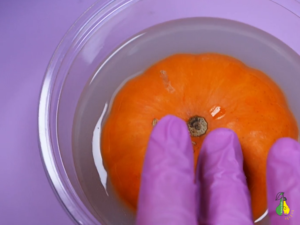
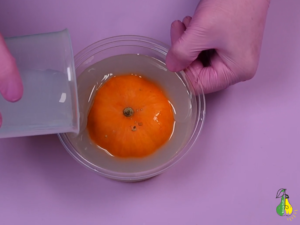
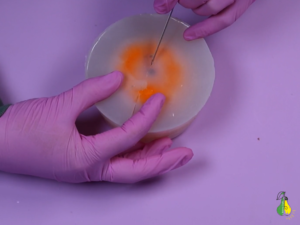
I will be pouring the silicone into the plastic container in two separate stages. Since pumpkins are naturally hollow inside, they tend to float when enough liquid silicone is poured in – and we can use this floating property to our advantage!
I won’t give an exact amount of silicone, as the size of your pumpkin and container may vary. The key is to pour just enough liquid silicone so that the pumpkin floats up slightly, preventing its bottom from resting directly on the base of the container. This ensures the bottom of the mold remains thick enough and lasts much longer.
Degassing and the Second Pour
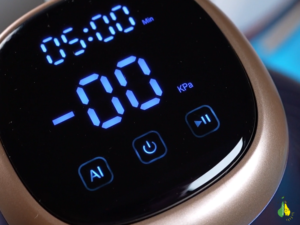
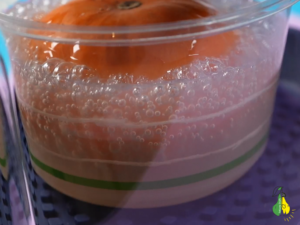
Although this silicone is advertised as bubble-free, I decided to use a vacuum chamber – specifically the Resiners Airless Pro3 Resin Bubble Remover. In my experience, using a degassing machine gives a noticeably smoother and better final result.
After the first layer of silicone fully cures, I pour the second layer right on top. Since the pumpkin is now firmly anchored in place by the first layer, it won’t float up anymore. The two silicone layers bond together seamlessly, creating a solid, high-quality mold.
Demolding and Finishing the Silicone Mold
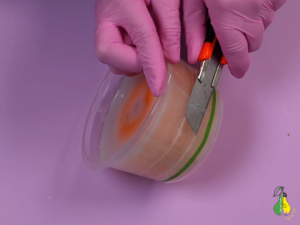
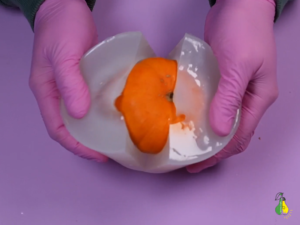
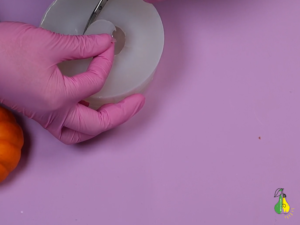
Once the silicone was completely cured, I used a utility knife to carefully cut open the plastic container. Next, I made two deep side cuts along the silicone mold to safely extract the pumpkin.
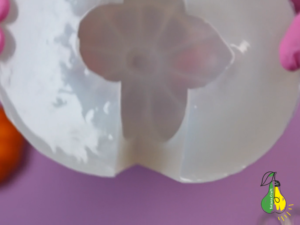
Using fine precision scissors, I carefully trimmed a clean, round opening at the top of the mold. This opening serves as the pouring point for the chocolate shell and will ultimately form the flat bottom of the finished dessert.
Finally, I washed the silicone mold thoroughly with dish soap and allowed it to dry completely. With that, our custom food-safe silicone mold is ready for action!
Creating the Chocolate Shell
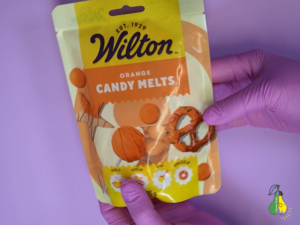
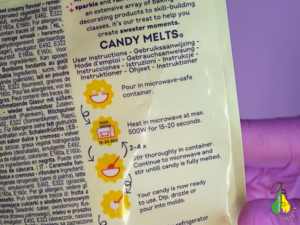
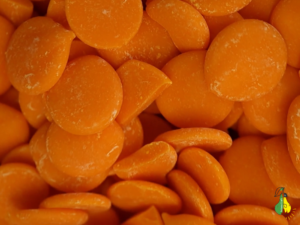
To create the outer shell, I used orange Candy Melts. This chocolate coating is super convenient to melt in short bursts in the microwave, comes in a vibrant orange color right out of the bag, and sets with just the right amount of firmness for a crisp, sturdy finish.
Assembling the Pumpkin Dessert
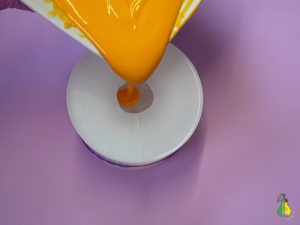
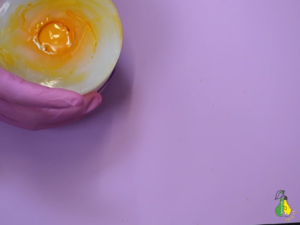
I melted the chocolate coating according to the package instructions and poured it directly into the mold. It’s worth mentioning that I secured the silicone mold with a rubber band beforehand to hold the two deep side cuts tightly together. After rotating the mold to coat the entire inner surface, I poured the excess coating back into the bowl and placed the mold in the fridge for 10 minutes to set.
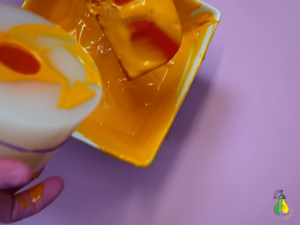
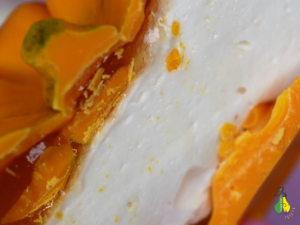
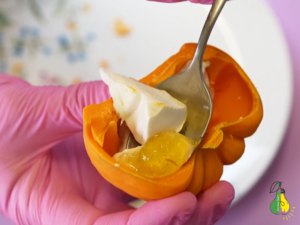
Next, I filled the chocolate shell with a layer of tangy mango jam, then topped it up to the brim with homemade marshmallow fluff (zefir). You need to work quickly here, as marshmallow sets very fast!
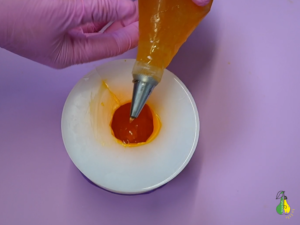
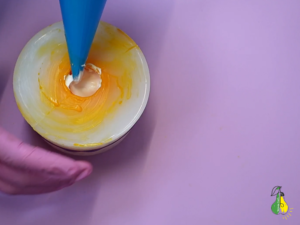
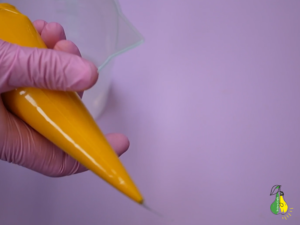
To seal the dessert, I transferred the remaining liquid chocolate coating into a piping bag and covered the base completely to make a solid bottom. Finally, I placed the finished dessert back in the fridge for 15 minutes until fully set.
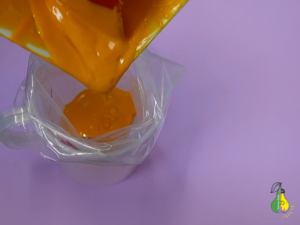
Unmolding and Final Touches
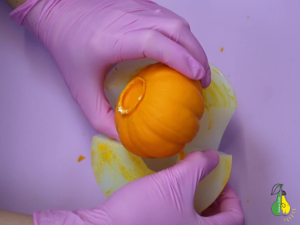
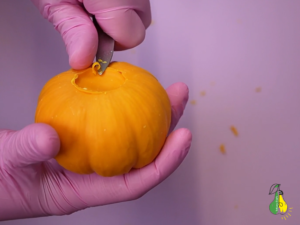
I carefully demolded the finished dessert, trimmed away any visible seam lines with a small knife, and added subtle green detailing using gel food coloring to mimic the stem and natural shading.
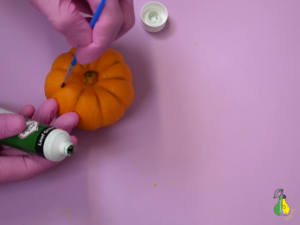
The Final Result
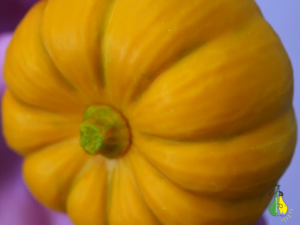
The final result looks so hyper-realistic that it’s almost impossible to tell the sweet replica apart from the original pumpkin!
If you prefer video format, you can watch the full tutorial on YouTube.
Сheck out the short version linked for TikTok!
@tetiana.craft DIY Silicone Mold to Sweet Pumpkin 🎃 #diyfood #edibleart #culinaryart #PumpkinDessert #siliconemold