











Tools You Will Need
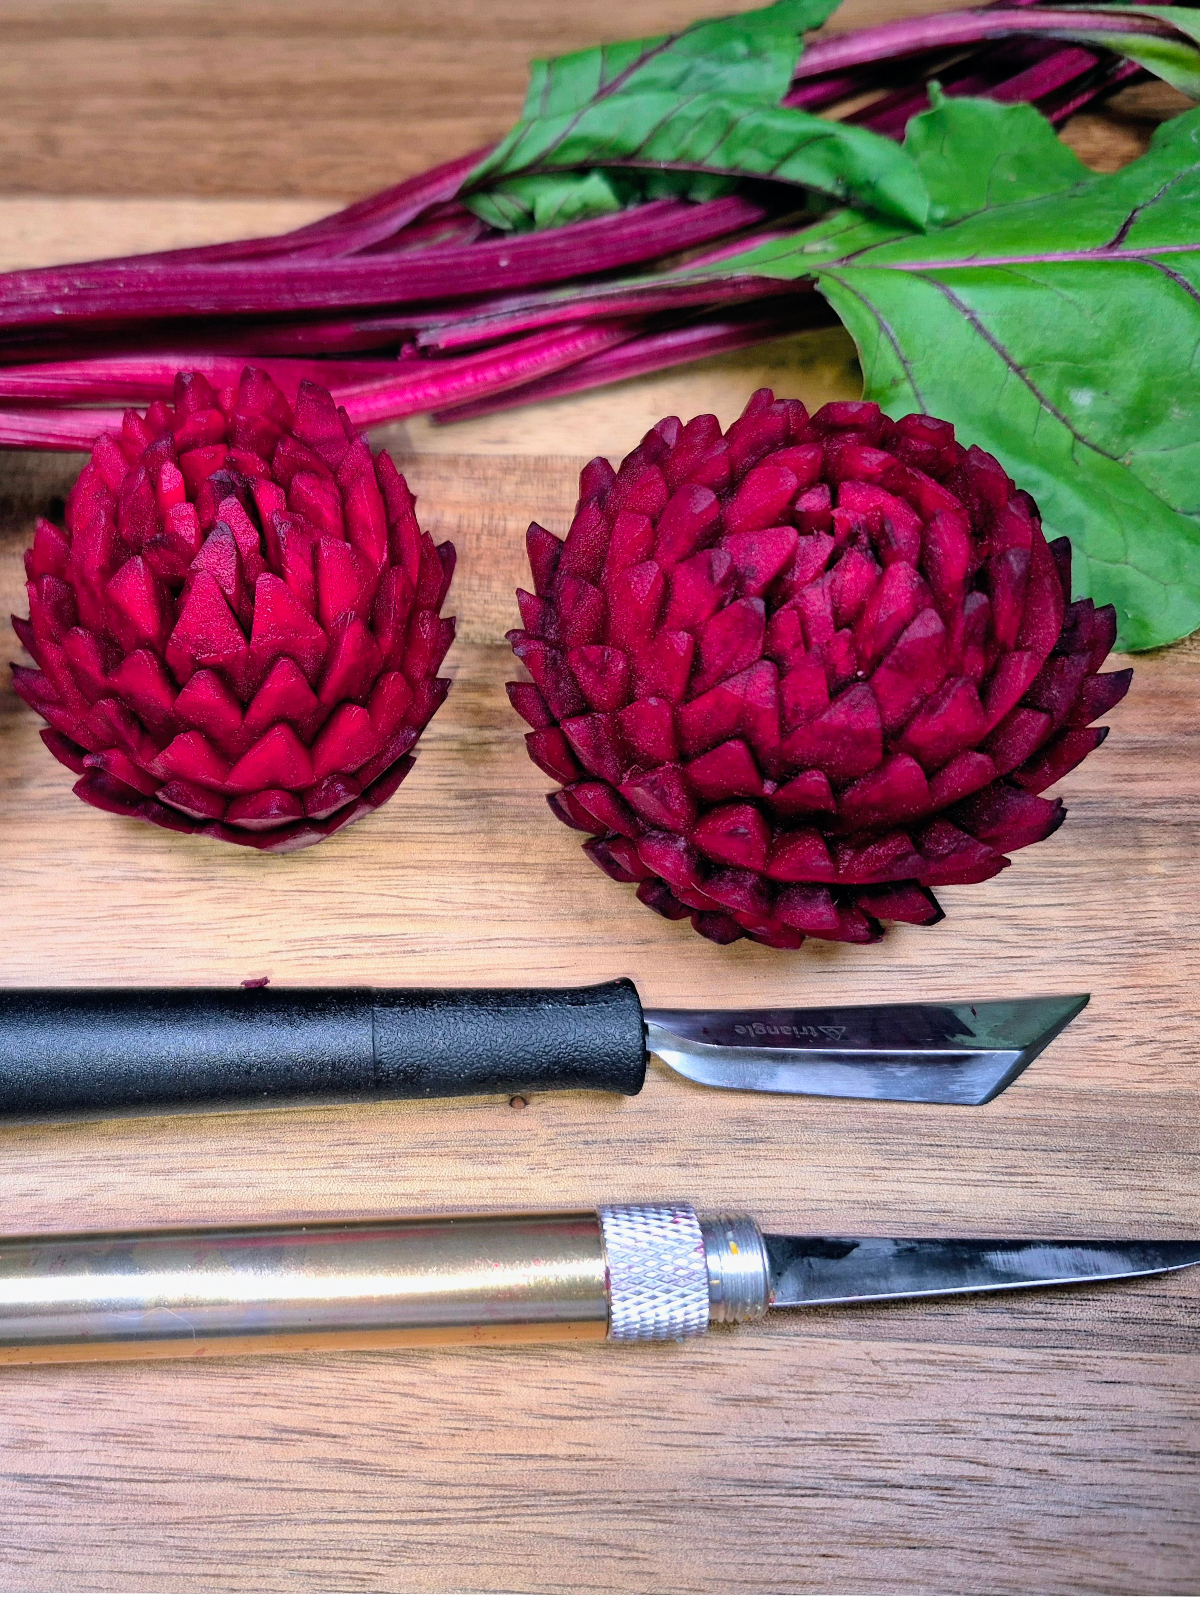
To carve this box, I used a combination of specialized medical instruments, standard kitchen knives, a carving loop, and a custom stencil.
-
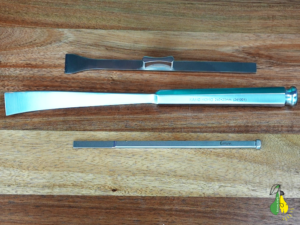
Surgical Instruments: Having previously worked as a surgical nurse in a trauma department, I turned to familiar tools when I couldn’t find suitable carving gear. I used bone osteotomes and a nasal bone knife. Made from high-grade stainless steel approved for surgical fields and open wounds, these unused instruments are completely safe for food preparation and come in various shapes and sizes ideal for precise work.
-
Kitchen Knives & Carving Tools:
-
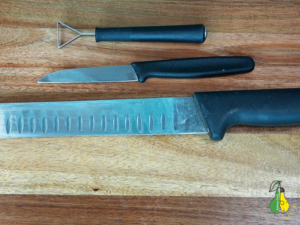
A large Granton edge slicer for smooth, clean cuts.
-
A small paring knife for finer detail work.
-
A triangular carving loop for cutting a pattern into the lid.
-
-
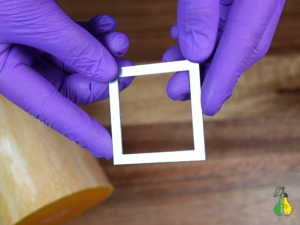
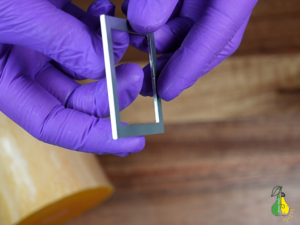
Custom Stainless Steel Stencil: To achieve clean, precise geometry, I created a square with sharp edges in Illustrator – though any program capable of converting a raster image into a vector format will work just fine.
Stencil Specifications:
-
Dimensions: 5 cm × 5 cm
-
Wall Thickness: 5 mm (a size ratio I considered ideal for this project).
-
Material: 1.5 mm thick 304 stainless steel, custom laser-cut at a local workshop.
Choosing the Right Vegetable
I chose butternut squash for this project, but in theory, any firm vegetable large enough to fit your stencil will work.
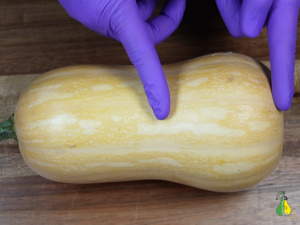
When working with butternut squash, it is helpful to understand its structure: it consists of two distinct parts:
-
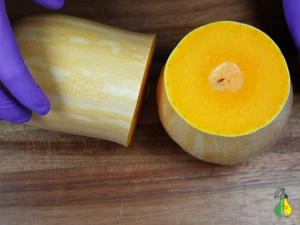
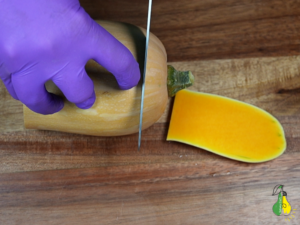
The Neck: The solid, seedless upper half (which is ideal for carving dense shapes).
-
The Bulb: The wider, hollow bottom section containing the seeds.
For this project, we need to slice off and separate the solid neck part from the hollow bulb.
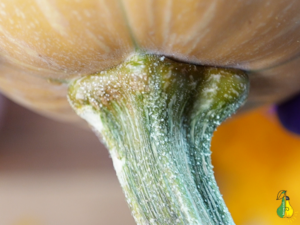
(And as a side note: I couldn’t resist including a macro close-up of the stem! I have a real passion for photography aesthetics and macro shots, and the natural texture of the stem was just too striking to pass up.)
Prepping and Shaping the Base Block
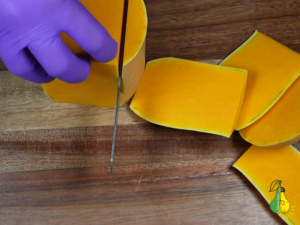
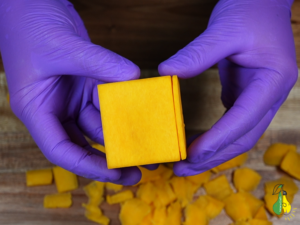
Next, take the solid neck portion of the squash and peel off the skin on all sides to create clean, straight edges.
Steps for standardizing the shape:
-
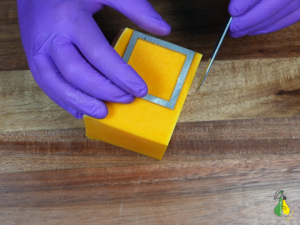
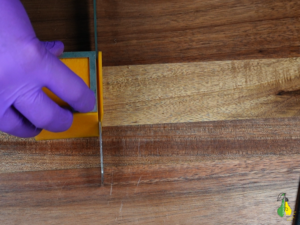
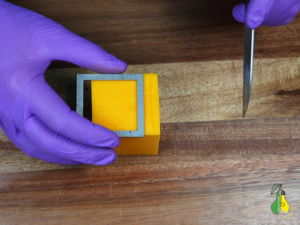
Place the stainless steel stencil flat onto one side of the squash block.
-
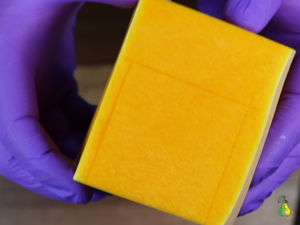
Trace along the edges using the small paring knife to score light, precise guidelines.
-
Trim away the excess squash along your scored lines.
-
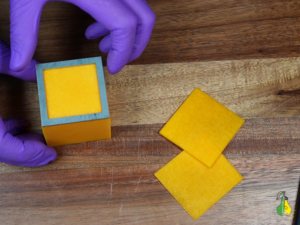
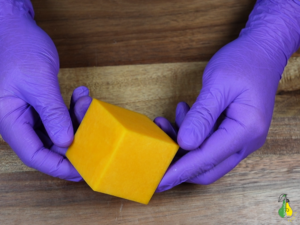
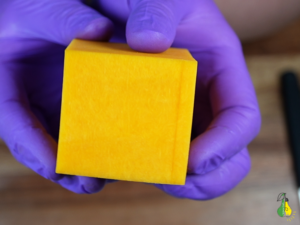
Reapply the stencil to check your progress, trimming repeatedly until you achieve a smooth cube with crisp, perfectly square edges.
Carving and Decorating the Lid
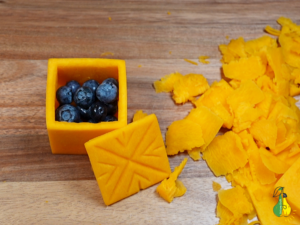
The next phase involves crafting a custom-fitted lid that sits flush on the box.
-
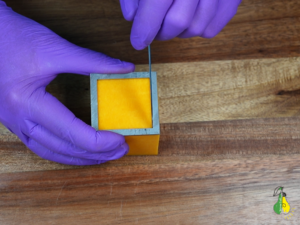
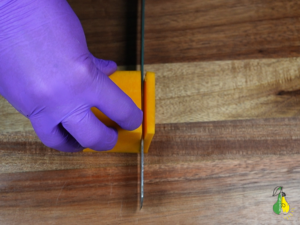
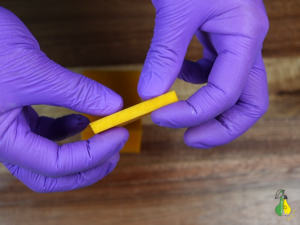
Slicing the Lid Piece: Place the stencil against one edge of your prepared block and mark a 5 mm line. Slice along this line to create a flat, 5 mm thick square piece.
-
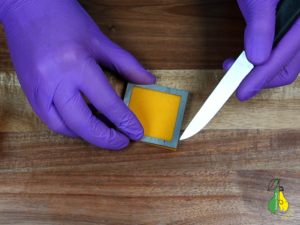
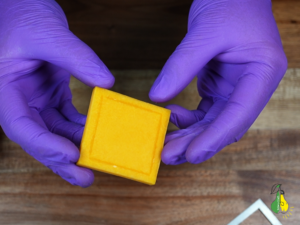
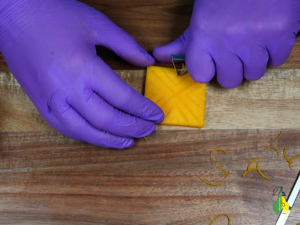
Creating the Inner Lip: Lay the stencil onto the underside of the lid piece and trace the inner perimeter with a knife, pressing down about halfway 2.5 mm into the flesh.
-
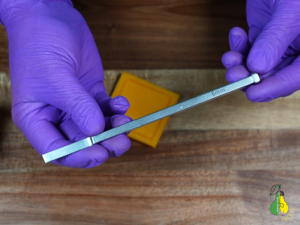
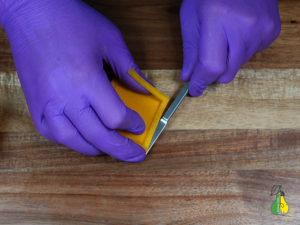
Recessing the Edges: Using a slender 6 mm nasal bone chisel, carefully gouge out the 2.5 mm deep outer rim around the scored line. This creates a stepped border so the lid fits snugly inside the main box cavity. Smooth out any small imperfections left by the chisel using a knife.
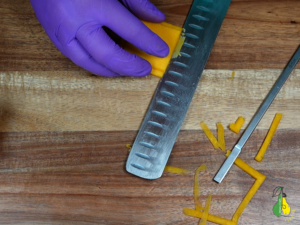
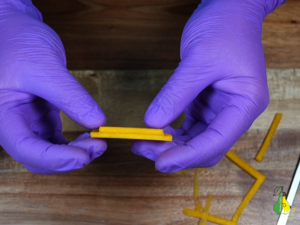
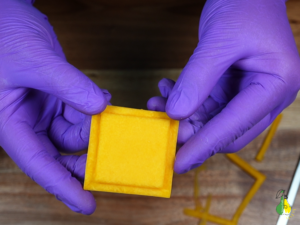
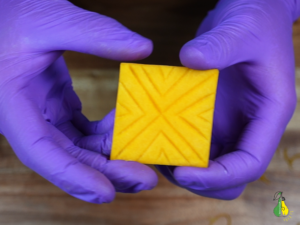
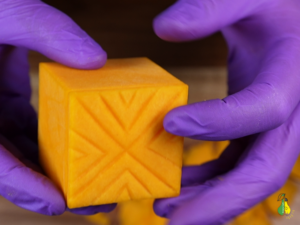
- Decorative Carving: Turn the lid over to the top side. Using the triangular carving loop, carve a clean, geometric line pattern into the surface.
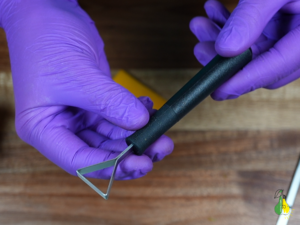
Hollowing Out the Box Cavity
With the lid completed, turn your attention back to the main block to hollow out the inner container.
-
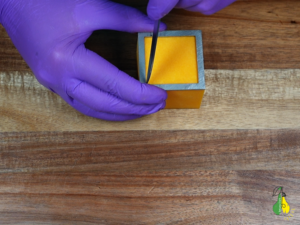
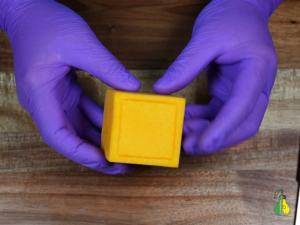
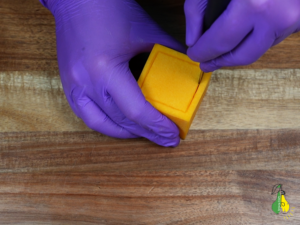
Scoring the Boundaries: Place the stencil over the top face of the main block and trace the inner square using your small paring knife.
-
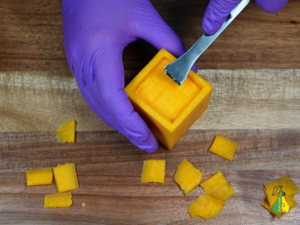
Making Deep Vertical Cuts: This step requires maximum precision. Using the paring knife, make straight, deep vertical cuts down into the squash along your scored guidelines – paying special attention to defining sharp, clean corners.
-
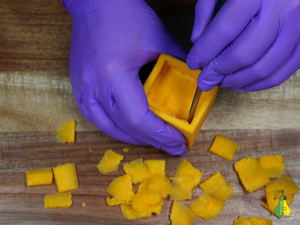
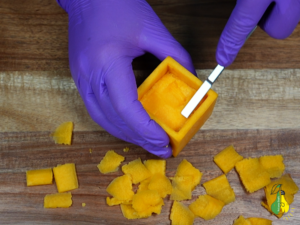
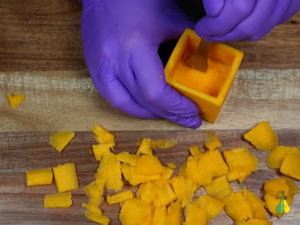
Scooping Out the Interior: Gradually remove the flesh layer by layer using your surgical instruments. The narrow 6 mm nasal bone chisel is especially effective for clearing out tight corners. As you work downward, periodically deepen your vertical perimeter cuts with the knife to maintain straight inner walls.
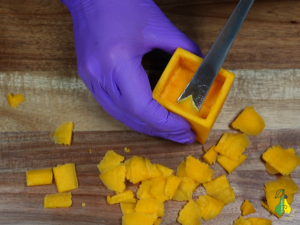
-
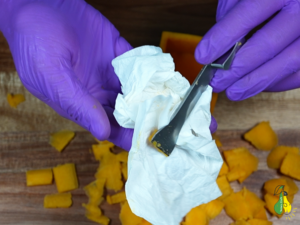
Finishing the Floor: Smooth and flatten the interior floor using the nasal bone knife to scrape away high spots. Finally, dab the inside with a paper towel to absorb excess moisture and clear out loose squash fibers.
The Final Result & Video Tutorials
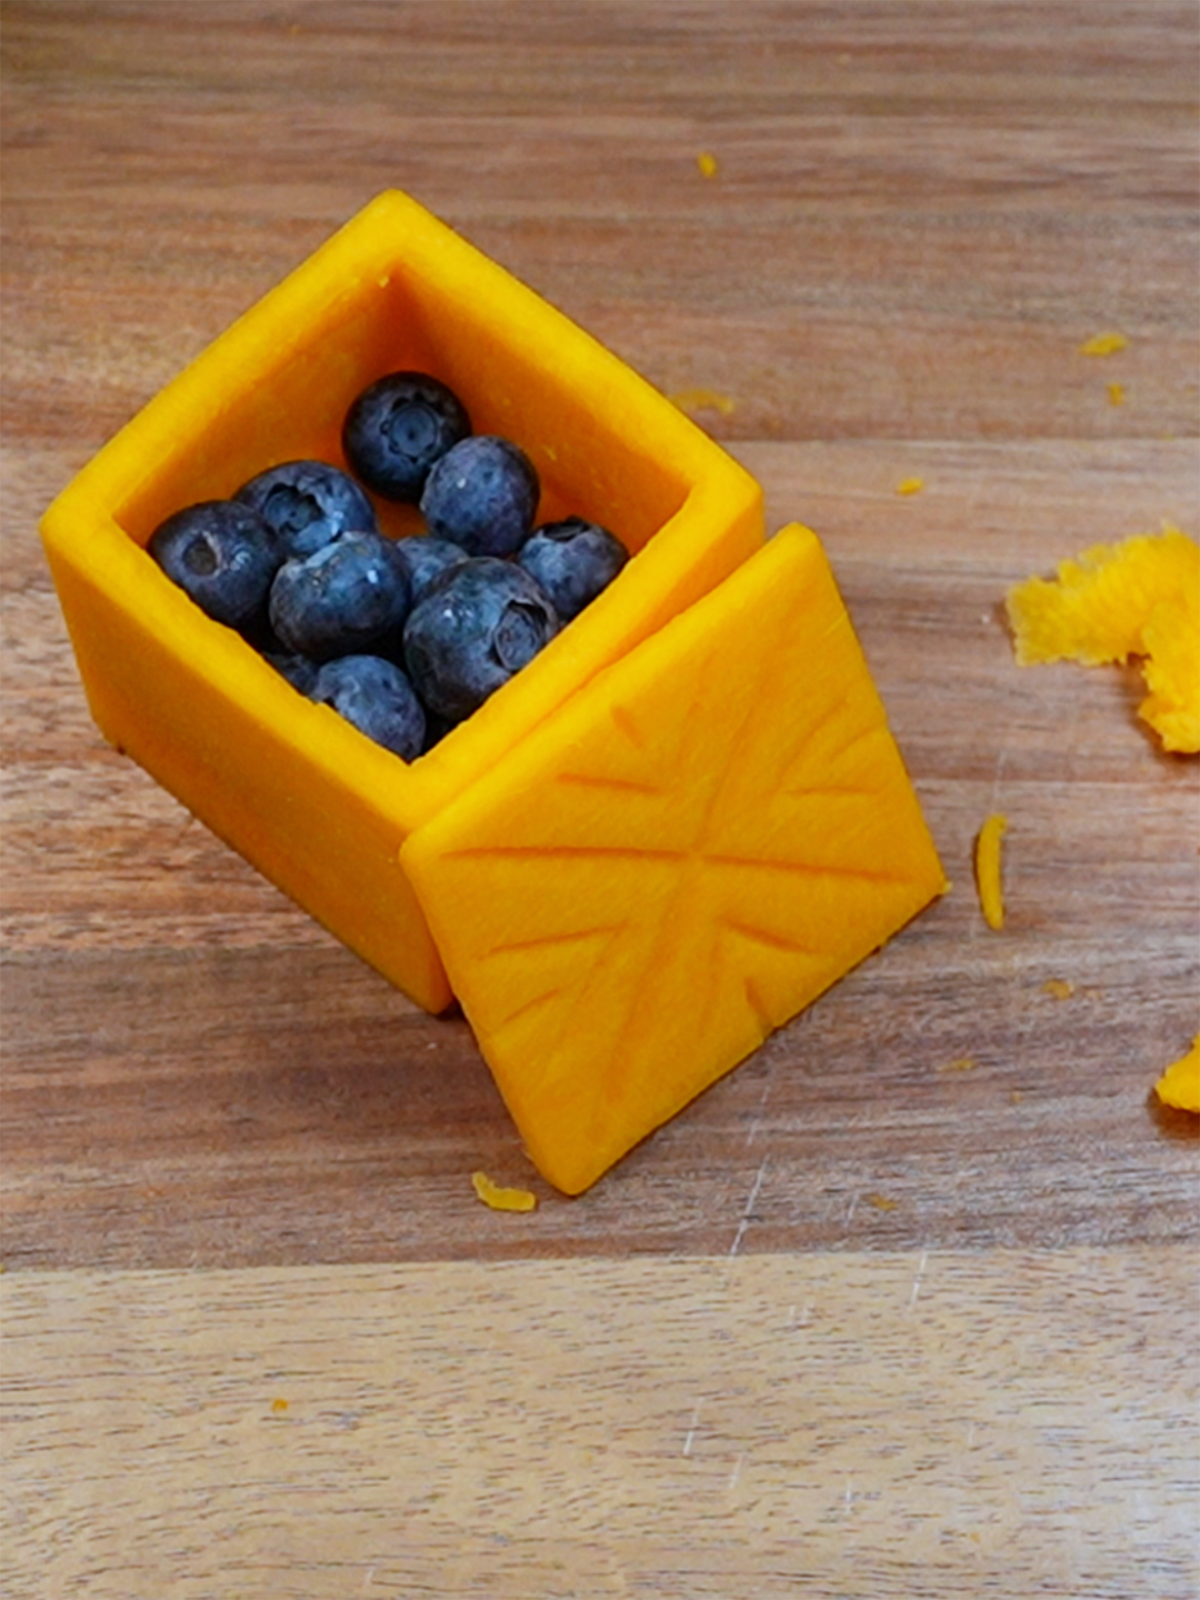
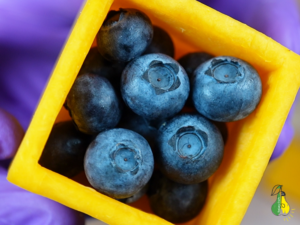
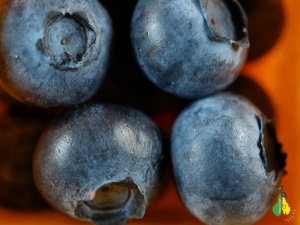
Here is the finished geometric box! To showcase its scale and functionality, I filled it with fresh blueberries – the dark blue berries create a beautiful contrast against the bright, warm orange tone of the butternut squash.
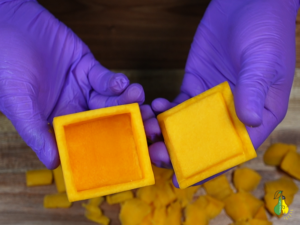
If you prefer learning visually or want to watch the carving process step-by-step, check out the video formats below:
-
Full Video Tutorial: Watch the step-by-step process on YouTube
-
Quick Summary: Watch the quick short-form version on TikTok
@tetiana.craft DIY Edible Butternut Squash Box in 29 Seconds 📦🫐 #butternutsquash #edibleart #foodcarving #asmr #diyfood