











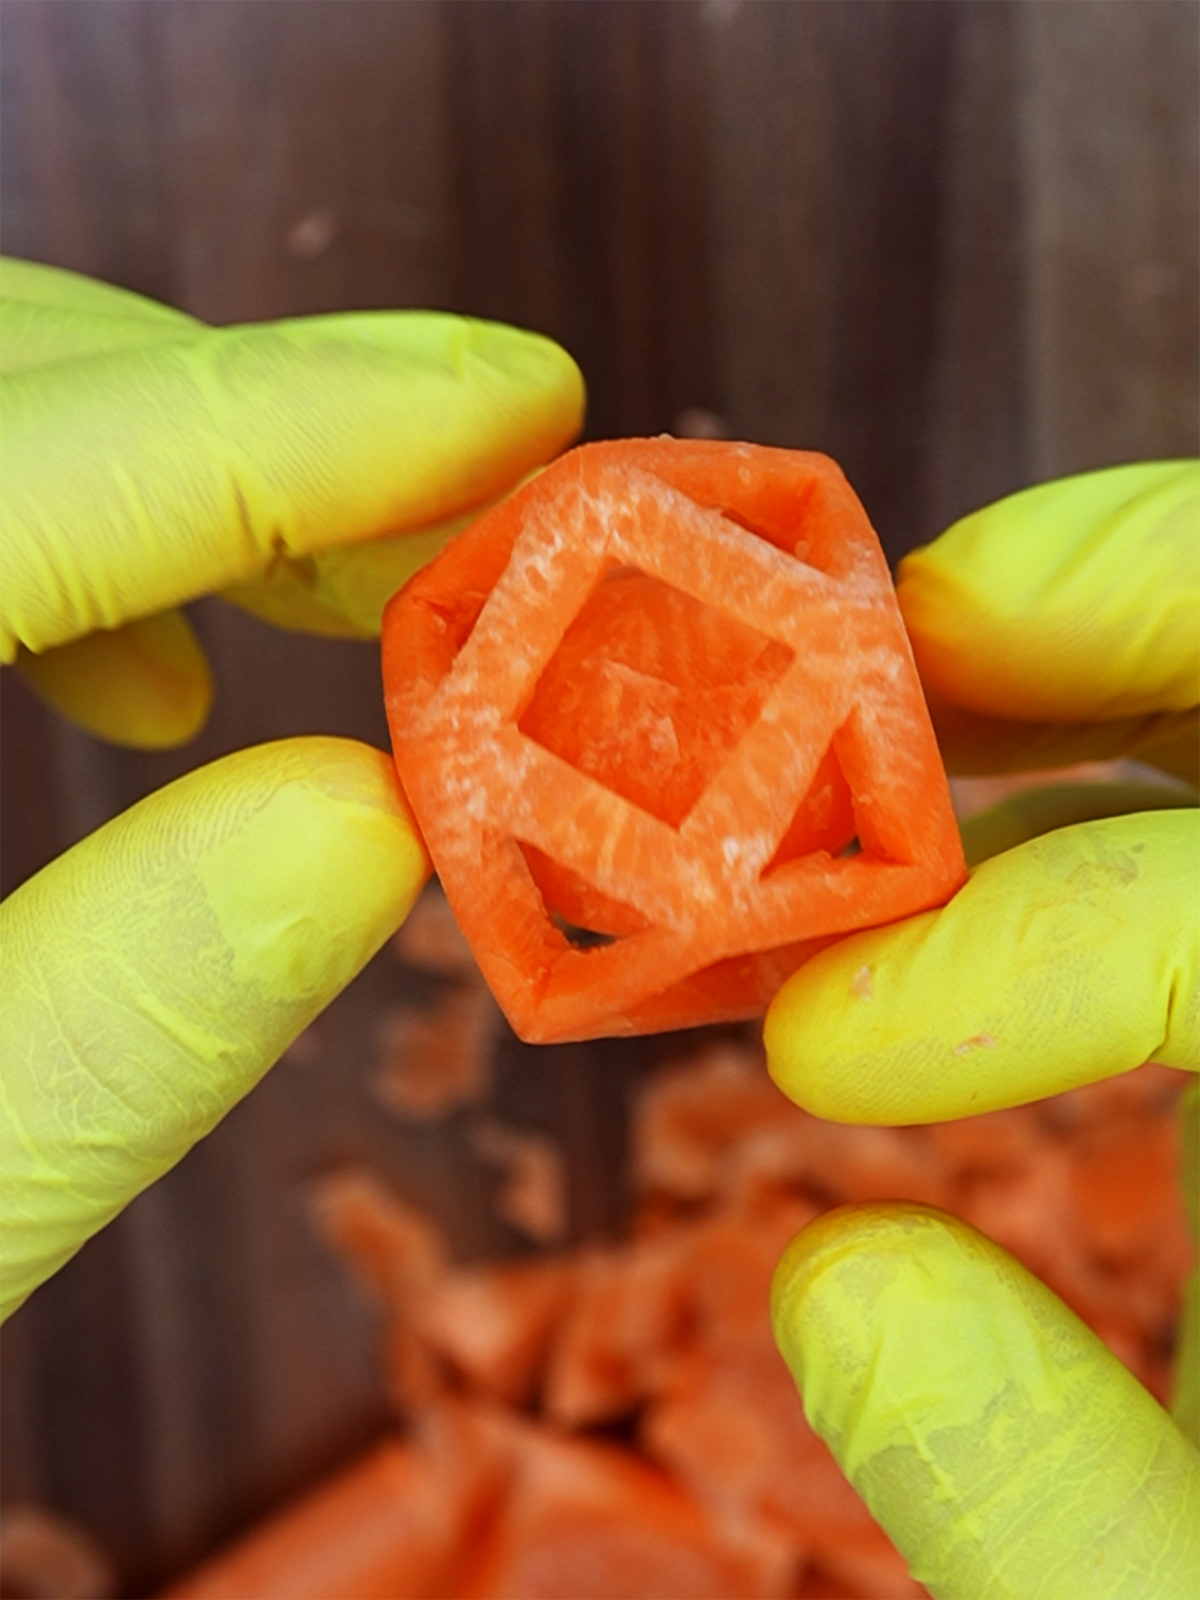
Tools & Materials Needed
-
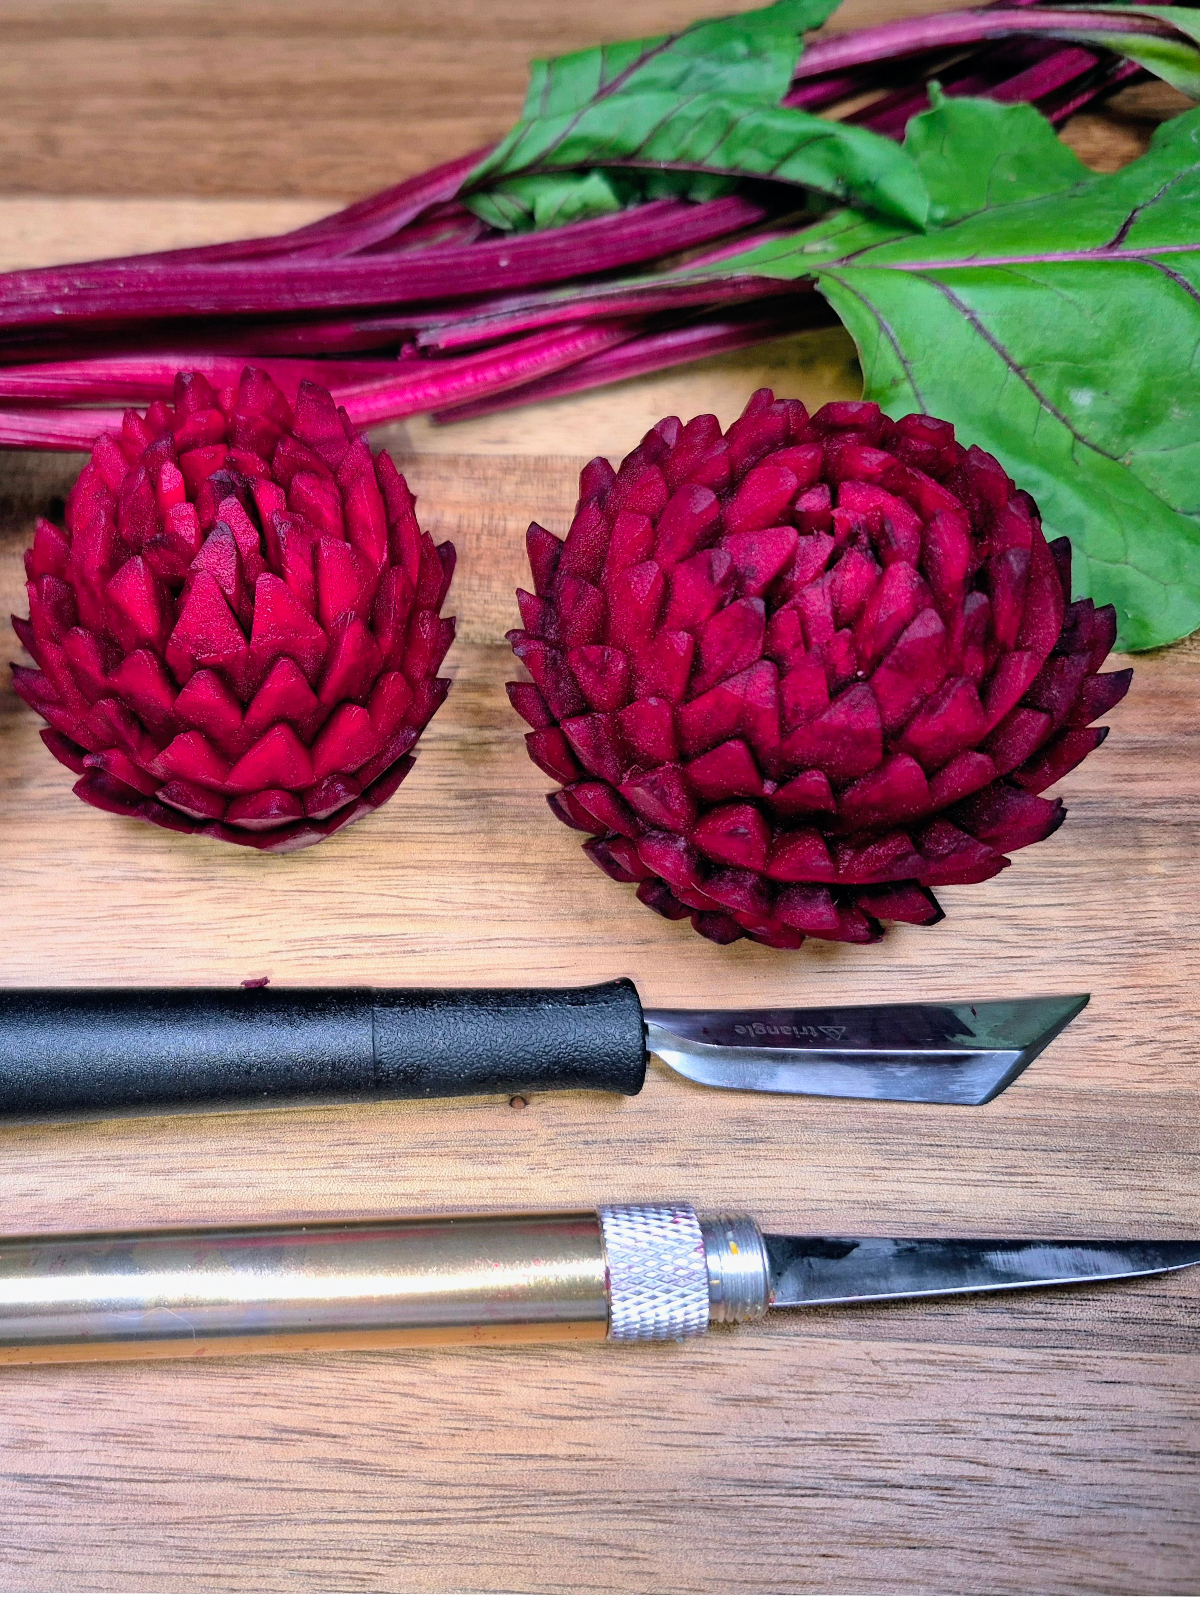
Carrot: Choose a large, thick carrot—the larger the carrot, the easier it is to carve. You can also use other firm vegetables like beets or radishes.
-
Large Chef’s Knife (Grant edge): A sharp chef’s knife with a granton edge is ideal for making clean, straight initial cuts without the vegetable sticking to the blade.
-
Precision Carving Knife: A thin, sharp knife for detailed cutting inside the cage.
-
Tweezers: Useful for easily extracting small carved pieces from tight spaces.
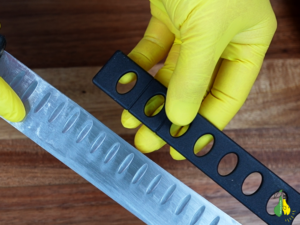
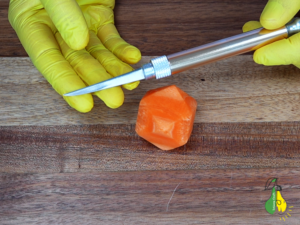
Step 1: Preparing the Base Cube
-
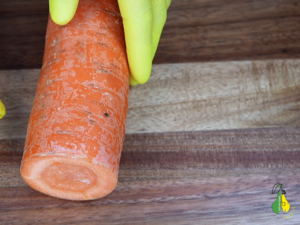
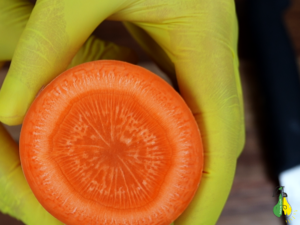
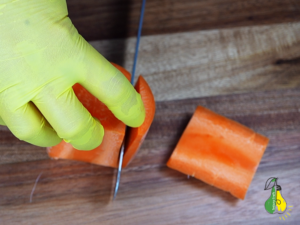
Cut a section: Trim a thick cylinder from the thickest part of the carrot.
-
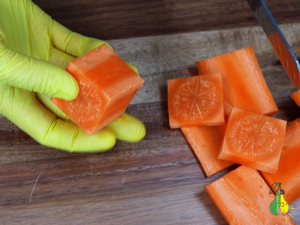
Squaring off: Trim all four rounded sides to form a solid, symmetrical cube or rectangular block. Ensure the angles are clean and straight, as this square base serves as the foundation for the cage.
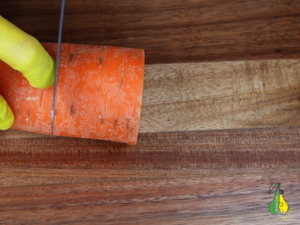
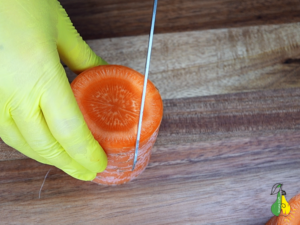
Step 2: Beveling the Corners to Form a Polyhedron
-
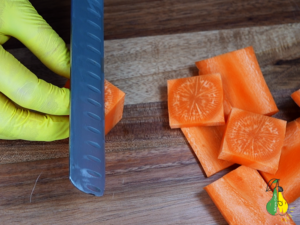
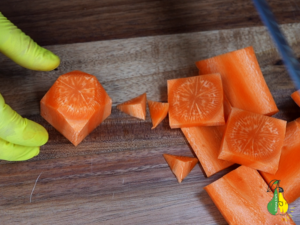
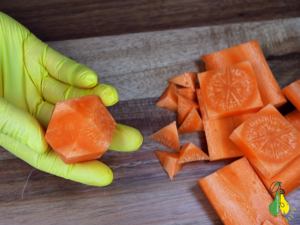
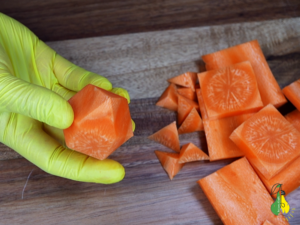
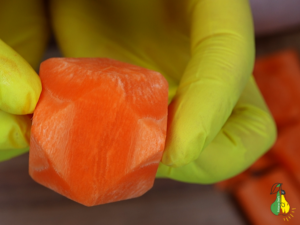
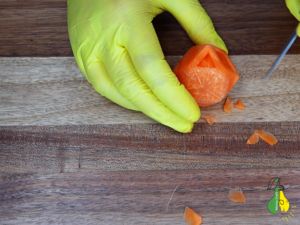
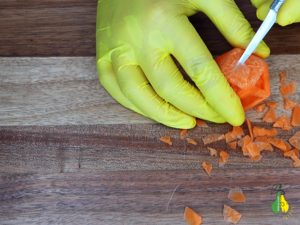
Bevel the corners: Carefully slice off all 8 corners of the cube (4 on top and 4 on the bottom) at a 45-degree angle.
-
Control the depth: Make sure each diagonal cut extends only to the midpoint of each side edge—do not cut deeper than halfway.
-
Refine the shape: Trim any uneven facets as you go to ensure a balanced, multi-faceted geometric polyhedral shape.
Step 3: Outlining the Cage Windows
-
Switch tools: Use a thin precision carving knife for fine details.
-
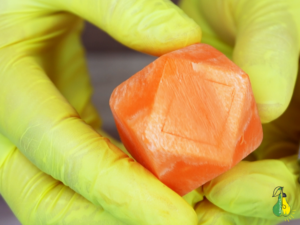
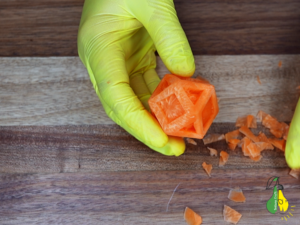
Leave a margin: Score light, shallow guidelines on each facet, keeping a slight distance from the outer edges to create sturdy bars for the cage.
-
Match the geometry: Trace square outlines on the flat square faces and triangular outlines on the angled corner facets. These cuts mark the windows where the core will be separated.
Step 4: Defining the Cage Bars
-
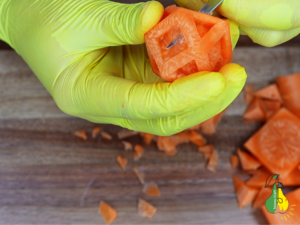
Bevel the inner edges: Cut along the inside of your traced guidelines at an angle to remove thin, shallow slivers of carrot.
-
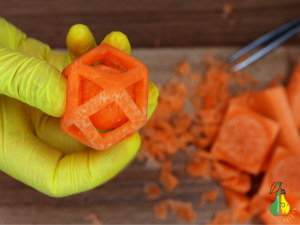
Expose the frame: This angled undercut defines the thickness of the cage bars and creates the opening through which you will work on the inner core.
Step 5: Separating and Shaping the Inner Ball
-
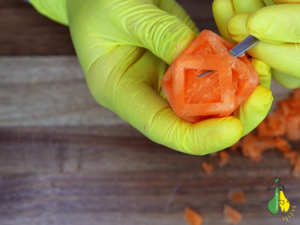
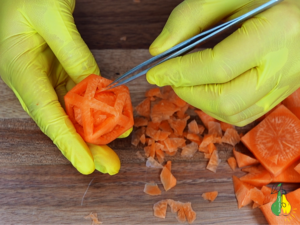
Undercut the cage: Carefully insert the blade beneath the cage bars at an angle to separate the outer frame from the inner core.
-
Remove waste material: Use tweezers to pick out small, detached pieces of carrot through the windows without putting pressure on the delicate frame.
-
Shape the sphere: Gradually trim down the inner core layer by layer, rounding off its edges until it forms a smooth, free-moving ball trapped inside the cage.
Tip: Work slowly and handle the cage gently, as applying too much pressure can easily snap the thin outer bars.
Step 6: The Final Result
-
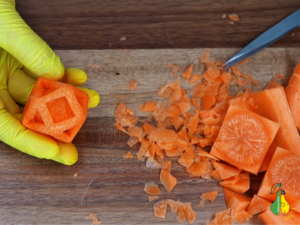
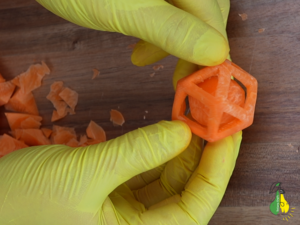
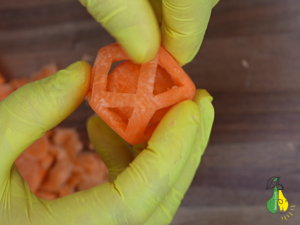
Verify movement: Give the cage a gentle shake or use a toothpick to confirm that the ball is fully detached and rolls freely inside the structure.
-
Final touch-ups: Clean up any remaining rough edges or stray fibers with your precision knife.
Once finished, you will have a seamless, single-piece “ball in a cage” carved entirely from a single carrot.
Step 7: Preservation and Storage
-
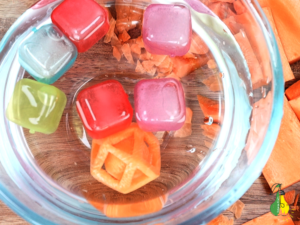
Firming bath: Submerge the finished carving in a bowl of ice water mixed with food-grade calcium chloride (a 0.5%–1% solution, or about 1 tsp per liter of water) for 10–15 minutes. This firms up the vegetable fibers and restores maximum crispness.
-
Storage: Wrap the carved piece in plastic wrap or seal it in a ziplock bag to retain moisture. Store it in the vegetable crisper drawer of your refrigerator.

Prefer Video? Watch the Step-by-Step Process!
If you prefer a visual guide, watch the short video below to see the carving process and hear the satisfying ASMR sounds of crafting the ball inside the cage:
@tetiana.craft Carving a hidden ball inside a carrot 😲 Wait for the end to see the ball move! 🤯 Carving a “ball in a cage” out of a solid carrot. Surprisingly satisfying ASMR sounds 🥕🔊 Tell me what you think in the comments! #asmr #satisfying #carrotcarving #ballinacage #oddlysatisfying