












Tools and Materials You’ll Need
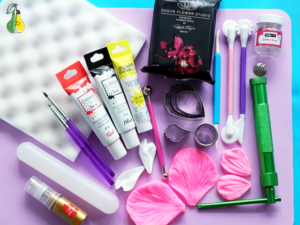
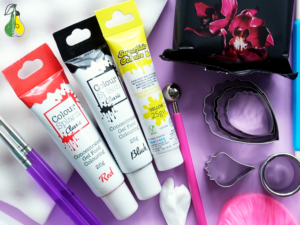
To create this beautiful sugar peony, you will need the following tools and materials:
-
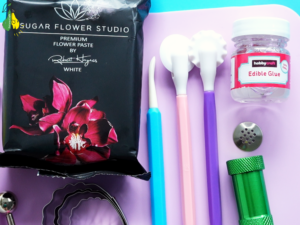
Flower Paste / Gum Paste: Premium white flower paste for realistic, thin petals.
-
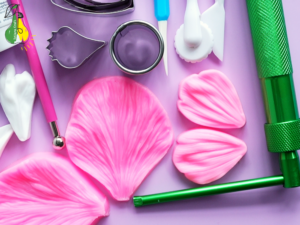
Peony & Hibiscus Petal Cutters: Along with standard peony cutters, a hibiscus cutter with sharp, pointed edges is used to create specific petal shapes.
-
Modeling Tools: A ball tool, Dresden tool, and cutting wheels for shaping and ruffling edges.
-
Sugar Extruder: A green clay/sugar craft extruder with different discs for making the peony center or details.
-
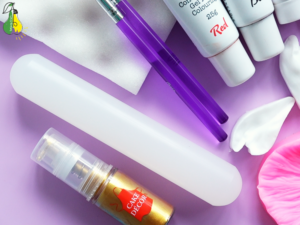
Rolling Pin: A smooth plastic rolling pin to roll out the paste thinly.
-
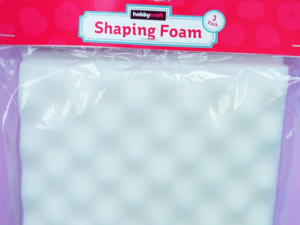
Shaping Foam: A soft foam mat for softening and shaping the petal edges.
-
Gel Food Colorings: Red, black, and yellow concentrated gels to shade your paste.
-
Edible Glue & Brushes: Food-safe glue and fine brushes to assemble the flower.
-
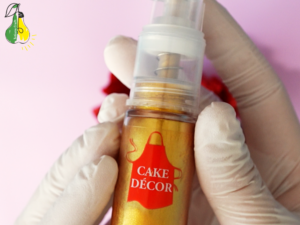
Lustre Dust: Gold edible pump spray or dust for a beautiful finishing touch.
Step 1: Preparing the Flower Paste
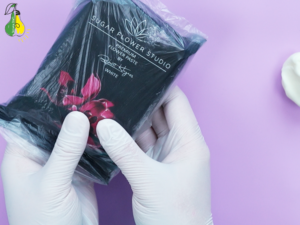
The process begins with creating the solid base that will hold all the peony petals together. For this project, I am using Sugar Flower Studio Premium Flower Paste by Robert Haynes. It is highly elastic, rolls out paper-thin, and holds its shape perfectly—essential when working without wires.
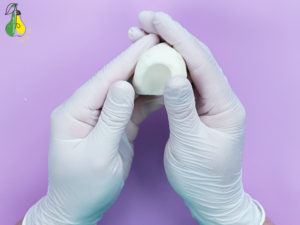
Tear off a small piece of the paste and knead it in your hands until it becomes soft and pliable.
Pro Tip: Immediately wrap the remaining paste in a plastic bag to prevent it from drying out and crusting.
Step 2: Coloring the Paste
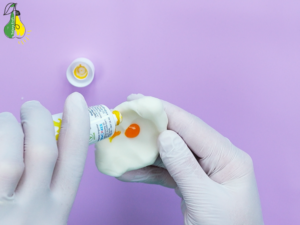
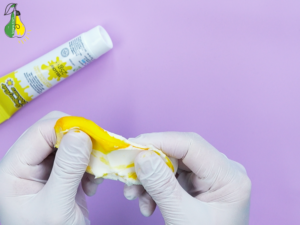
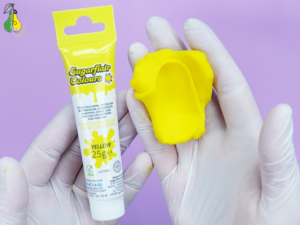
Flatten the piece of white paste slightly and create a small well in the center. Add a drop of yellow gel food coloring. Knead the paste thoroughly until the color is completely seamless and uniform.
Note: Wearing gloves helps keep your hands clean and prevents the heat from your palms from making the paste too sticky.
Step 3: Shaping the Base Center
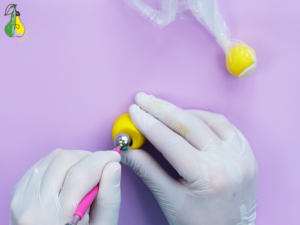
Divide the yellow paste into two unequal parts. Wrap the smaller piece in a plastic bag and set it aside for later.
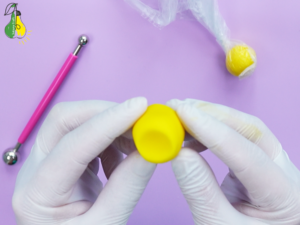
Take the larger piece and roll it into a thick cylindrical shape. Then, use the large end of a ball tool to make a smooth indentation in the top center of the cylinder.
Step 4: Making the Stamens
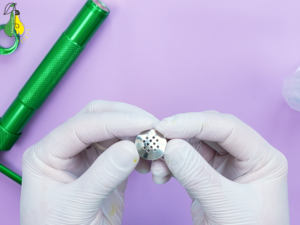
To create the stamens, select a multi-hole disc for your sugar extruder. Retrieve the remaining small piece of yellow paste from the plastic bag, insert it into the extruder, and squeeze out thin paste strands.
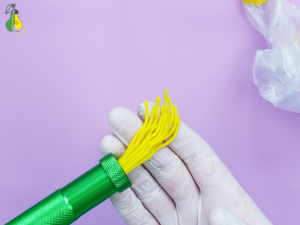
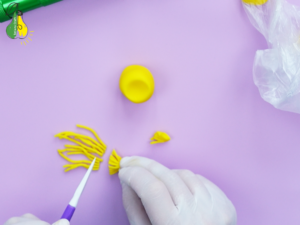
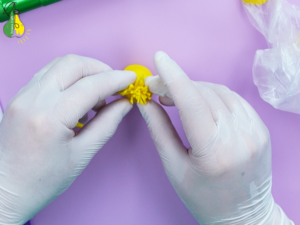
Next, use a plastic craft knife to cut the extruded strands into uniform lengths for the stamens. Gather a bunch of them together, pinch the bottom with your fingers, and apply a small amount of edible glue into the center indentation of the yellow base. Secure the main cluster of stamens inside.
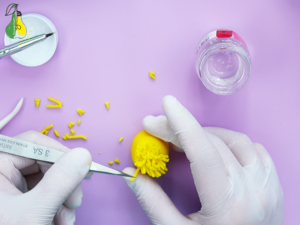
To give the peony center a more natural and voluminous look, use tweezers to pick up individual stamen pieces and carefully insert them into any gaps.
Note: If time permits, it is highly recommended to let the completed yellow base dry completely before attaching the petals. This creates a solid, stable core for your flower.
Step 5: Tinting the Petal Paste
Before making the petals, you need to prepare the paste in the right color. Tear off a larger ball of white flower paste and knead it until soft.
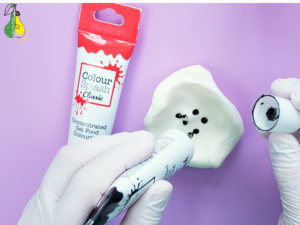
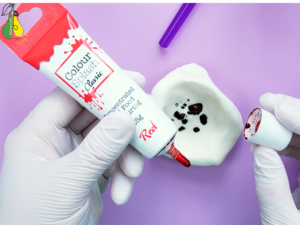
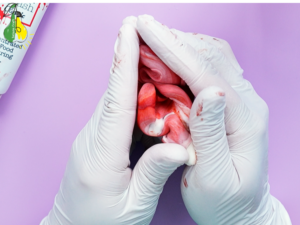
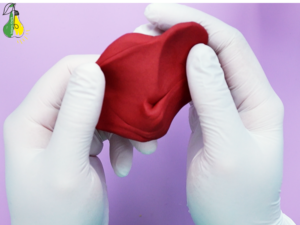
Add a base of red gel food coloring mixed with a tiny drop of black gel. Knead the paste thoroughly until you reach a rich, uniform burgundy (wine red) shade.
Step 6: Creating the Inner Petals
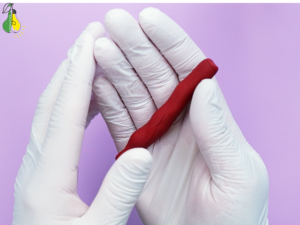
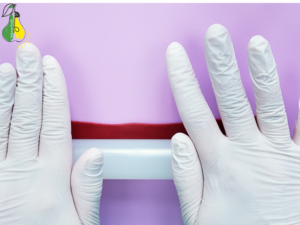
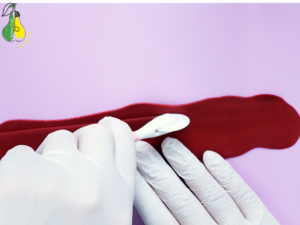
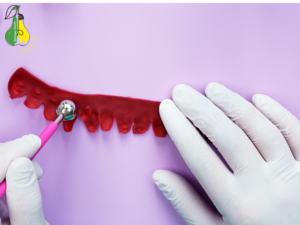
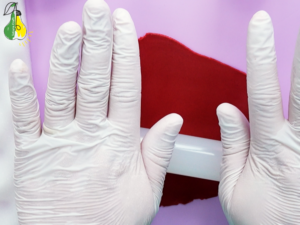
To create the very first row of tight inner petals, roll out a thin strip of burgundy paste. Use a plastic rolling cutting wheel to trim the top and bottom edges evenly.
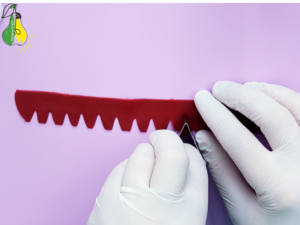
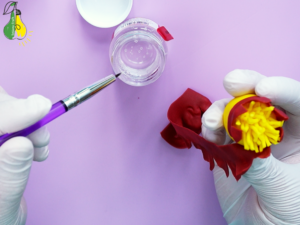
Next, use the sharp tip of the hibiscus cutter to punch out a serrated, jagged pattern along one edge of the strip. Soften and thin out these newly made “petals” using a ball tool. Finally, brush a small amount of edible glue onto the straight edge of the strip and wrap it snugly around the yellow stamen base.
Step 7: The First Layer of Petals
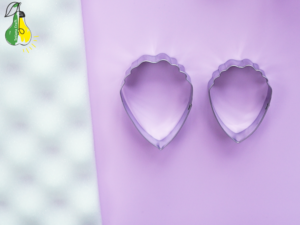
- For this flower, I use a set of four different-sized peony cutters—one size for each consecutive layer.
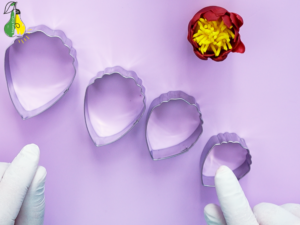
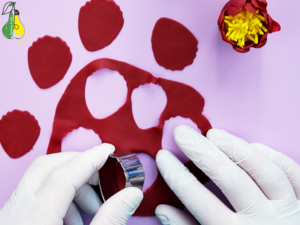
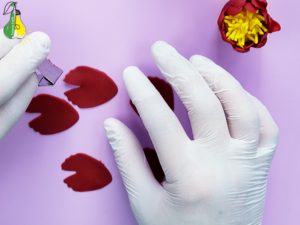
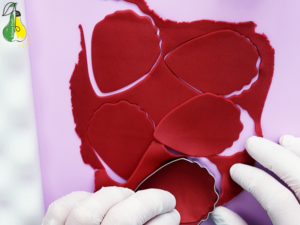
- Roll out the burgundy paste thinly and cut out 5 petals using the smallest peony cutter.
-
Use the sharp corner of the hibiscus cutter to make a small V-shaped notch at the top of each petal.
-
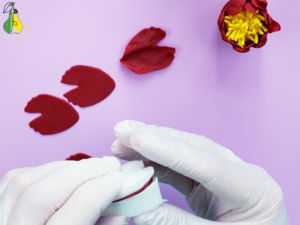
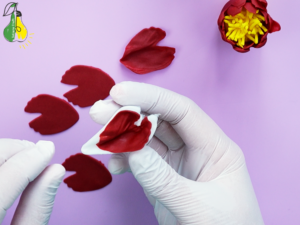
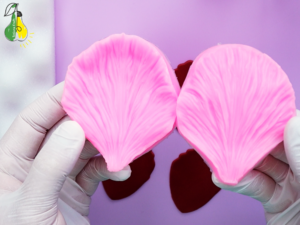
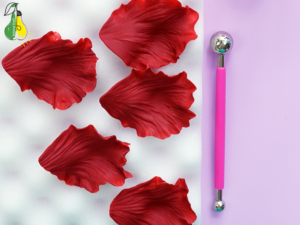
Press each petal into the silicone veiner to imprint a realistic texture.
-
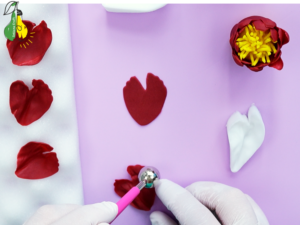
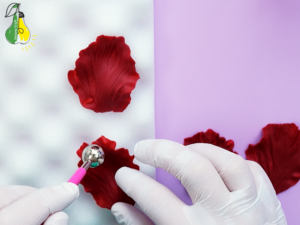
Soften and frill the edges using a ball tool.
-
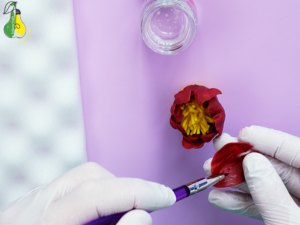
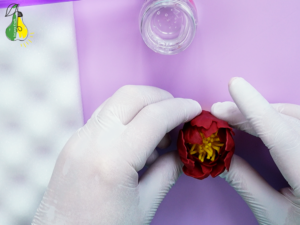
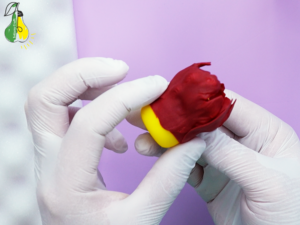
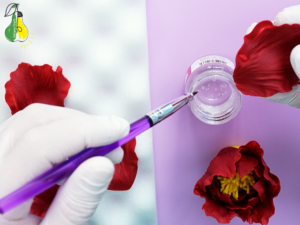
Let the petals dry slightly on the shaping foam mat so they hold their shape, then attach them to the base with edible glue, overlapping them slightly.
Step 8: The Second Layer of Petals
The second layer follows a similar technique, but with a few adjustments to help the peony open up:
-
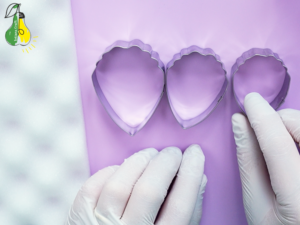
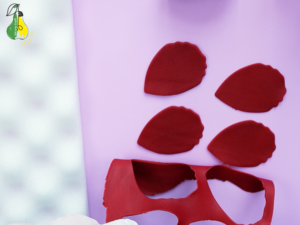
Cut out 4 petals using the next size up (the second smallest peony cutter).
-
Skip the V-shaped notches for this layer to keep the petals more intact.
-
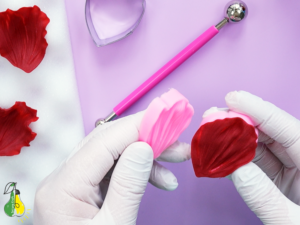
Press the petals into a different silicone veiner designed for the middle layers.
-
Soften the edges with a ball tool.
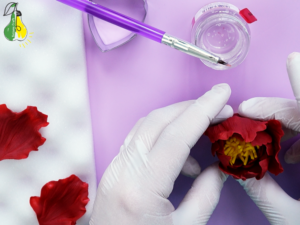
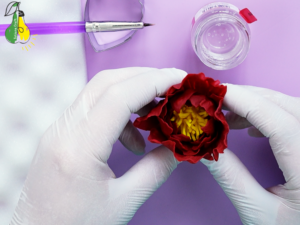
Crucial Step: Allow these petals to dry slightly longer on the foam mat before gluing them. This ensures they maintain their cupped shape and won’t collapse when attached to the core.
Step 9: The Third Layer of Petals
For the third layer, we increase the size and volume slightly:
-
Cut out 5 petals using the third size of the peony cutters.
-
The technique for shaping, thinning the edges, and drying remains exactly the same as in Step 8.
Note: From this layer onward, switch to your largest silicone veiner. You will use this same veiner for both this layer and the final one.
Step 10: The Fourth and Final Layer of Petals
To complete the shape of our sugar peony, we add the final outer layer:
-
Cut out 5 petals using the largest peony cutter in your set.
-
Use the same large silicone veiner as in Step 9 to texture the petals.
The technique for edge softening, drying, and assembly remains exactly the same.
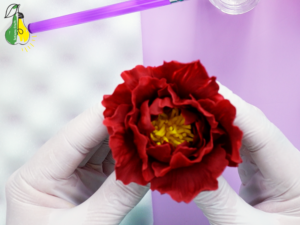
Once these final petals are glued in place, your peony will have a beautiful, full, and realistic structure.
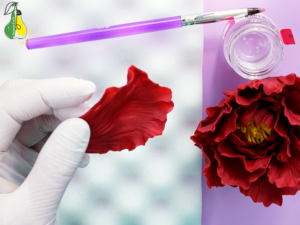
Step 11: Finishing the Back of the Peony
To cleanly hide the yellow base and give the back of the flower a neat, professional look, follow these steps:
Roll out a small piece of the burgundy paste and use a round cookie cutter that matches the diameter of the exposed base.
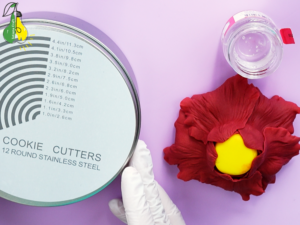
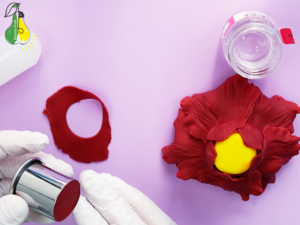
Apply a thin layer of edible glue to the cut-out circle.
Place the circle over the exposed yellow bottom of the flower.
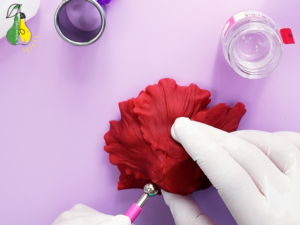
Gently smooth and blend the edges using a ball tool so the seam disappears into the petals.
Step 12: Drying the Finished Peony
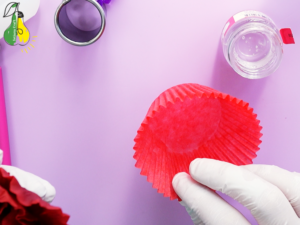
To ensure the peony retains its natural, cupped, and voluminous shape while drying, you don’t need expensive equipment.
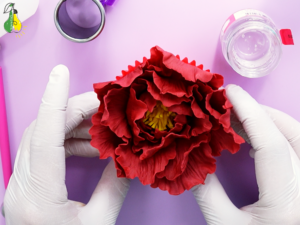
Place the assembled flower inside a standard paper cupcake liner. It acts as the perfect makeshift former, supporting the outer petals perfectly. Leave the peony to dry completely in a dry, cool place for 24 hours before using it to decorate your cake.
Step 13: Adding the Final Touch of Gold
To give the peony a luxurious, festive glow, apply a light dusting of edible gold lustre glitter over the entire flower. Using a pump spray bottle allows for an even, delicate mist that beautifully highlights the textures of the inner stamens and the ruffled edges of the burgundy petals.
The Final Masterpiece
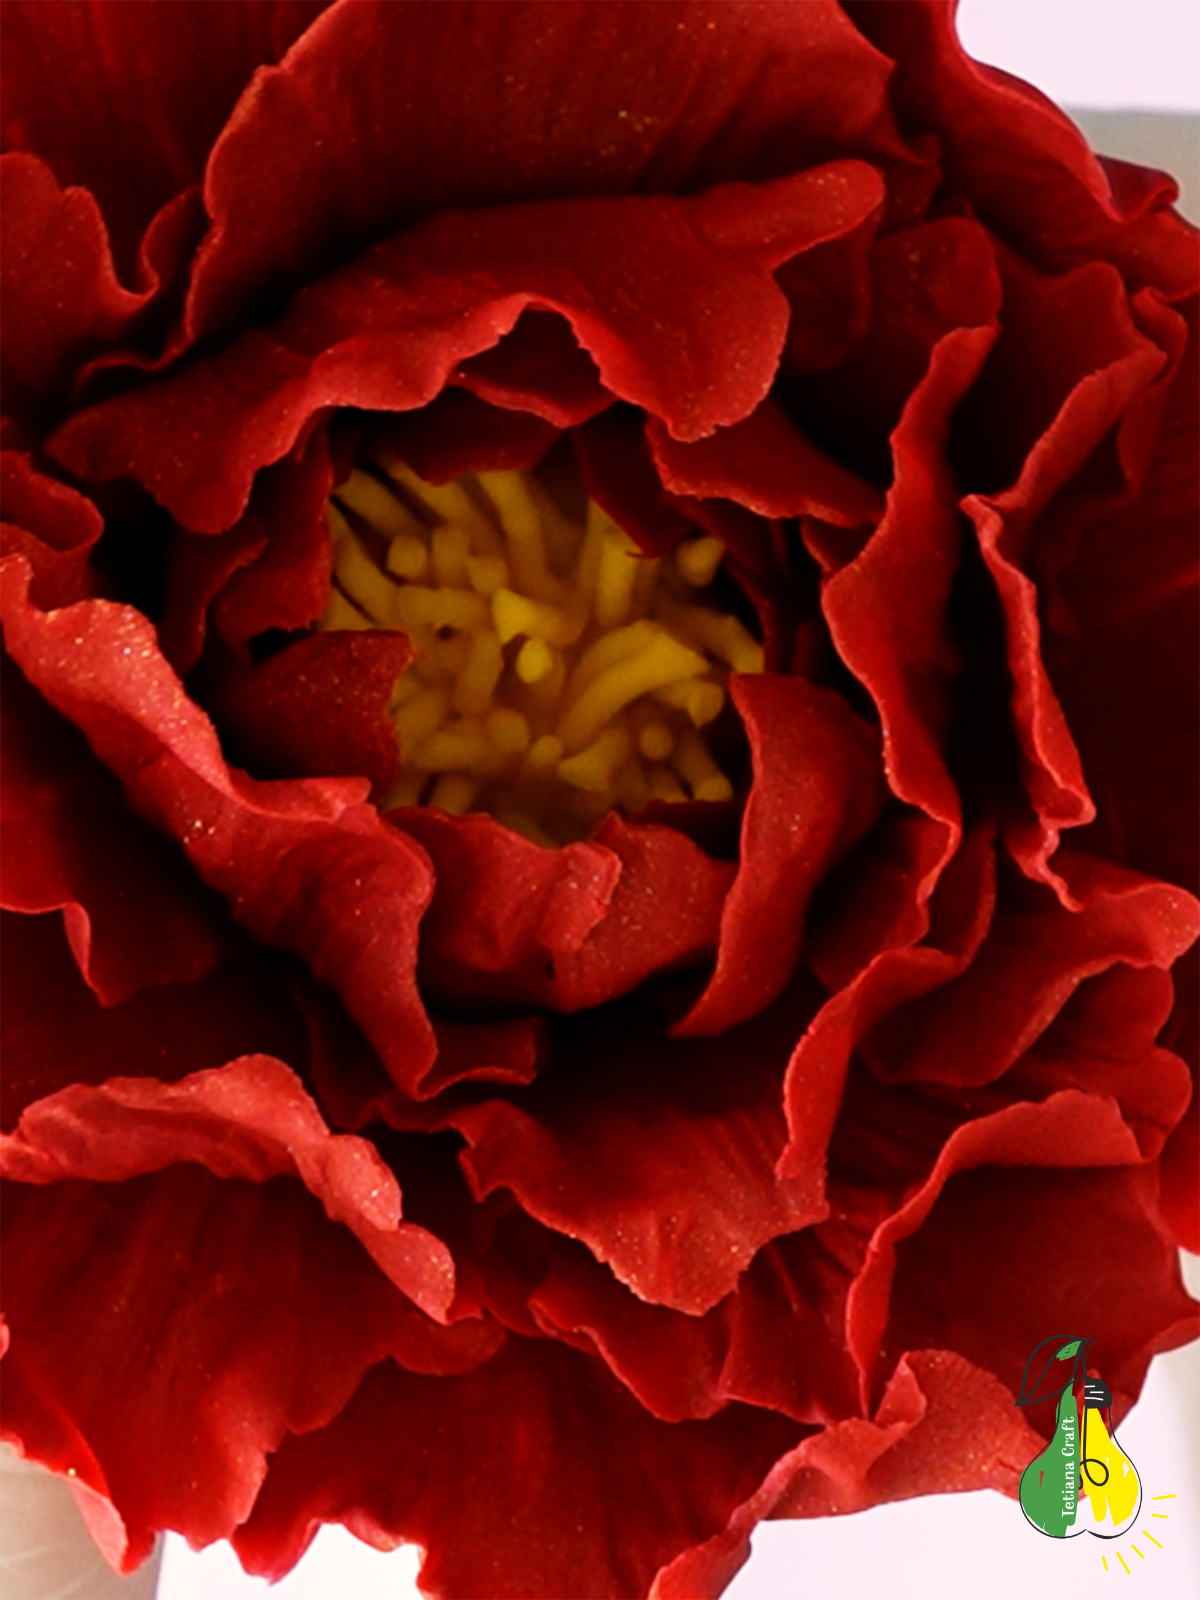
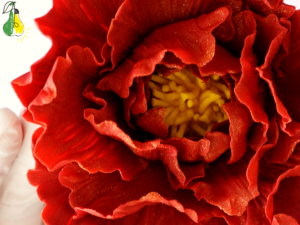
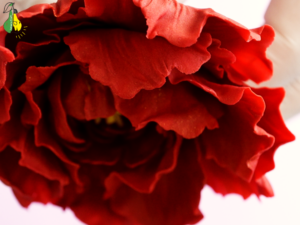
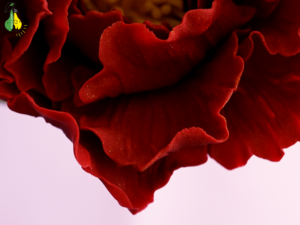
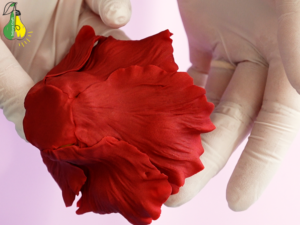
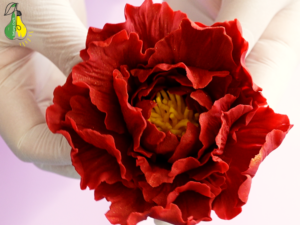
Here are the final photos of our completed burgundy sugar peony. Look at how beautifully the golden shimmer contrasts with the rich wine-red petals, and how the center pops with vibrant yellow stamens!
Watch the Video Tutorials:
🎥 For a Detailed Step-by-Step Lesson: If you want to follow along with every movement and see the entire process in action, check out the full video tutorial on YouTube here:
⚡ For Quick Inspiration: If you prefer fast, dynamic videos, catch the short version on TikTok here:
@tetiana.craft Would you put this flower on your cake? 🍰 #sugarflower #gumpastepeony #sugarpeony #cakedecorating #gumpasteflowers
Thank you for crafting along with me! Happy baking!