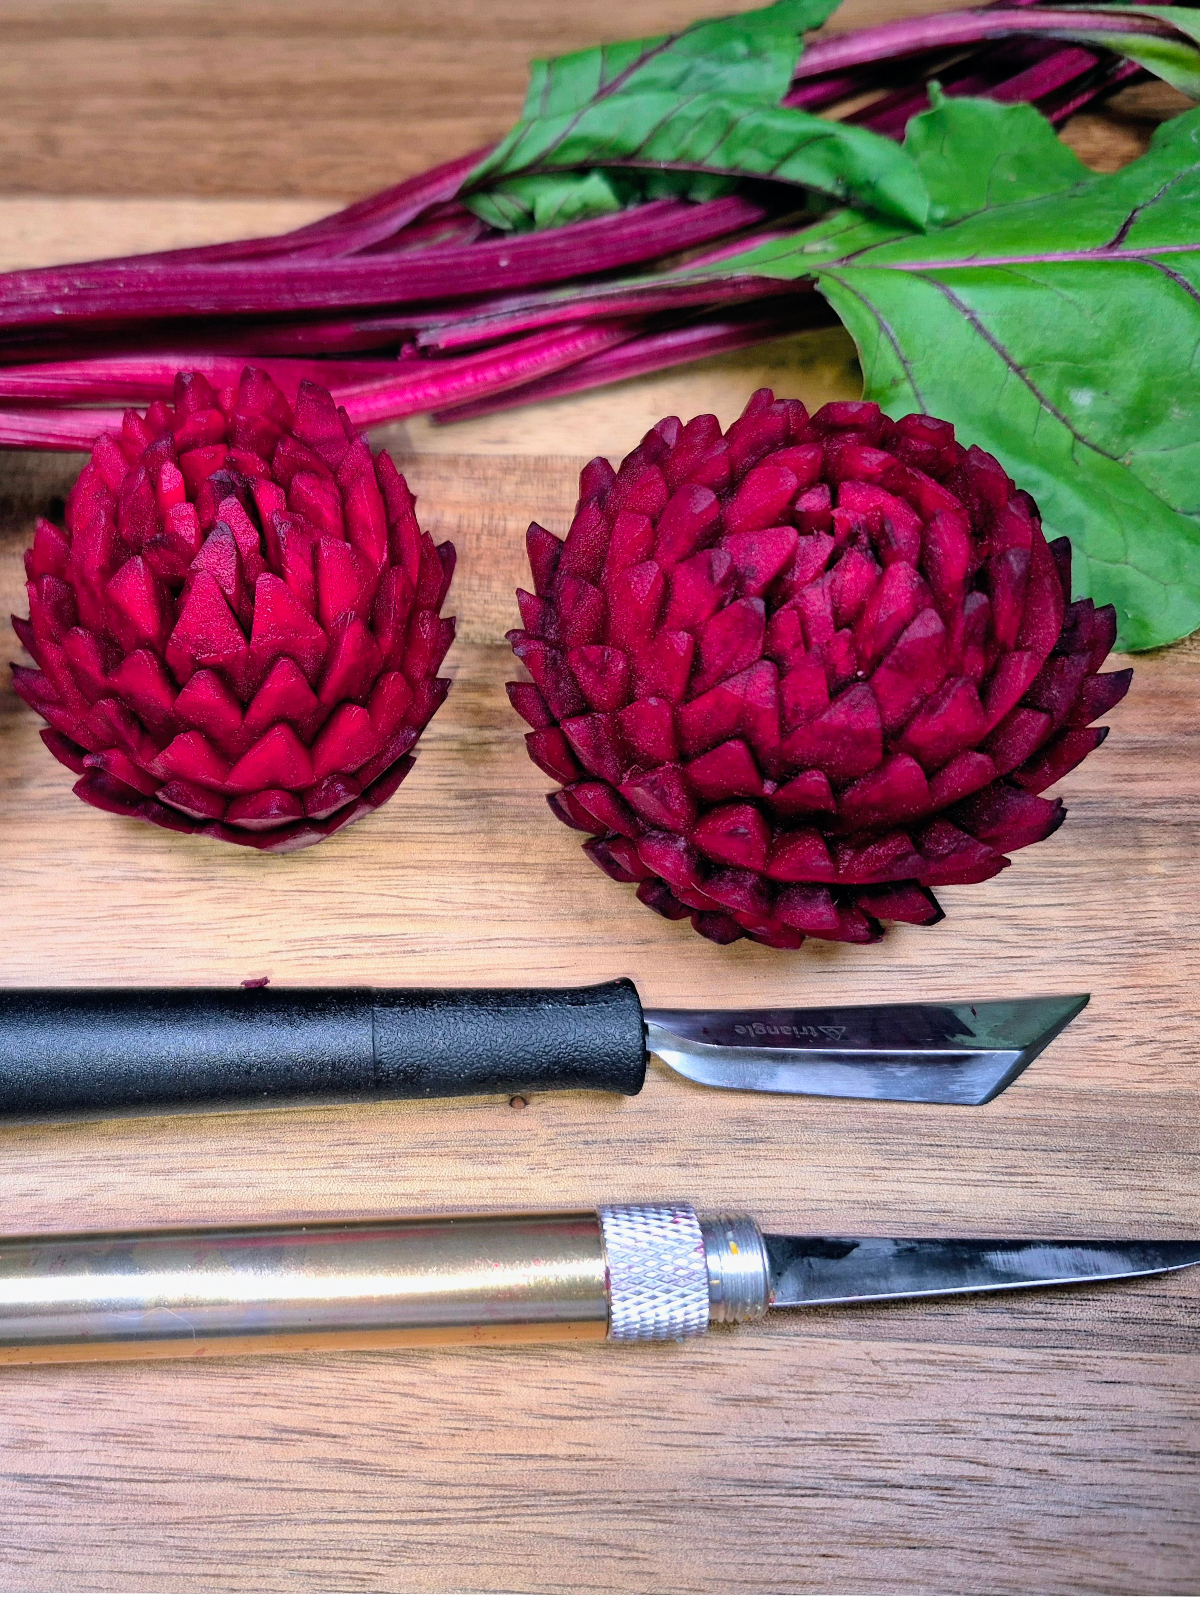
Food carving turns ordinary ingredients into breathtaking table decorations. Today, I am going to show you how to carve a mesmerizing Dahlia flower out of a simple red beetroot. Its deep, rich crimson color gives the finished flower an incredibly luxurious and realistic look.
Choosing the Right Beetroot
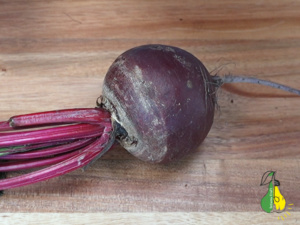
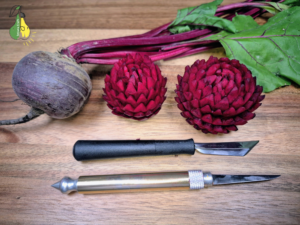
Before we grab our knives, the most crucial part is selecting the perfect vegetable.
For this project, I chose a medium-sized beetroot. When picking yours, make sure the beetroot is completely firm and fresh. Avoid any vegetables that feel soft, soft-skinned, or shriveled – a soft beetroot will tear instead of cutting cleanly, making it impossible to get those sharp, beautiful petals.
Step 1: Peeling and Prepping the Beetroot
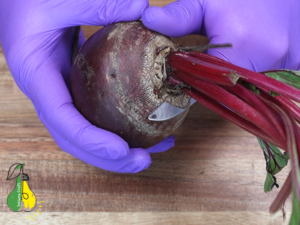
To begin, I use a standard small kitchen knife to clean the vegetable.
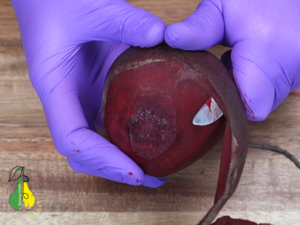
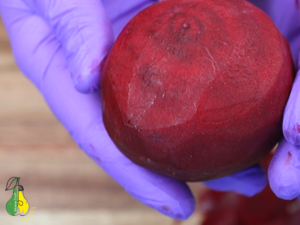
First, I cut off the leafy top and the long tail. Then, I peel the skin away by carving in a circular motion around the beetroot. Finally, I use the knife to gently shave and even out the surface, making it completely smooth and perfectly round.
Pro Tip: Just like with the turnip, using a regular kitchen knife for peeling saves the blade of your delicate carving tools from dulling on the tough outer skin!
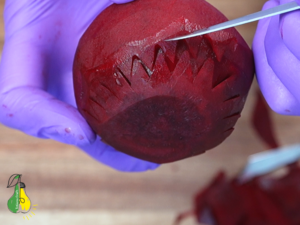
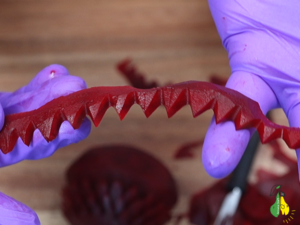
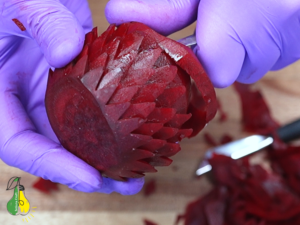
Step 2: Carving the Outer Layer with a V-Shaped Knife
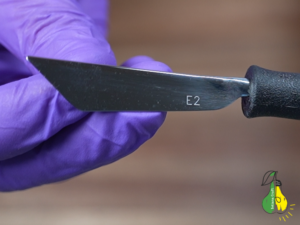
To create the classic, sharp petals of the Dahlia flower, I am using a specialized V-shaped carving knife (size E2).
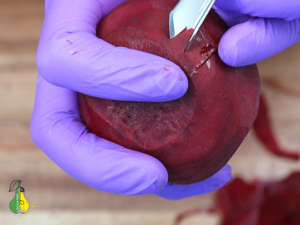
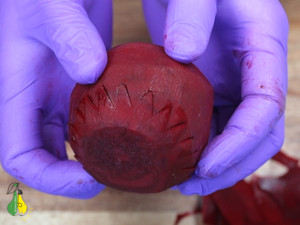
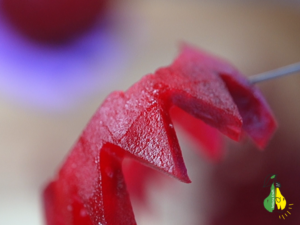
Holding the beetroot firmly, I start making a row of triangular V-cuts all the way around the upper edge. I cut at a slight inward angle, ensuring the blade goes deep enough into the beetroot. This depth is important because it will give the outer petals a beautiful, defined relief.
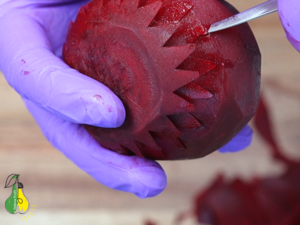
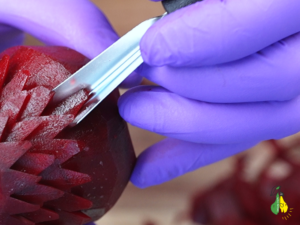
Step 3: Clearing Space Beneath the Petals
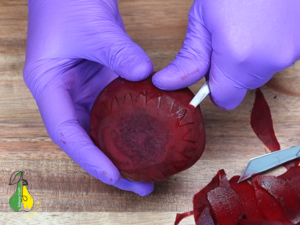
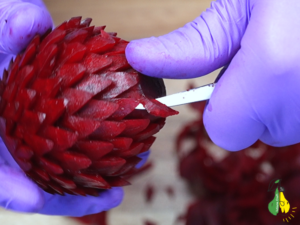
Next, switch to a Thai carving knife to undercut the space just beneath the row of triangular petals. You can use any of your favorite carving knives for this step, as long as the blade is thin enough for precision work.
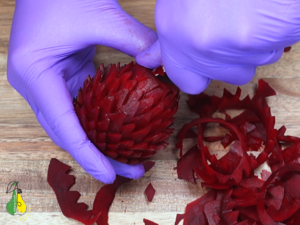
Carefully cut into the beetroot around the perimeter, right under the V-cuts. The excess pieces can be easily removed by gently catching and lifting them with the very tip of your knife, exposing the first sharp layer of our dahlia.
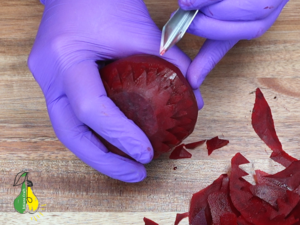
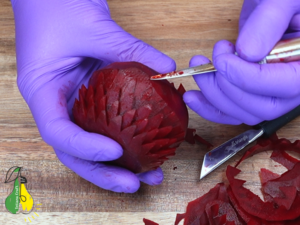
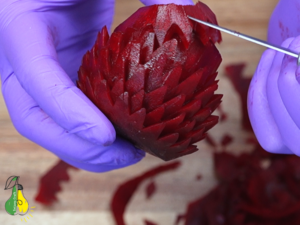
Step 4: Building the Layers in a Staggered Pattern
The key to making the dahlia look incredibly full and natural is staggering the rows. Each new layer of petals must be carved in a checkerboard (staggered) pattern relative to the previous one.
The technique now becomes a rhythmic, repeating cycle:
-
The V-Cuts: Using the V-shaped knife, aim for the gaps between the petals of the row above to start the new layer.
-
The Undercut: Take your thin carving knife and carefully slice underneath this new row.
-
Clearing the Waste: Pop out the trimmed pieces of beetroot using the tip of the blade to cleanly separate the layers.


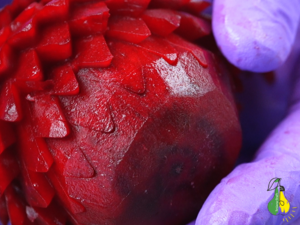
Step 5: Approaching the Center and Shifting Focus to Precision
As you move closer to the core of the beetroot, the carving area naturally shrinks. To prepare the remaining surface, take your knife and shave down the top slightly, making the edges more rounded and smooth again.
When working on these inner rows, maintaining a strict checkerboard pattern becomes quite challenging due to the limited space. At this stage, it is best to shift your focus from perfect alignment to pure neatness. Focus on making clean, deliberate cuts rather than forcing the staggered layout.
Step 6: Carving the Delicate Core
Working on the very center is the most challenging and responsible part of the entire process, as this is where the smallest, most delicate petals live.
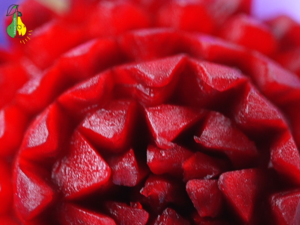
To give the dahlia a realistic finish, I carved a specific pattern right at the core: one tiny petal directly in the center, surrounded by six slightly larger petals. This structural touch grounds the whole flower and brings the carving together seamlessly.

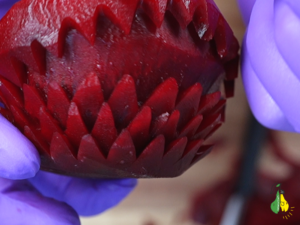
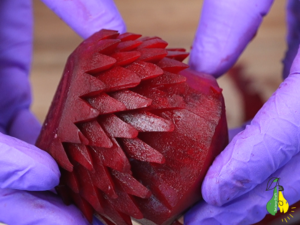
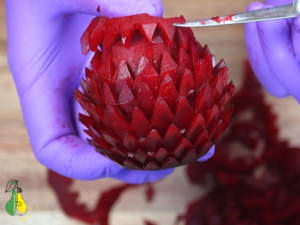
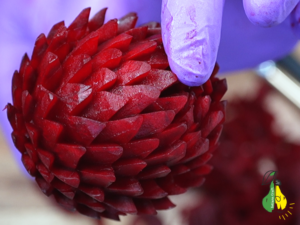
Final Results
With the core complete, the beetroot dahlia is ready! The contrast between the broad outer layers and the tightly clustered center looks spectacular.
See the Full Process in Video!
If you want to see exactly how the knives move and follow along in real-time, I’ve got you covered on my video platforms:
-
For the full, detailed experience: Watch my step-by-step video tutorial on YouTube, where I guide you through every single cut and angle!
-
In a hurry? If you prefer quick, snappy, and fast-paced videos, check out the short-form version of this tutorial on my TikTok!
@tetiana.craft Crunchy Beet Carving ASMR #asmr #foodart #carving #satisfying #dhaliabeetroot
Happy carving, and enjoy creating your beautiful beetroot dahlia!