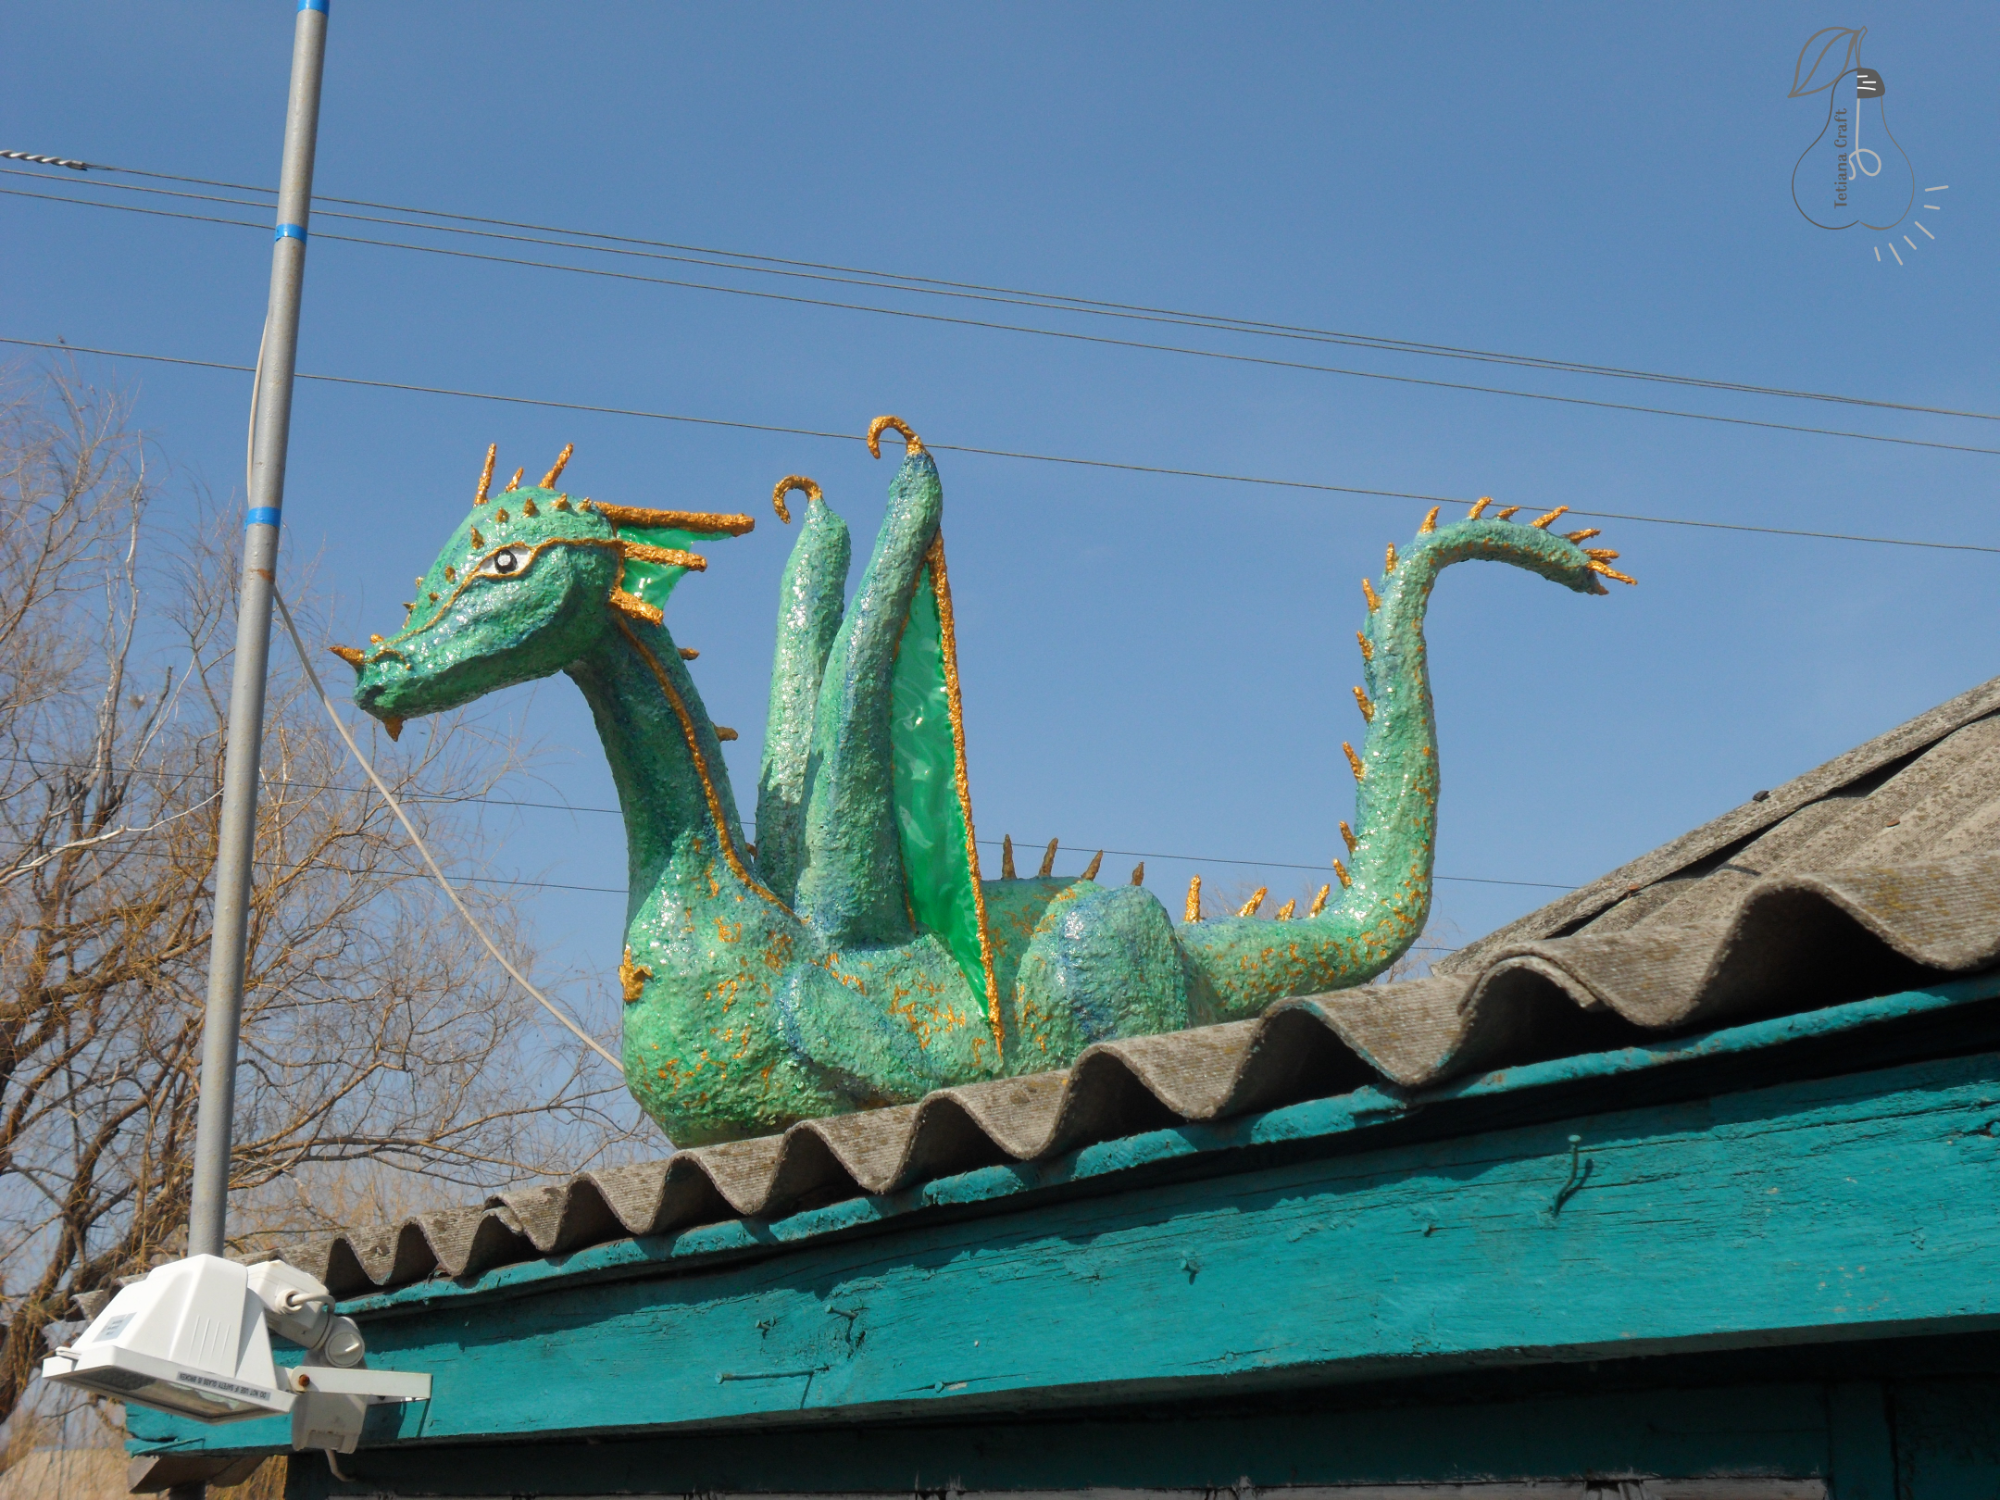
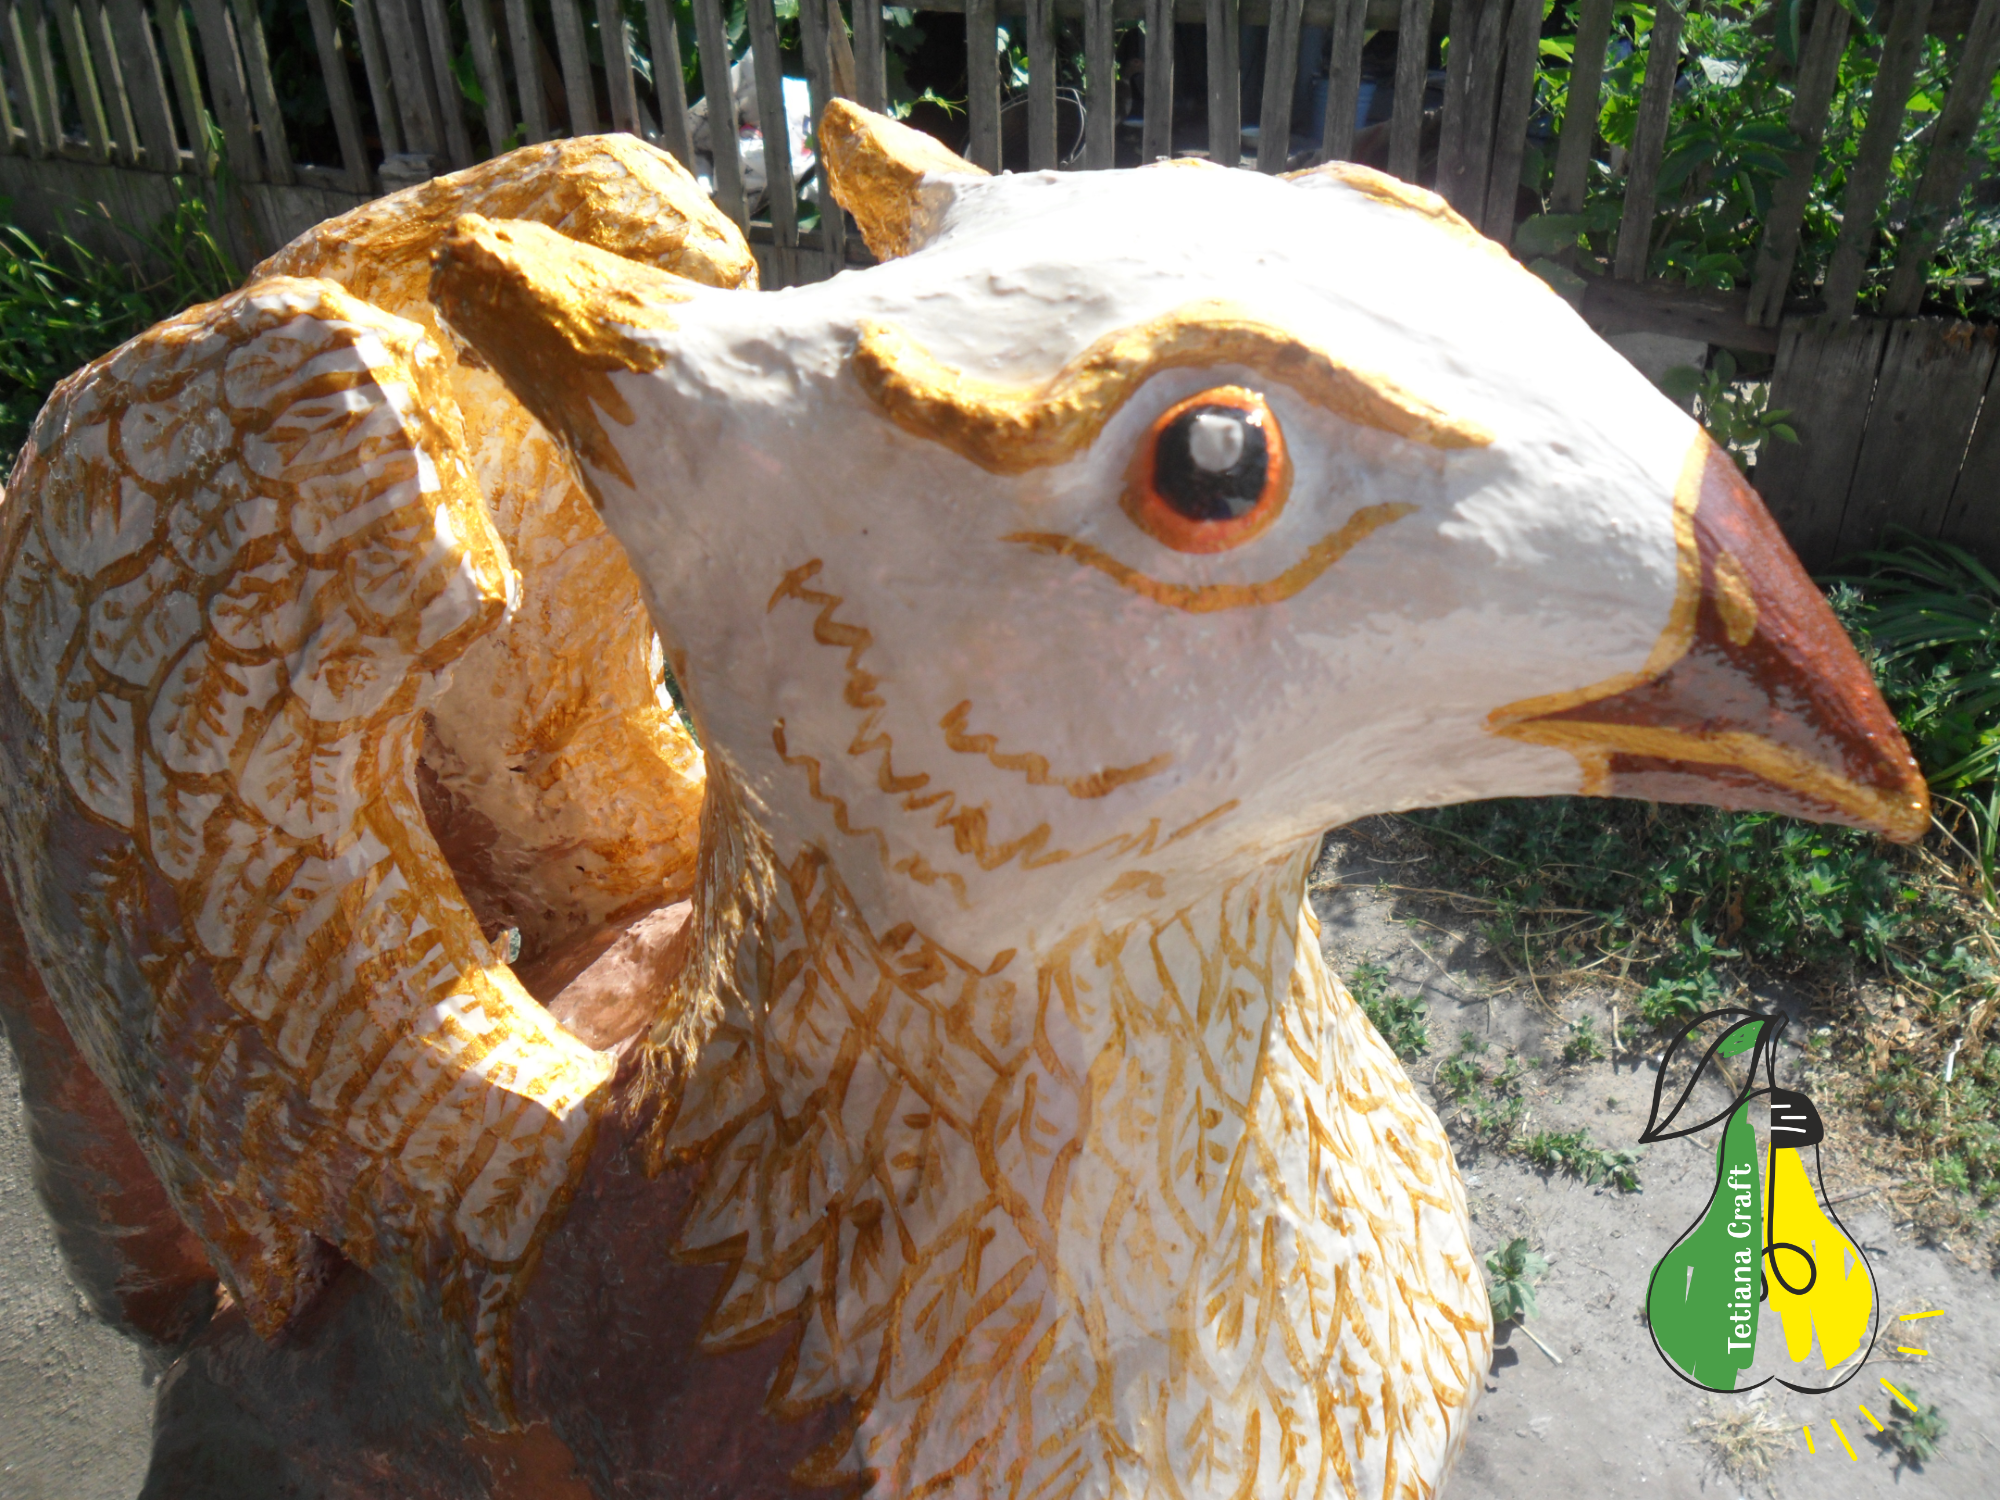
I welcome the readers of my blog. This is my first article. I made this dragon in 2015. Before that, I had only a little experience in creating papier mache pears, which we made with my father before the New Year. This little experience gave me the courage to try new things and as a result, many interesting crafts were born, which I will share on this blog.
Papier mache dragon base
My goal was to make a papier mache dragon from scrap materials, to minimize costs. Therefore, I tried to use what I had at hand. I decided to make the dragon’s body from empty plastic bottles and yogurt cups and connected all this with tape.
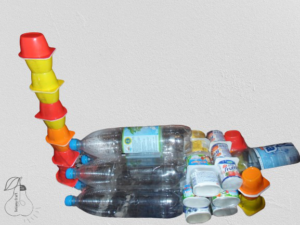
To make the body more fluid, I added crumpled magazines in the right places and secured them with masking tape.
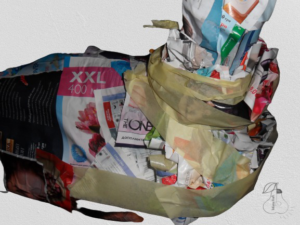
Next, I glued several layers of paper on top using magazine scraps and PVA glue.
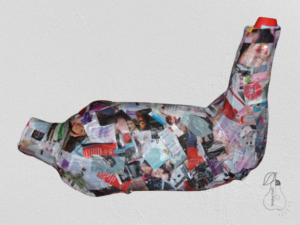
Dragon’s head
I thought for a long time about what kind of base to take for the dragon’s head. At the same time, I wanted to experiment. I decided to take a balloon, if you handle it carefully, it will be a wonderful base. A regular balloon does not need to be inflated completely, it should be elastic. The desired shape can be given using masking tape and crumpled newspaper.
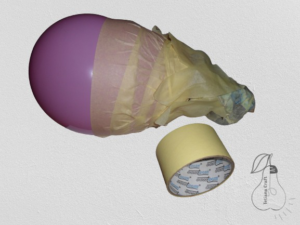
I glued the base using the same principle as the dragon’s body: PVA glue and magazine scraps.
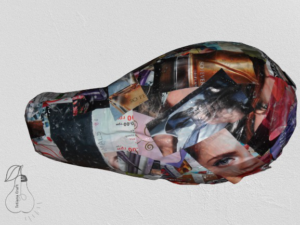
Tail and paws
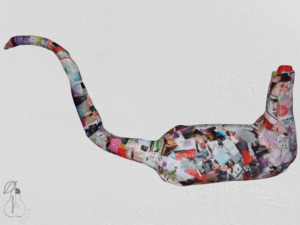
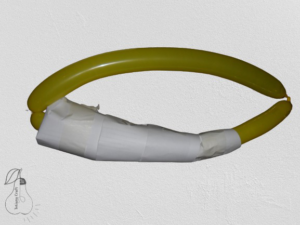
Everyone knows the long balloons that are used to make flowers, dogs and other interesting crafts. Why not use these balloons as the base for the future tail and wings? And you can give them the desired shape using masking tape. This is what the base for the dragon’s tail looked like.
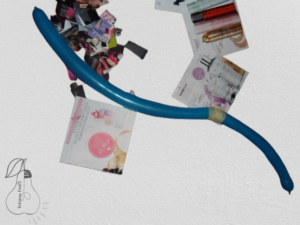
All that’s left to do is add volume using crumpled magazines and cover it all with magazine (or newspaper) strips of paper.
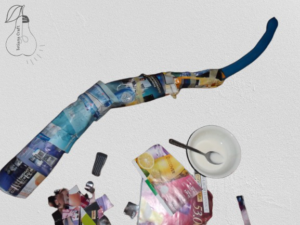
Once the tail was dry, I glued it to the dragon’s body using the same magazine scraps.
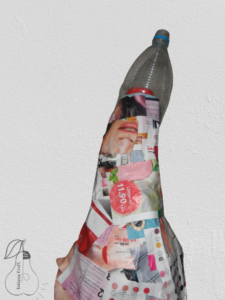
To make it easier to attach the dragon’s head to the body, I cut a plastic bottle in half and inserted it into the neck area. I placed the dragon’s head on top of this bottle. This helped me better control the angle of the head.
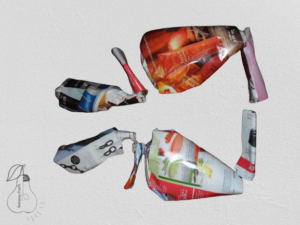
As a base for the paws, I took an old thick wire, gave it volume with crumpled paper, and pasted scraps of magazines on top.
Papier mache dragon wings
I made the wings in the same way as the tail, using a long balloon that I divided in half. The most important thing is to handle the balloon carefully so that it does not burst before the paper layer has time to dry.
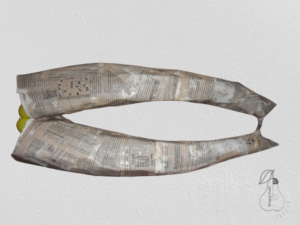
When the wings were dry, I glued them to the body, inserted a large metal wire into the other end, and filled the space between them with green fabric. On one side, I secured the fabric to the wing by making a cut with a knife, inserted the fabric there, and glued it on top with a glue gun. On the side where the wire was, I secured the fabric with threads.
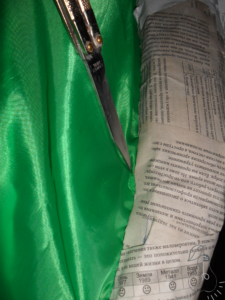
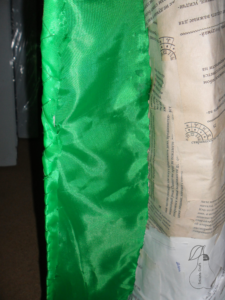
This is how the dragon looked like. When I finished making the wings, I decided to add spikes. For the small spikes, I used bamboo toothpicks, and for the large ones, bamboo skewers.
Small parts
When the base was done, it was time to work on smaller details. I decided to cover the papier mache dragon with a special mixture made of toilet paper, water, and PVA glue. This mixture is easy to make and becomes strong when dry. First, I take PVA glue and water in a 1:1 ratio, mix well, then tear toilet paper into it in small pieces. If you have an old blender, it would be good to use it. The finished mixture should be thick enough to mold small details. I covered the entire body of the dragon with this mixture. Drying time is several days. It is advisable to cover the product in parts to avoid excessive wetting and deformation of the craft.
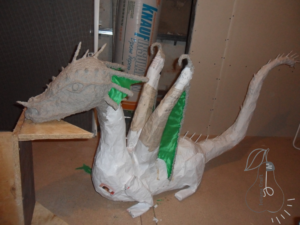
This is what the papier mache dragon looked like before painting.
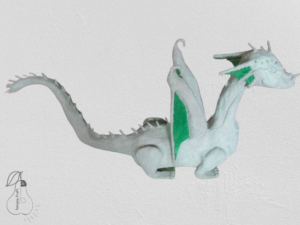
Painting a dragon
At that time, our house was being renovated, so I did not buy paint or dyes. I just took a separate container, where I mixed white water-based paint for outdoor work with green dye to the color range that I needed. But I bought gold-colored acrylic paint. These were inexpensive and very high-quality acrylic paints of various gold shades from a Ukrainian manufacturer, which I will always miss.
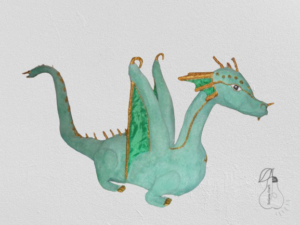
To make the craft stand out, I added darker colors and more gold paint. When the paint dried, I covered the craft with 3 layers of marine varnish. Each new layer was applied after the previous layer of varnish had completely dried.
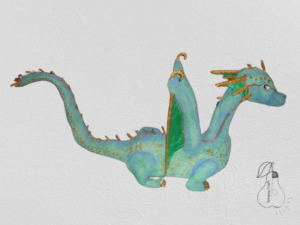
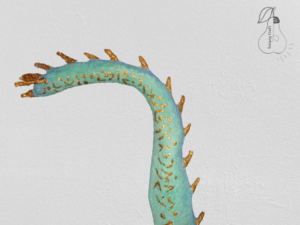
This is what the dragon’s tail looked like up close.
Installing a papier mache dragon
The dragon was 165 cm long and weighed about 5 kilograms, which was an acceptable load for a slate roof. Since our roof was made of slate, we used special slate nails to nail the dragon to the roof. We needed 4 nails, one for each paw. The fastening turned out to be reliable, the wind did not move the craft from its place.
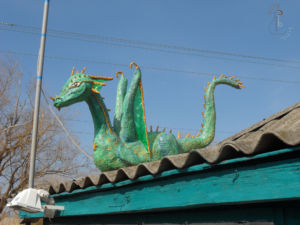
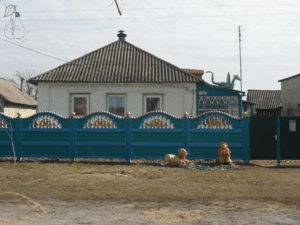
This is what the dragon looked like from afar. Many people stopped and looked at it. The houses in the region where we used to live had a roof shape convenient enough to install such a craft on it. I had many ideas for the future, unfortunately, not all of them were destined to come true.
