The Dragon Was Damaged
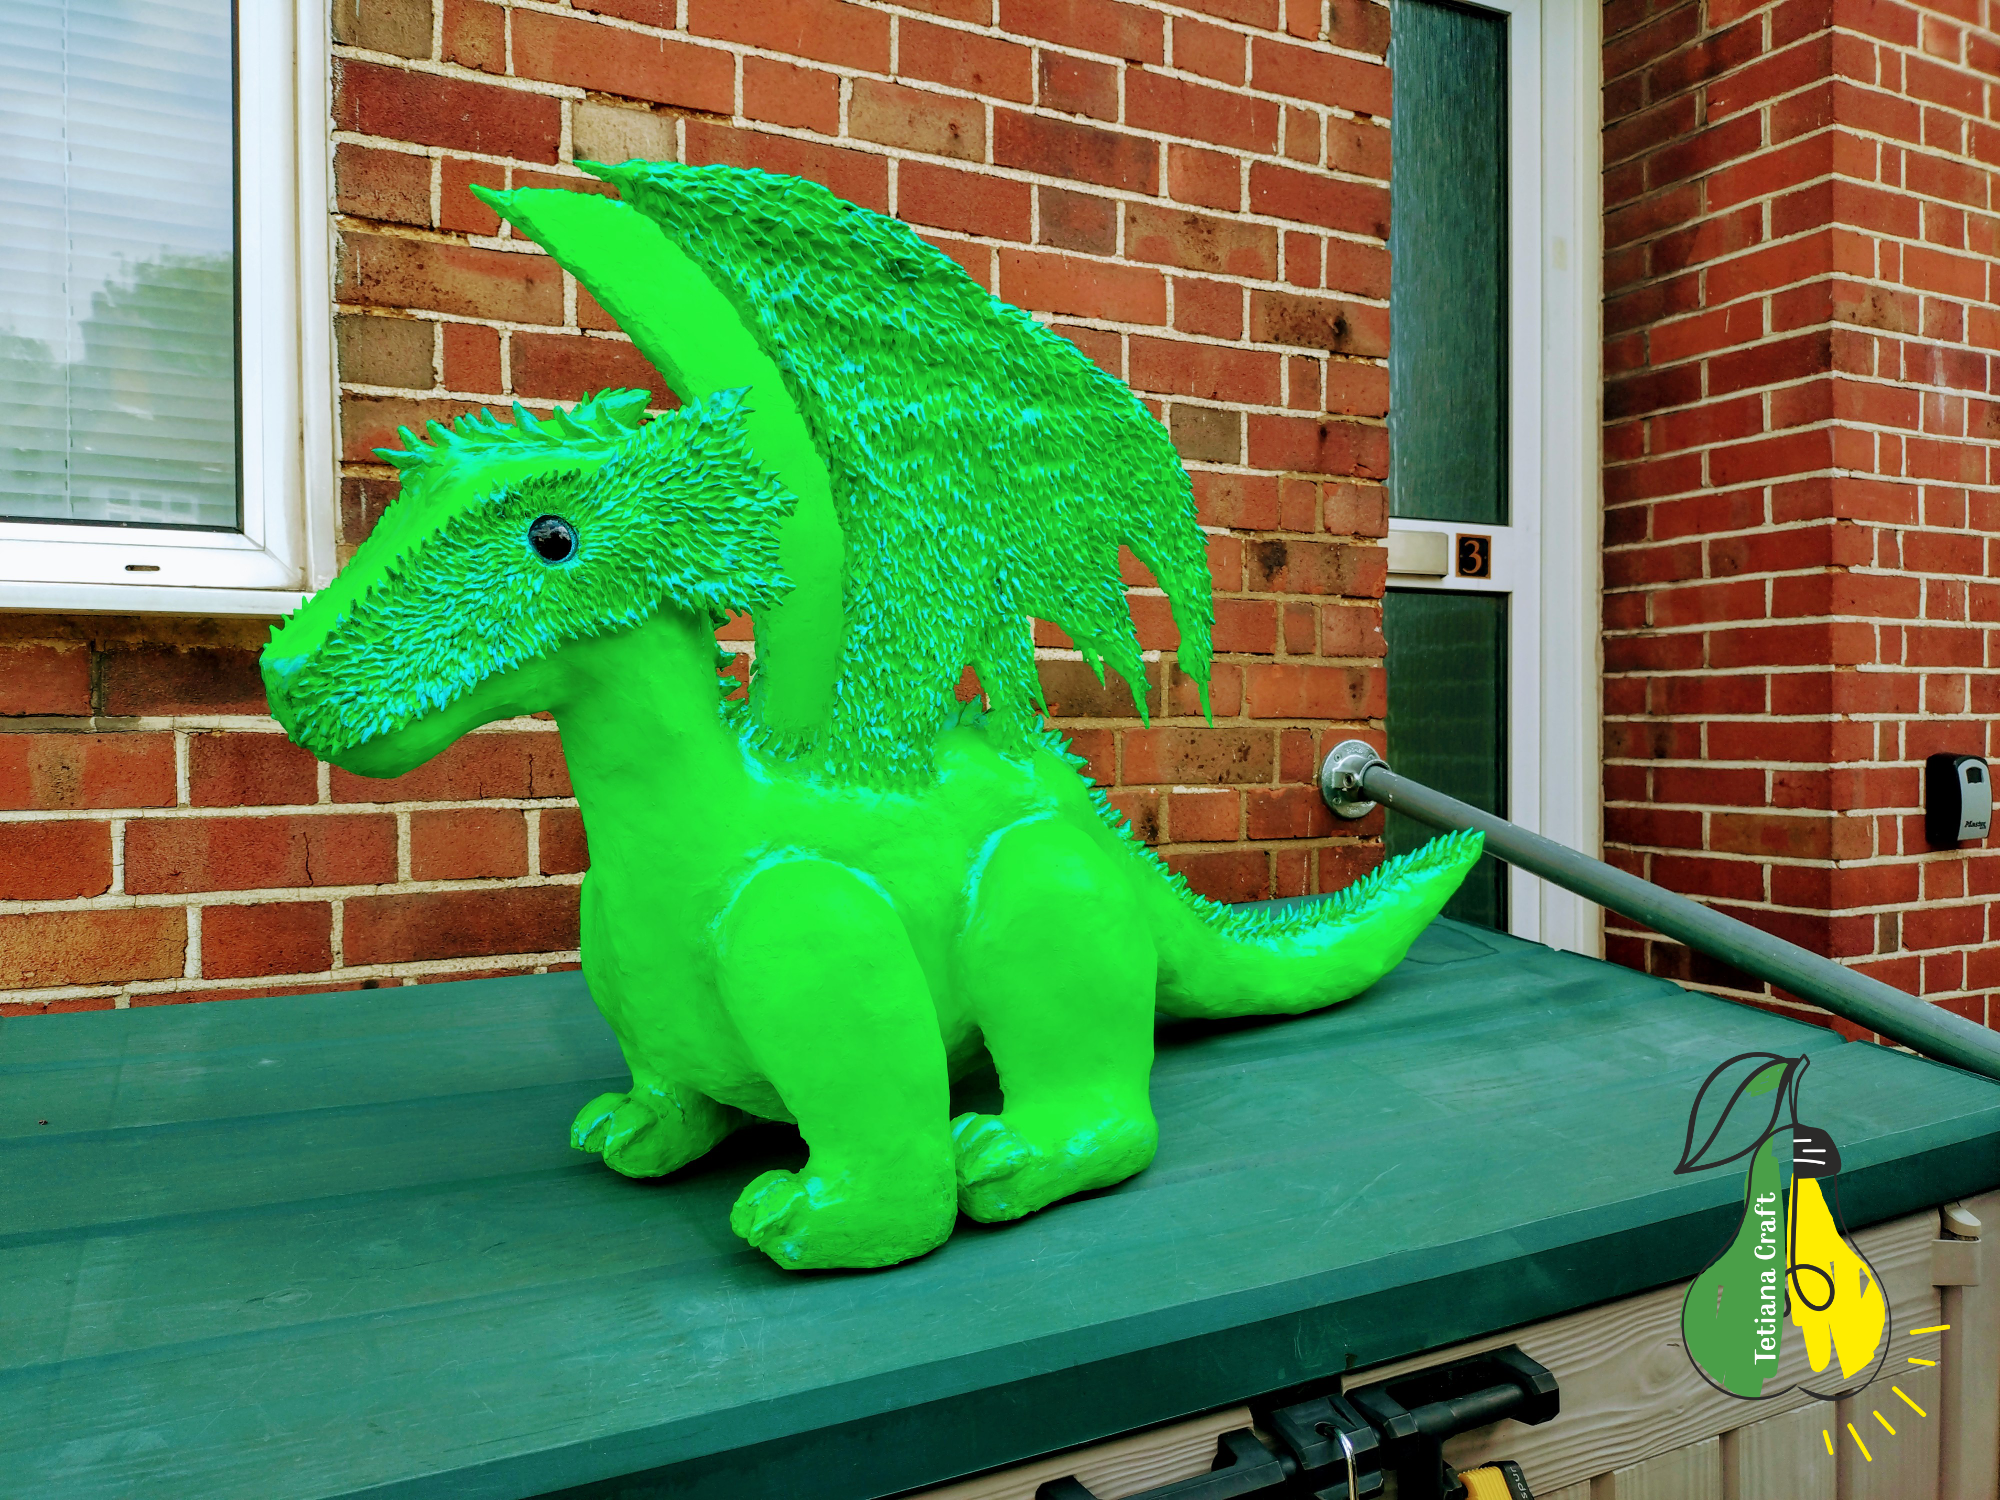
Contrary to my expectations, the dragon stood outside for much less time than I expected. But it was an interesting experience. If you haven’t read the previous article about how I made the dragon, then click here.
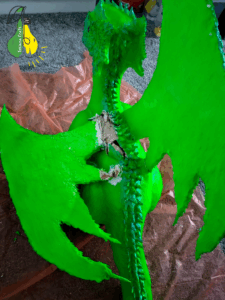
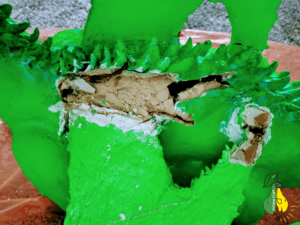
There were heavy rains, although the sculpture was protected from the winds, the dragon’s wing broke. This part was reinforced with gauze and bamboo sticks. Perhaps someone broke it, since the dragon was outside. I noticed the breakage the next day, and the whole night before that there was a heavy rain. My sculpture was completely wet inside. This is what it looked like. You can see the photo below.
It Would Be a Complicated Restoration
Since the dragon sculpture was made of different materials, it made restoration very difficult. In addition, it would require a very long drying from the inside. I would have spent a lot of effort, but the sculpture could only stand outside for a short period of time after restoration. My husband suggested leaving the dragon at home, but the problem is that we are renting an apartment and there is little space here where we could put such a large sculpture.
I Decided to Keep the Dragon’s Head
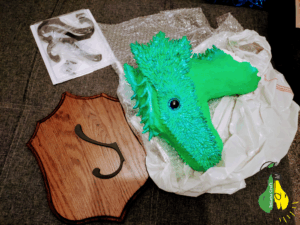
I had to destroy my creation and realized that the dragon’s head was in excellent condition. It was decided to keep it. At that moment, I had no idea what to do with it. So I wrapped the head in a bag and put it in the closet. So the dragon’s head lay in the closet for about half a year, until I accidentally found a use for it.
Creative Solution
Closer to the new year, I had the opportunity to volunteer in the school library. My duties were simple, maintain order, monitor books, work a little on the computer. But unexpectedly, I had the opportunity to take part in a creative project. The library had 2 large information boards that had not been updated for a long time. And then I came up with the idea to make a board about dragons. My idea was supported and I began to think about how to securely attach the dragon’s head to the board so that I could take it to school.
Preparations Were Difficult
The preparation was difficult due to the lack of experience. I had never worked with trophy boards and was worried that it might not be suitable for the dragon’s head. After some searching, I finally saw suitable examples for sale. There was a large variety of shapes and colors. I was not sure that I would be able to find a good shape. Also, the hooks that were used were short. I shared my problem with another volunteer, both of us helping in the library. She suggested trying a regular hook that is used to hang clothes. And it worked great. I was able to buy a good, sturdy hook. In the photo below, you can see the preparation for work.
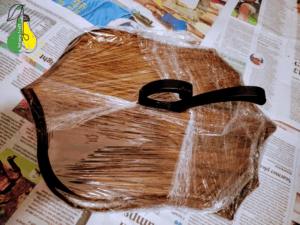
Preparing the Trophy Board
This stage was the easiest. I measured the hook and the distance at which the head would look nice. I made marks, and my husband screwed the hook to the board with screws. Then I used regular food wrap. I wrapped the board with this film so that it wouldn’t get dirty.
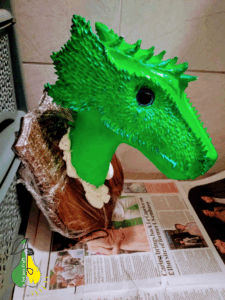
Fixing the Dragon’s Head to the Board
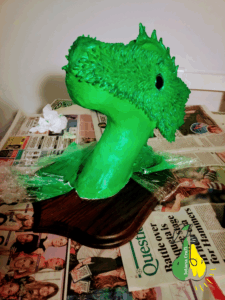
Before fixing the dragon’s head to the board, I checked again whether everything was OK. When I was satisfied with the result, my husband used mounting foam. This method had many advantages in our case. The dragon’s head was hollow, since I removed all the excess cardboard from there. The foam filled all the voids perfectly. Mounting foam is lightweight, does not rot, has no unpleasant odor, has good adhesive properties, is inexpensive, fills all the voids and holds its shape after drying. I prepared a place in the bathroom, put newspapers on the floor and left the dragon’s head like this for a day.
Next Stage
The next step was to carefully remove the dried foam using a utility knife. Then I used ready-made wall crack putty to smooth out the joint between the dragon’s neck and the trophy board.
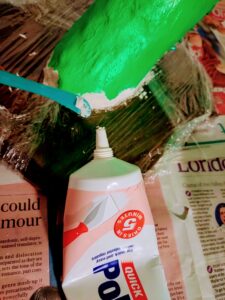
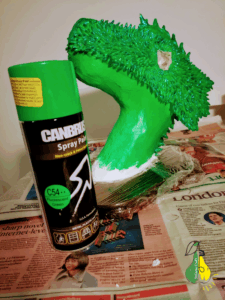
Painting the Dragon Head
Since the main color was applied with spray paint, I decided to continue using it. I first taped the dragon’s eyes and checked the integrity of the cling film. When the paint was completely dry, I removed the film.
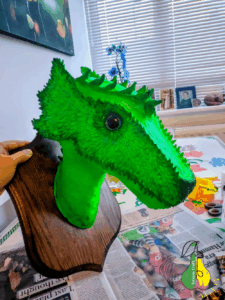
The Final Result
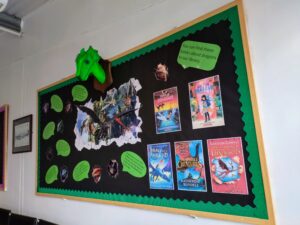
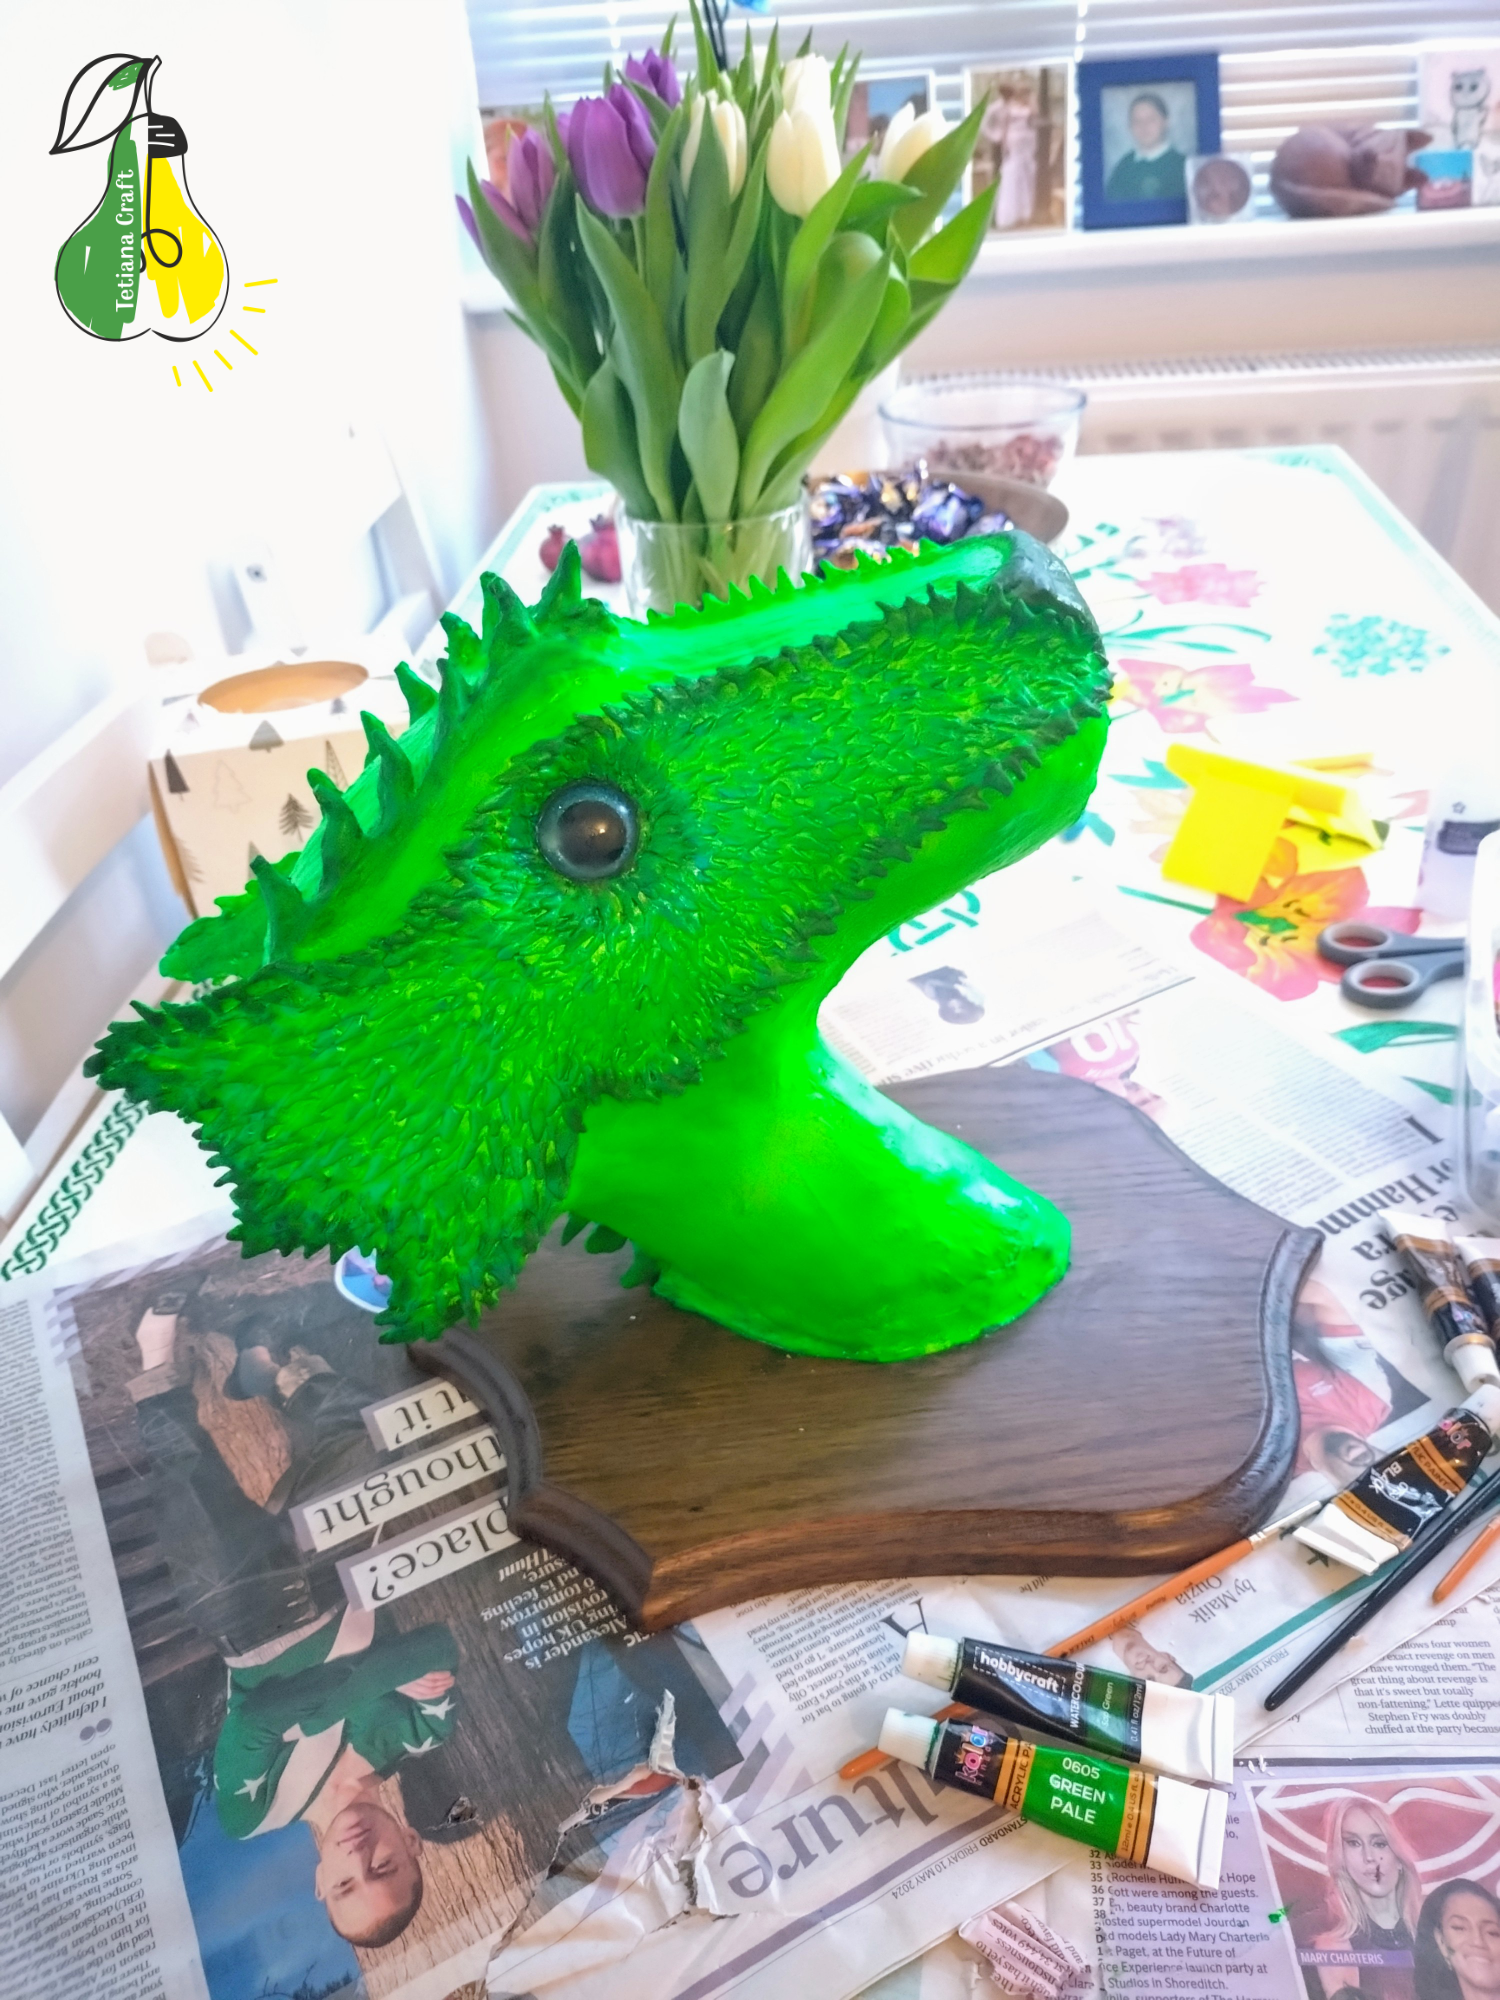
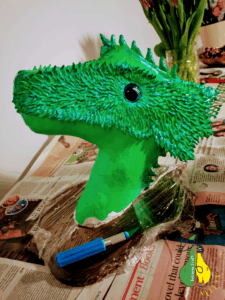
The final result is as you can see in the photo below. I decided to add more dark colors using acrylic paints. I did not cover it with a protective varnish, since the dragon’s head will be inside the building. Acrylic paints have a fairly durable coating.

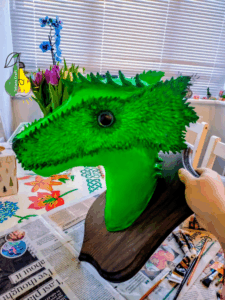
This is what the dragon board looks like at school. I placed the dragon’s head in the center, and students can also read interesting facts about dragons and take one of the interesting books on the topic to read.