Introduction: From Mold to Masterpiece
Hello everyone! Today, I am writing the third article dedicated to how to make a chocolate acorn.
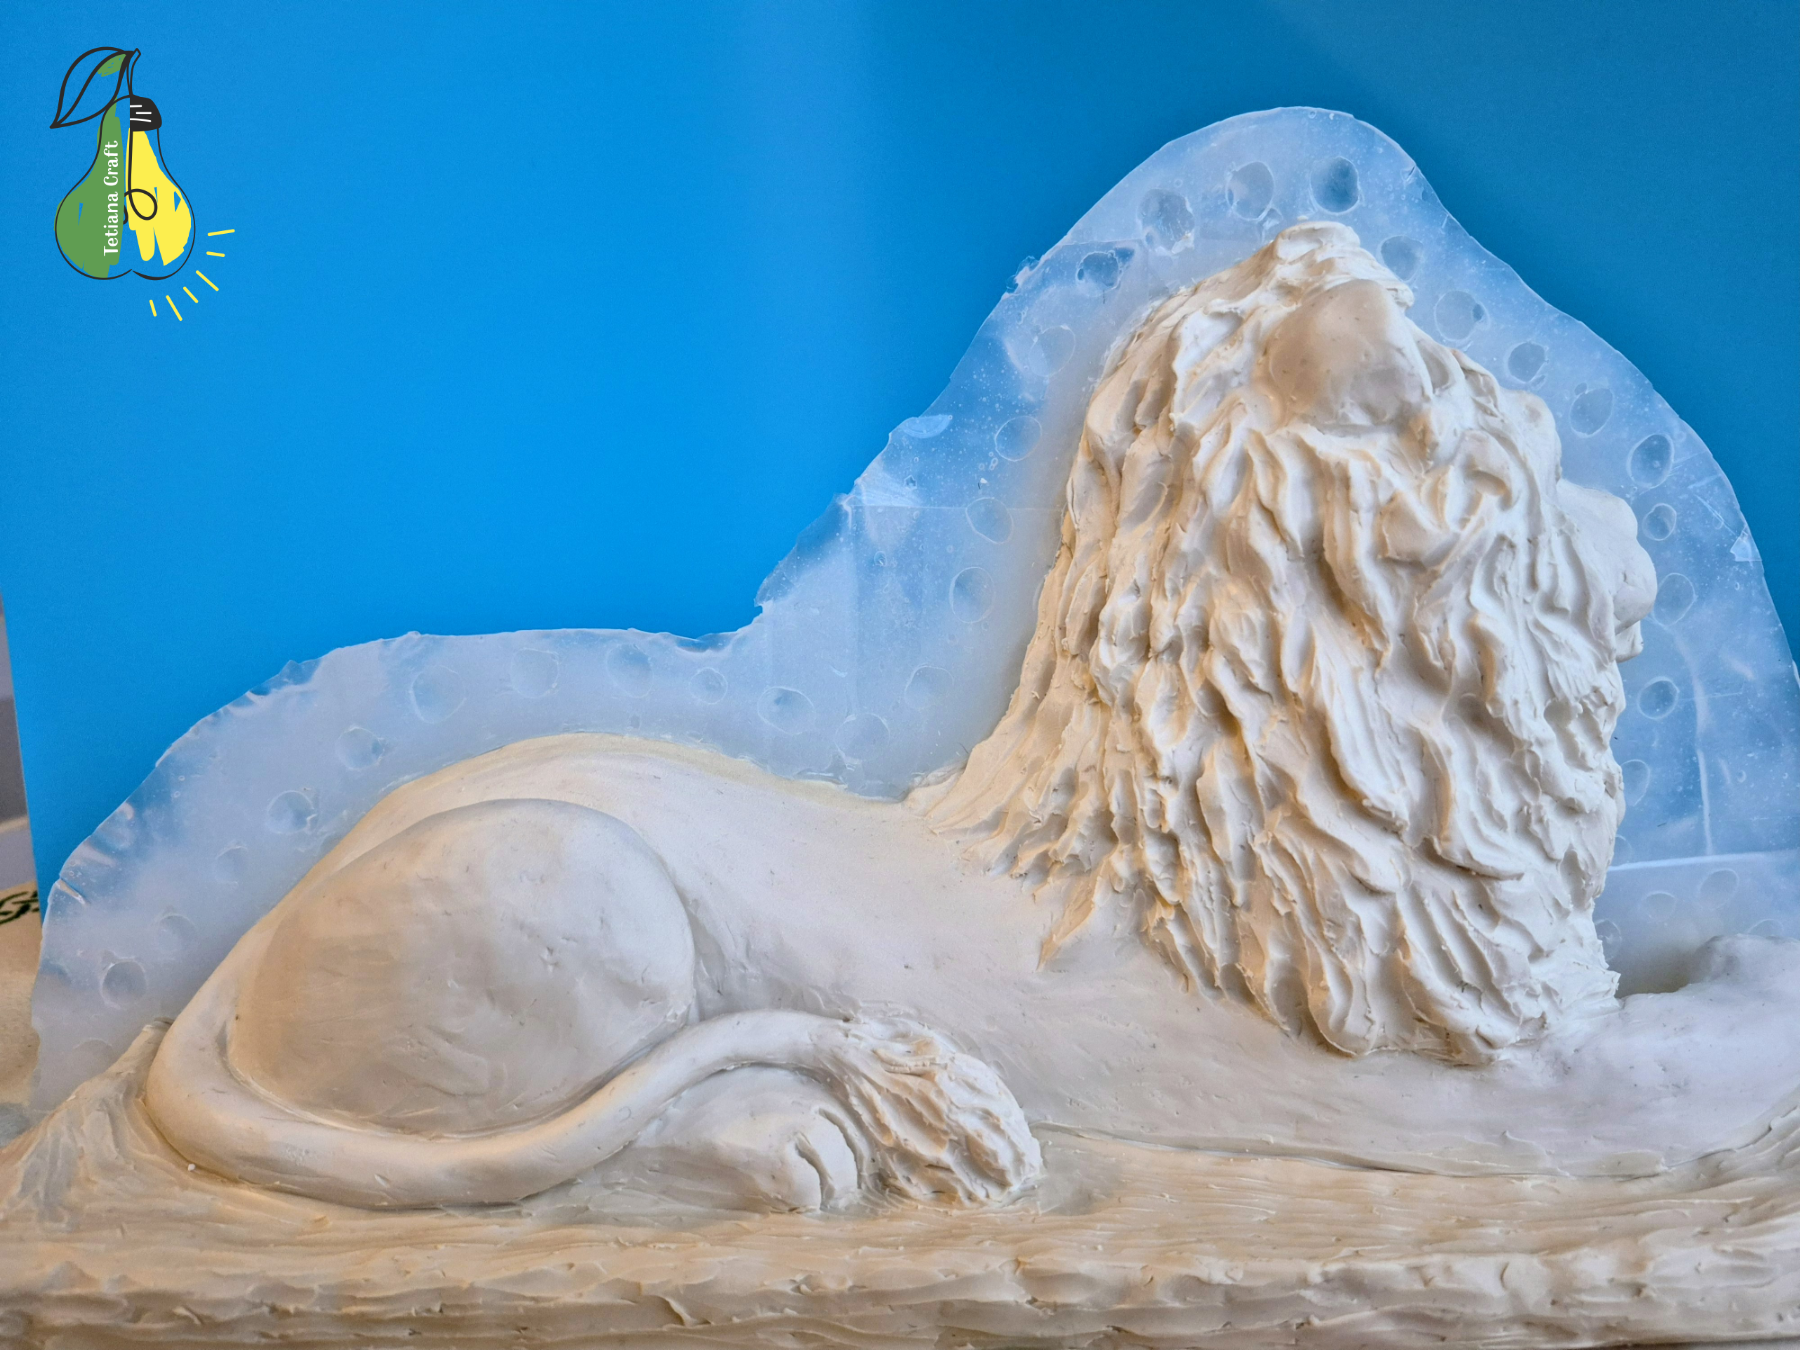
If you haven’t seen my article on how to sculpt an acorn model using sculpting plasticine, you can click here. The second article covered how to use that sculpted model to create a silicone mold, which you can find by clicking here.
Now, I will continue with the final part of the series: how to get your finished chocolate product.
Chocolate Preparation
A crucial part of working with chocolate is selecting the right type. I don’t have extensive experience yet, and when I first started, I bought chocolate callets, but I was not satisfied with the quality. Adding pure cocoa butter helped the consistency somewhat, but the final result was still far from what I desired.
While I plan to seek out professional-grade callets chocolate in the future, for this project, I decided to use a simple, reliable method.
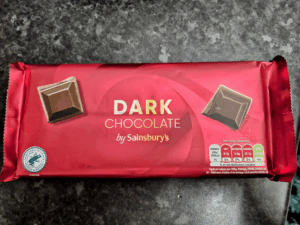
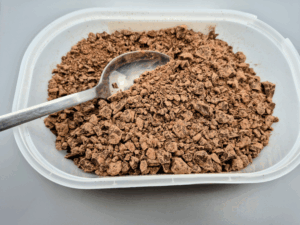
I simply bought a bar of dark chocolate from the supermarket and crushed it into fine crumbs using a blender. I found the dark chocolate bar from Sainsbury’s to be a great choice. It is inexpensive, tempers well, and comes in a convenient 200g size.
The Essential Process of Tempering
Chocolate tempering is a mandatory process. I spent many evenings testing various methods before settling on the simplest and most effective one: the “seeding method.”
For this method, you absolutely must have a laser thermometer. This is a highly justifiable purchase if you plan to work with chocolate regularly.
I used a small, specialized chocolate melting machine with two heat settings for the process. This model does an excellent job if you need small amounts of melted chocolate. I bought this device for £22. It takes up little space in my kitchen cupboard and has three working pots, which is convenient if you’re working with different types of chocolate at the same time.

The Seeding Method: A Detailed Step-by-Step Guide
The “seeding method” is the simplest and most effective way to achieve perfectly tempered chocolate, resulting in a shiny, snappy, and stable finished product that resists blooming (the gray streaking).
What You Need:
- A quantity of chocolate (callets or finely chopped bar).
- An additional 20-25% of the original chocolate quantity, finely chopped (this is the “seed”).
- A laser thermometer (essential for accuracy).
- A double boiler (bain-marie) or a specialized chocolate melter.
Step 1: Initial Melting (The “Working” Temperature)
- Place 75-80% of your total chocolate (the portion that is not the seed) into your melting device (melter or double boiler).
- Slowly heat the chocolate, stirring constantly, until it reaches the highest target temperature:
- Dark: 50 – 55°С (max)
- Milk: 45 – 50°С
- White: 40 – 45°С
- At this temperature, all unstable cocoa butter crystals have melted, and the chocolate is completely fluid.
Step 2: The “Seed” Addition (Crystallization)
- Remove the chocolate from the heat source.
- Immediately add the reserved 20-25% finely chopped, solid chocolate (the “seed”).
- Stir vigorously and continuously. The cool, stable crystals in the “seed” will start to melt, cool the larger batch, and “seed” it with the desirable, stable crystal structure.
- Continue stirring until all the seed chocolate has melted and the temperature drops rapidly to the Seeding Temperature:
- Dark: 27°С
- Milk: 26°С
- White: 25°С
Step 3: Final Working Temperature
- Once the target seeding temperature is reached, gently re-introduce the chocolate to a very low, gentle heat (or use the lower setting on your melter) for a very short time.
- Stir continuously until the chocolate reaches its final Working Temperature.
- Dark: 31 – 32°С
- Milk: 29 – 30°С
- White: 28 – 29°С
- The chocolate is now perfectly tempered and ready to use! It should flow smoothly and leave a thin, even coat when tested.
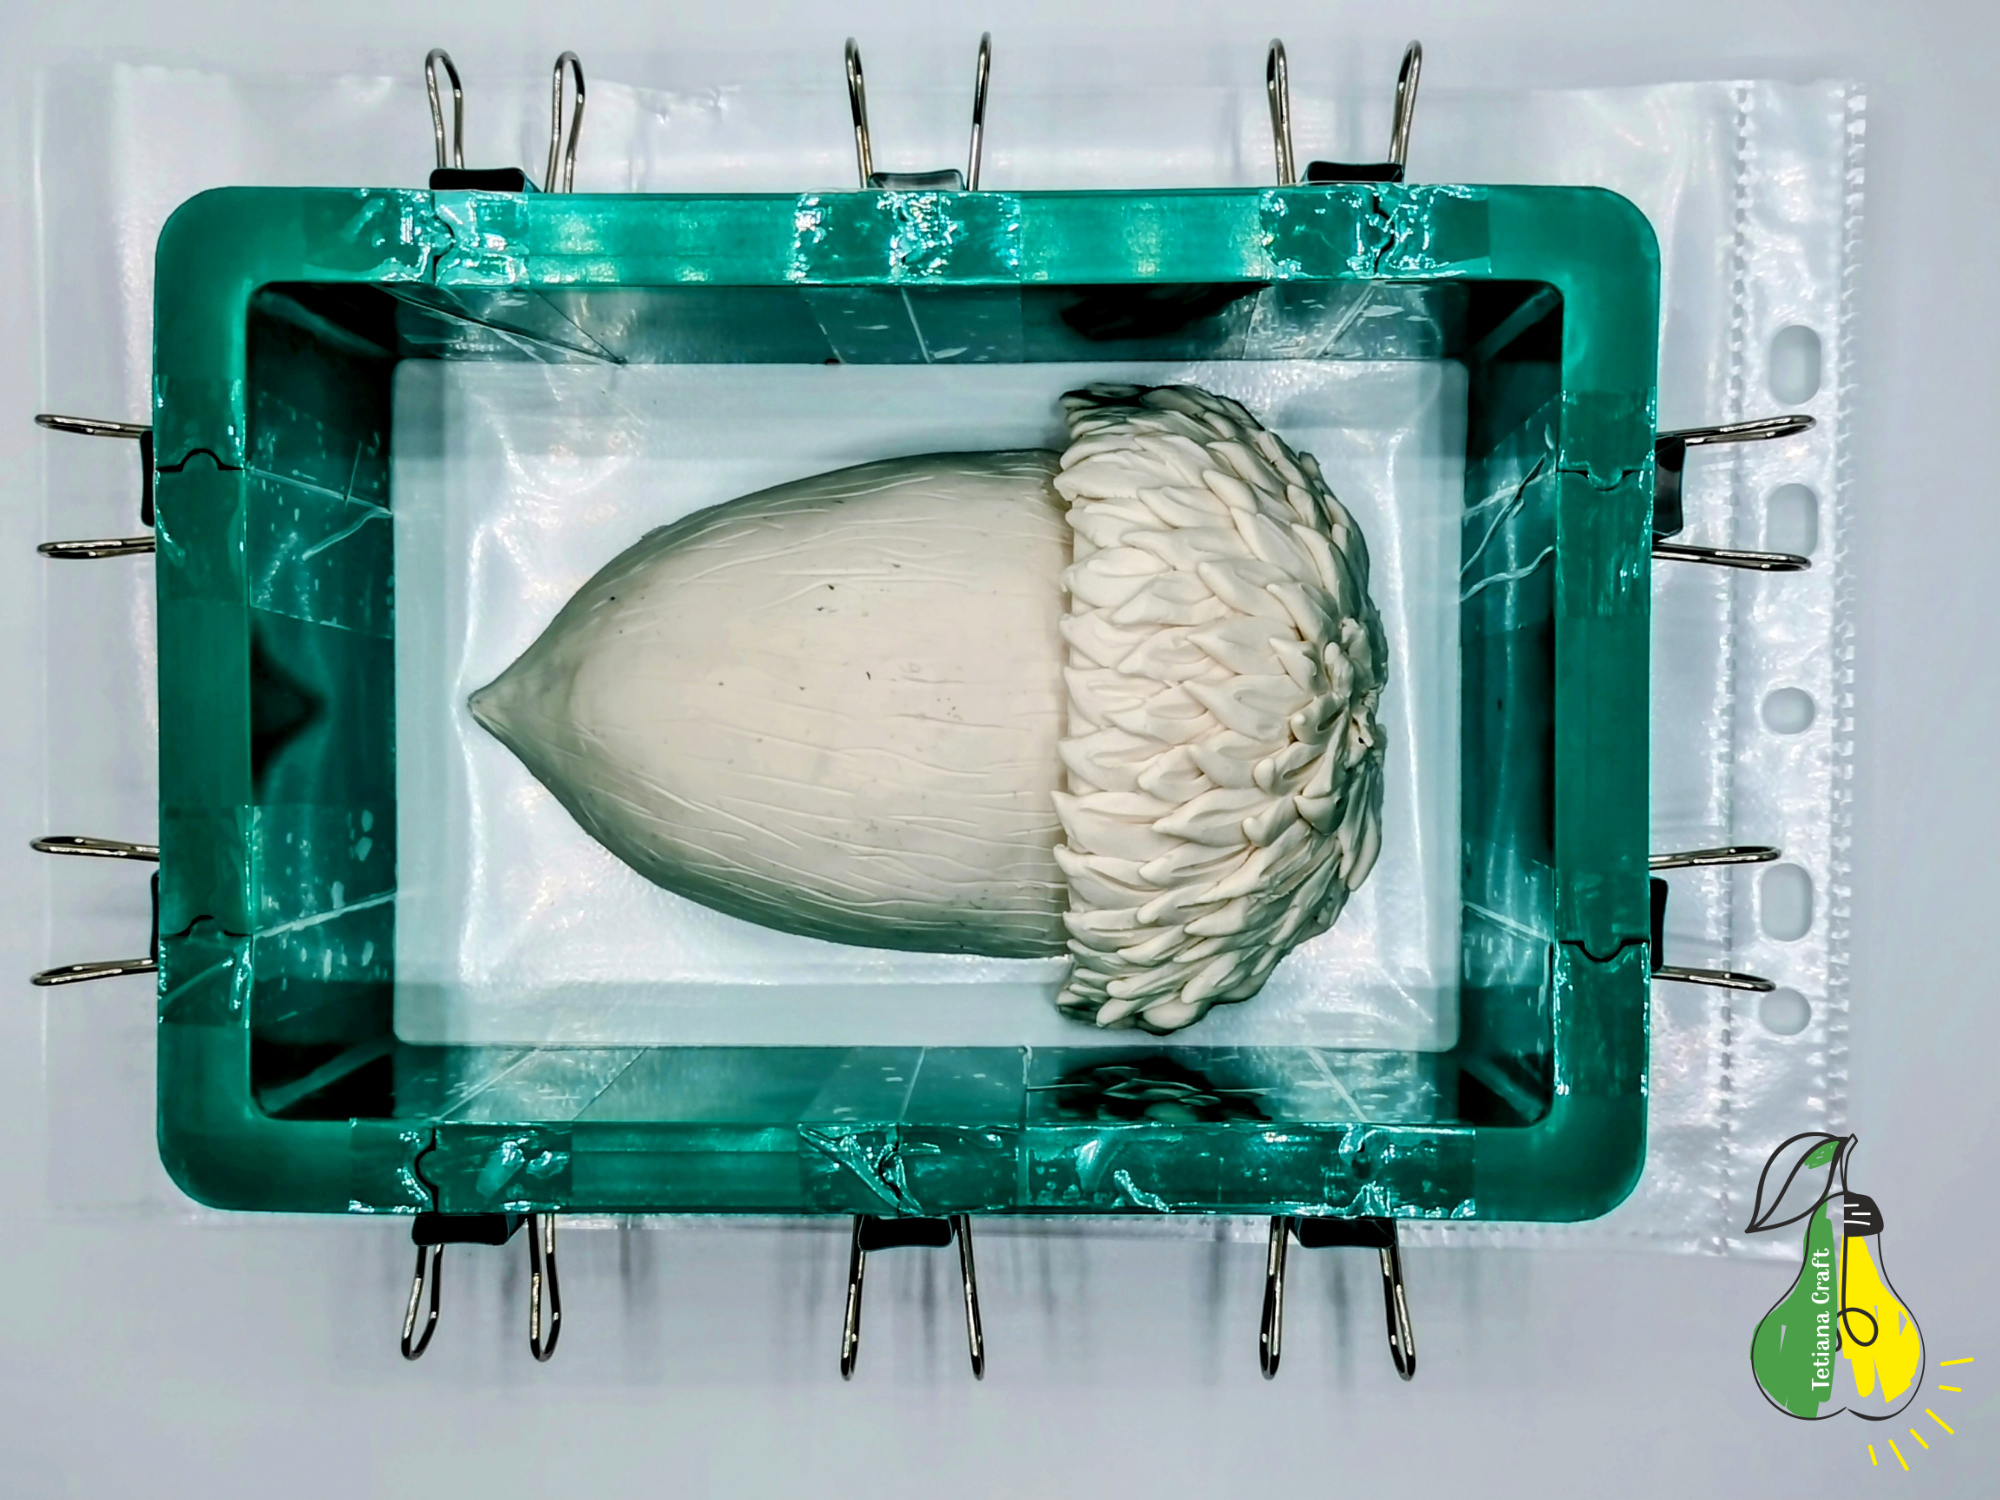
Working with the Mold and Casting the Acorn
Pouring the Chocolate
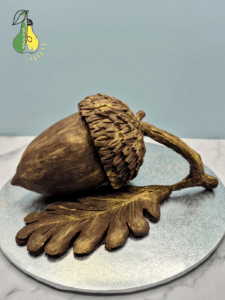
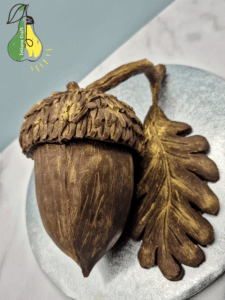
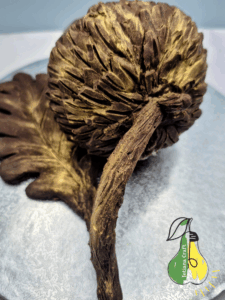
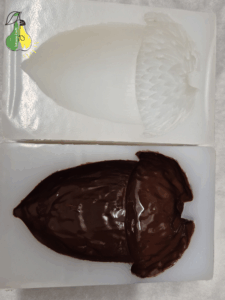
Once the chocolate was perfectly tempered, I poured it into my four silicone molds: a small branch (twig), a leaf, and the two acorn halves.
Properly tempered chocolate will begin to set (harden) even at room temperature. However, to significantly speed up the process, you can place the molds in the refrigerator.
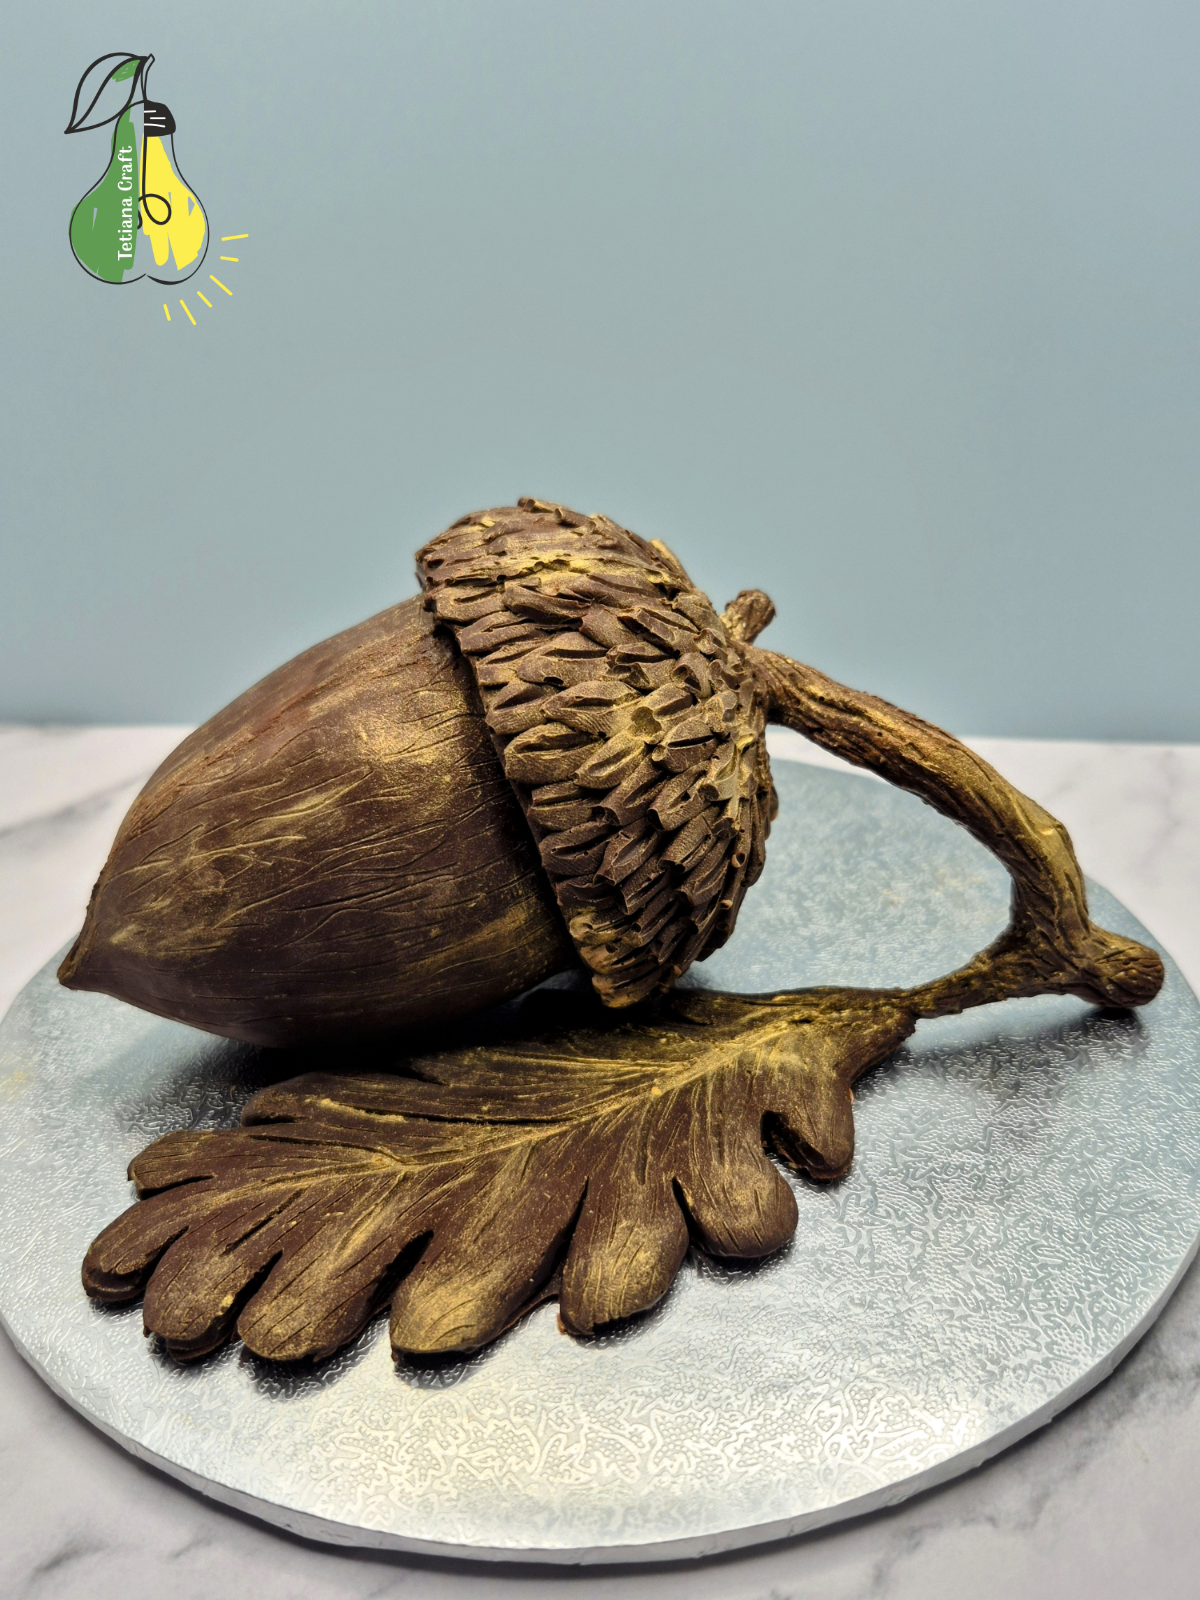
Assembling the Acorn
Once the acorn halves were set, I carefully removed them from the mold.
I discovered an interesting way to glue the halves together and eliminate any potential uneven edges: lightly press the two halves onto a clean, hot pan (or skillet) for a few seconds, and then quickly stick them together.
After I used a small amount of melted, tempered chocolate to attach the leaf and the twig. I applied a minimal amount with a clean brush to camouflage the seams, ensuring the entire piece looked seamless.
Adding the Golden Finish
When the chocolate acorn was fully assembled, I applied edible gold dust (Kandurin) using a clean, dry brush to give it a beautiful, elegant finish.
Storage
If made without any filling, perfectly tempered chocolate can be stored for several months (typically 6 to 12 months) in a cool, dry place away from direct sunlight and strong odors. However, if you decide to add a filling (ganache, nuts, caramel, etc.), the shelf life will significantly decrease depending on the ingredients used in the filling.
Gallery and Conclusion
I have included several photos below to showcase the final result of the chocolate acorn and its decorative elements.
I truly hope you enjoyed this article and found the instructions for working with chocolate and using your handmade mold helpful.
Thank you for following along with this creative journey!