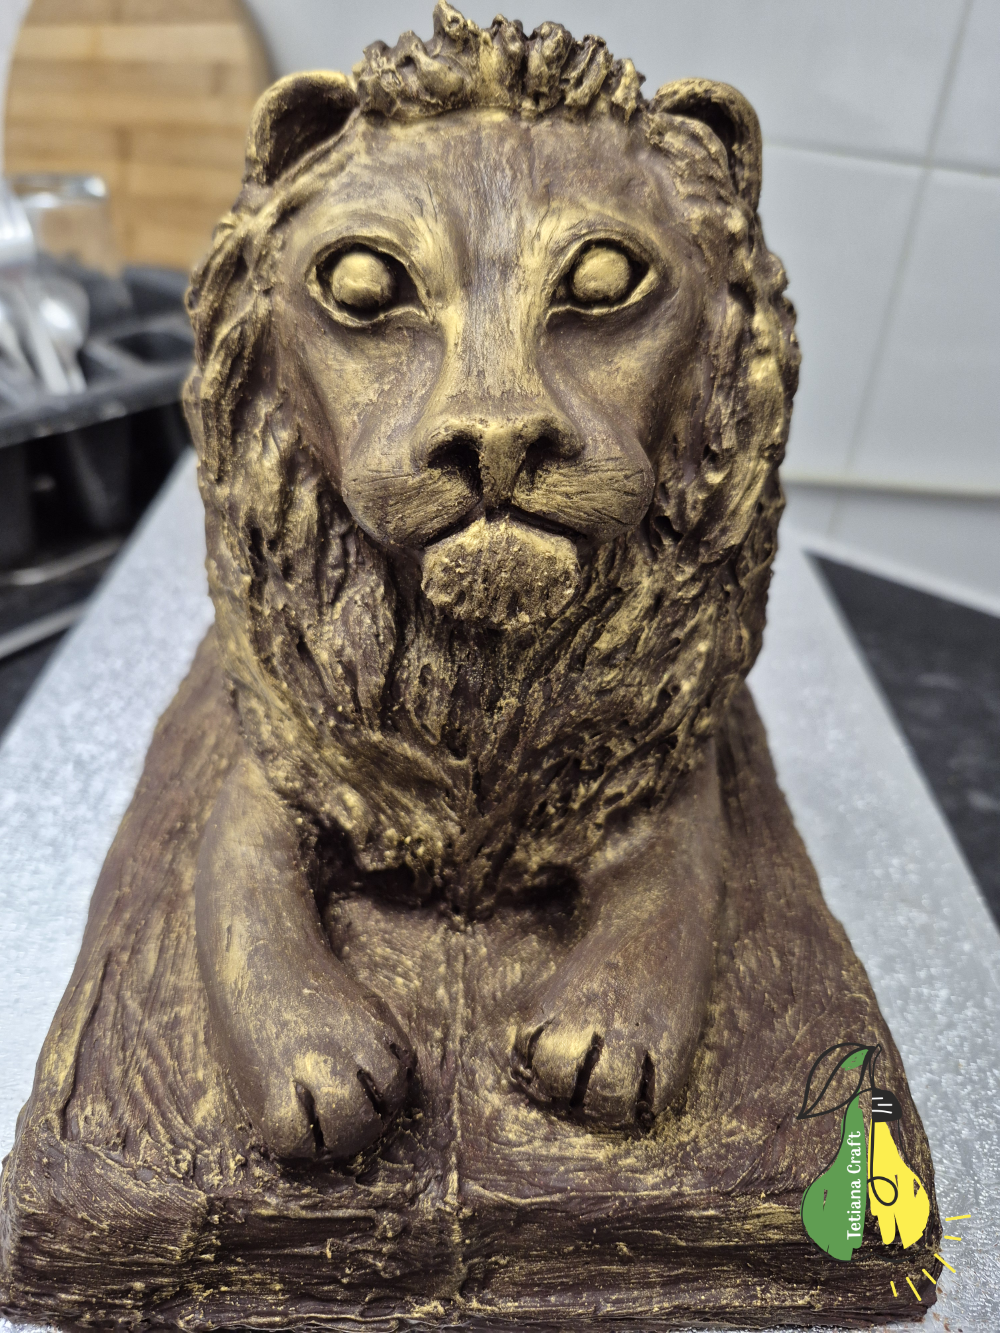
How Did This Idea Come About?
I used to dream of making garden sculptures professionally and even managed to make a few in Ukraine. I have many very interesting and bold ideas that I might be able to implement in the future. So I decided that if I can’t currently create large garden sculptures, I’ll make small ones out of what I have on hand. I can’t yet dream of sand, cement, a concrete mixer, and a large workshop with a good welding machine. But making small chocolate figurines is definitely within my capabilities. It’s a hobby that doesn’t require a lot of money, and my kitchen can easily accommodate this need.
Why an Acorn?
I like acorns and liked collecting them as a child. In the fall, we often brought crafts to school. Many of us, including myself, loved making acorn crafts. So I decided to make a beautiful acorn-shaped cake. This was my first attempt, my experiment. I decided to make the acorn small to avoid wasting too much time and effort if it failed. It was this first experience that made me realize this was a worthy endeavor. I was pleased to hold the finished chocolate acorn and see my efforts paying off. I succeeded. Below, I’ll share more details about how I implemented this idea.
Brief Description of the Process
The production of a uniquely shaped chocolate acorn consists of three main stages. I’ll write a separate article for each stage, as the processes involved are quite different. First, a prototype is made from sculpture plasticine, then a silicone mold is created from this prototype. Only then can the silicone mold be used to create chocolate replicas.
Getting Started
I started working on the acorn at a time of year when there were no more acorns on the oak trees. My husband and I found a few in the fallen leaves. I also found a few pictures online and, using those as reference, began creating the acorn out of plasticine. This is what the beginning of the acorn looked like.
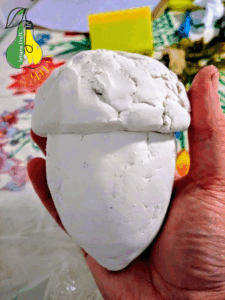
As I worked, I discovered that the sculpture plasticine was quite hard. I had a beautiful, pumpkin-shaped ceramic container, and I poured hot water into it. Then, I placed an upside-down lid on top and put a small piece of plasticine on the lid. The heat softened the plasticine.
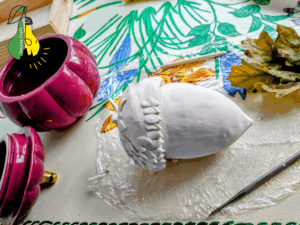
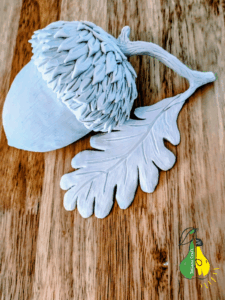
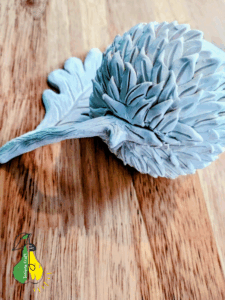
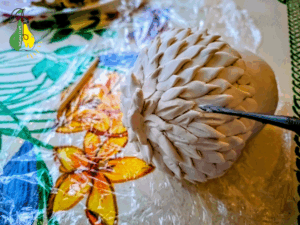
The acorn’s cap was simple to create. I formed it from small pieces of plasticine and used a special tool to make small lines.
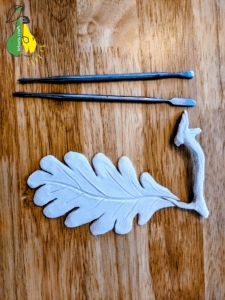
Once I had finished the acorn made, I started sculpting the twig and leaf. The photo below also shows the tool I used. This is a special tool used when working with clay, but it’s also great for working with plasticine.
The Final Result
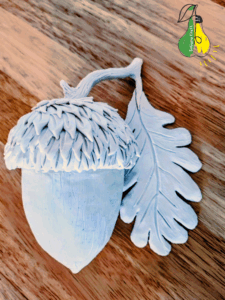
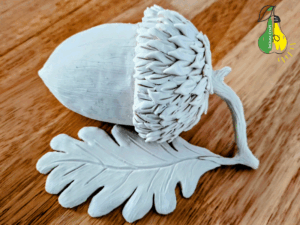
Here’s what the final result looked like. The plasticine acorn consists of three parts: the acorn itself, a twig, and a leaf. All the parts are connected by small protruding parts and indentations on the other side.