There Were Some Difficulties
Why not make an art space with a giraffe? I thought about it when I moved to London. I was very happy to rent a separate room, but it really needed some renovation. The budget was also limited.
First, I asked the landlord for permission to renovate. He said that he was positive about it, but asked not to throw away old things. If I don’t need them, then I should put them in the storage room under the stairs. True, I didn’t tell him anything about the giraffe either. There was consent for the renovation, but no wishes or restrictions were received. In general, I took a big risk with my art space, but after all the trials that I had to endure. I really needed to do something creative.
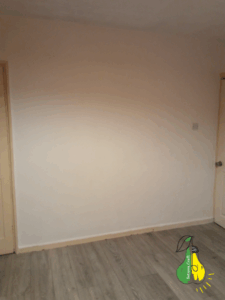
I Chose an Empty Wall for the Giraffe Art Space
This is what the empty wall looked like.
For some reason, this time I didn’t think long about what to draw. Although I can’t remember ever drawing giraffes. I had a difficult task, I wanted to make a three-dimensional drawing, but at the same time I had a very small budget for repairs and could only afford a few bags of dry putty. On the other hand, a small layer of putty does not require screwing screws into the wall. And accordingly, if the landlord asked me to return the room to its original appearance, it would be easier for me to remove a small layer of plaster from the wall.
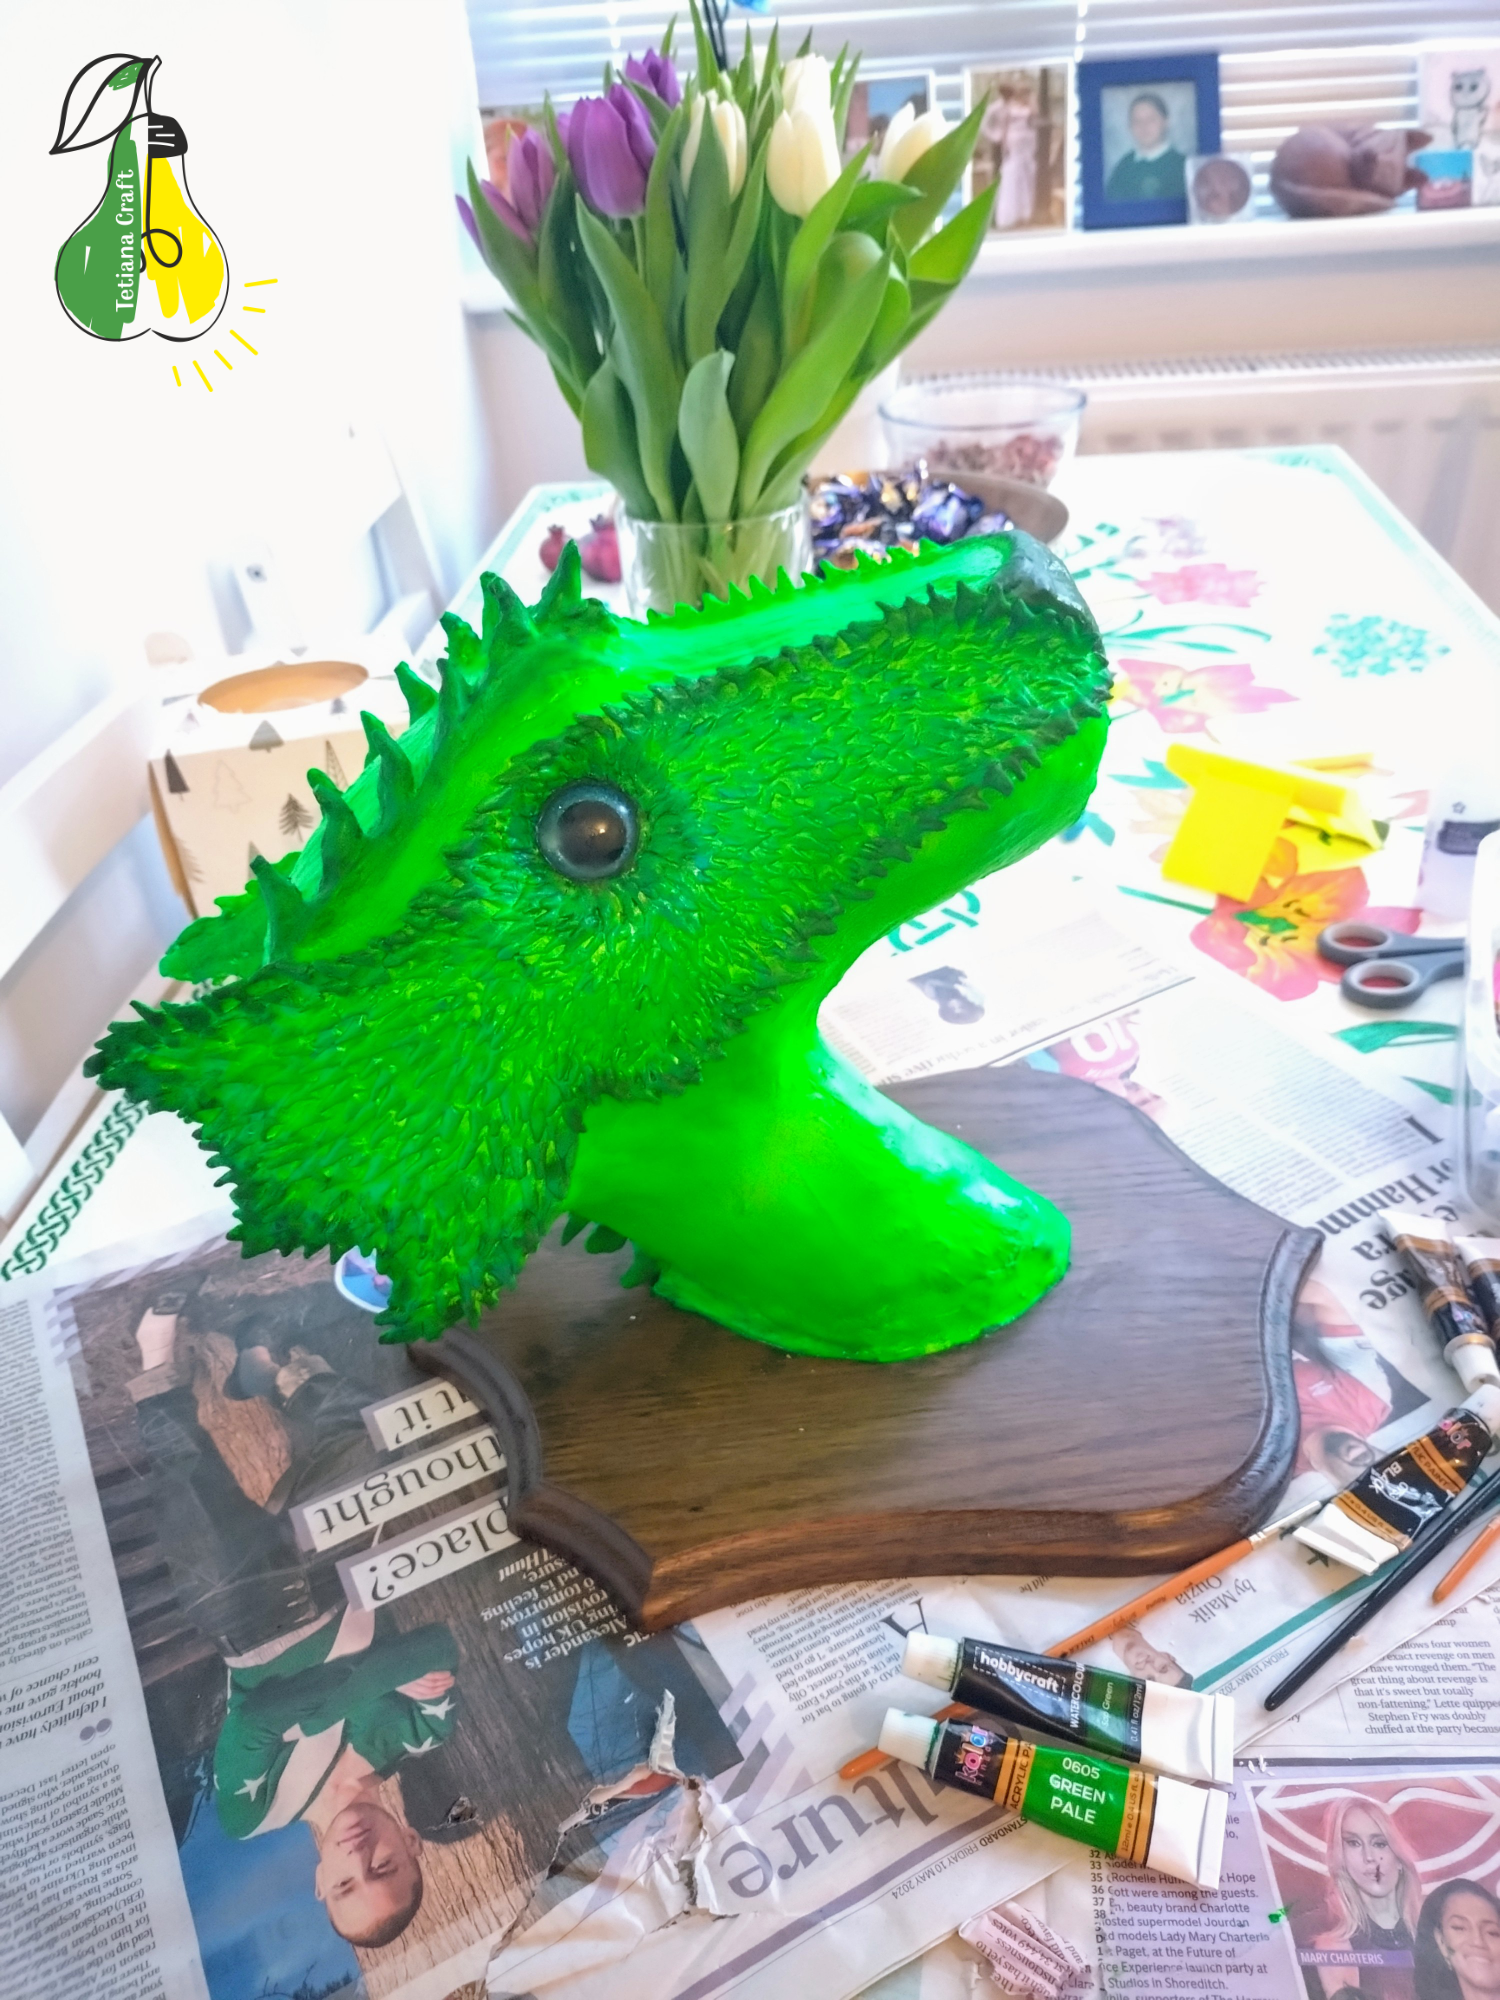
The Tools for Creating Art Space Were Simple
My tools were a plastic container, sticks for working with clay and plasticine, a spatula, a plastic bottle of water, a regular spoon, with which I mixed the putty. I chose a specially dry putty so that I could independently regulate the thickness of the solution.

The First Sketches Were Made with a Pencil
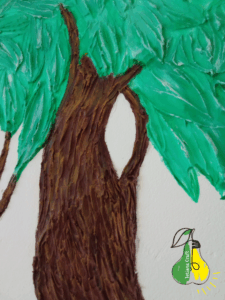
The art space with the giraffe was created very simply. First, I drew the outlines with a regular pencil, and then I gradually applied the putty to the pre-moistened wall. The pattern on the putty needs to be applied before the putty hardens. It is important to make the ready-made solution in small quantities. I thought that the tree bark and leaves can be of any shape, so I decided to experiment a little with sticks. This is what the tree looked like from a close distance.
A Small Amount of Putty
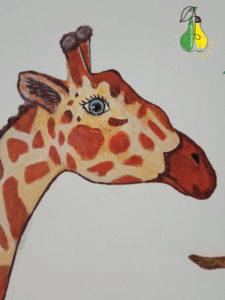
When it came to the giraffe, I found that I couldn’t go over budget and an extra bag of dry putty was a luxury for me. So I decided to make only some parts voluminous, such as the tail, mane, horns, eyes, belly, hips, hooves. I managed to make a smooth small elevation and I really liked this effect. For smoother contours, when the layer of putty dried a little, I processed it with a large brush moistened with water.
Finishing Touches to the Art Space
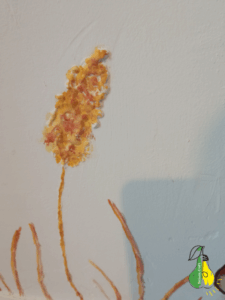
Finally, I decided to add some small grass stems to complete the art space. A thinner putty solution worked great for the stems.
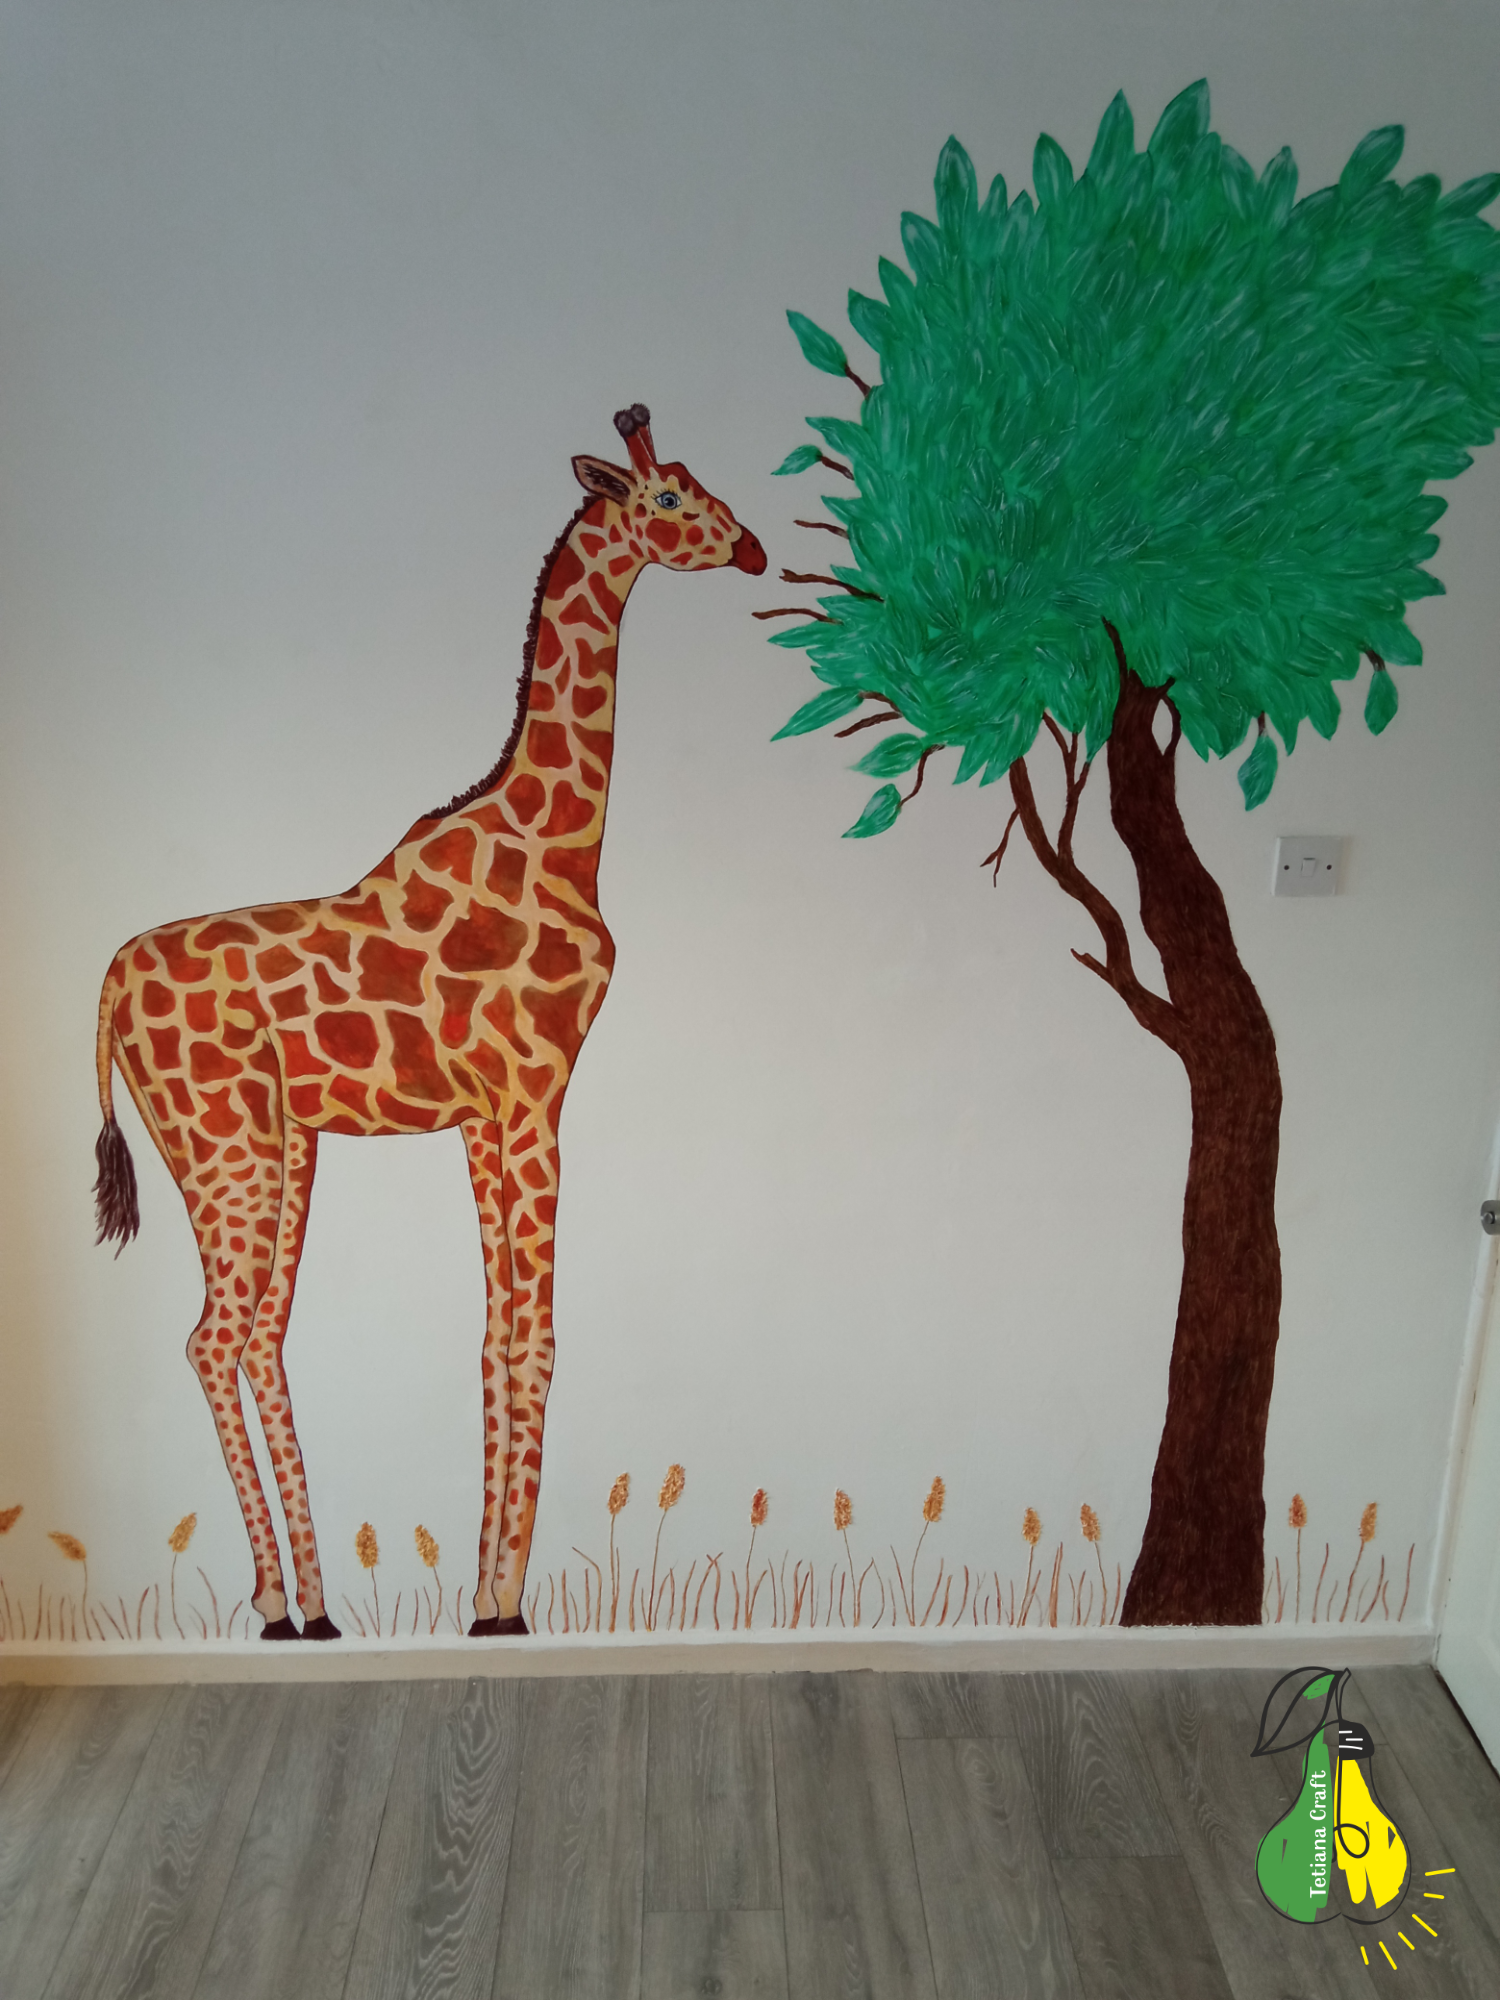
When the wall was dry, I covered the bas-relief with primer and painted it with regular acrylic paints. That’s it, I created my own art space with a giraffe. The biggest difficulty is that it is hard for the hands to work for a long time on a vertical surface. But the fatigue quickly passed.
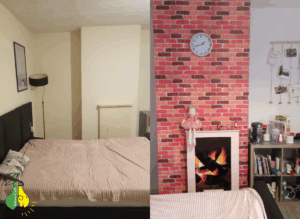
Before and After Renovation
I want to share 2 photo collages showing part of the room before and after renovation.

The Landlord’s Reaction
I thought you might be interested to know how the landlord reacted. Half a year later, I was moving to another place and it was time to meet him and give him the keys. I was so worried that I slept very poorly at night and already mentally imagined that I would have to destroy my giraffe, and I really wanted it to continue to exist. Also, the deposit for one month of rent was a lot of money for me. But to my relief, when the landlord saw the room after the renovation, he was pleasantly surprised. He thanked me for the work done and said that I transformed it well. Within a few days, the deposit was back in my account and a new stage of my life in a new place began.