Chocolate? Why not? If you like creativity, there are no obstacles to trying your hand at different directions. In this article, I will tell and show you how to make a simple portrait out of chocolate using only 2 types of chocolate: white and black. The tools you will need are a couple of brushes, kitchenware, and a baking sleeve. But first things first. And yes, don’t worry if you can’t draw, all you need is patience, drawing skills are desirable, but not required.
Select photo
Before drawing a portrait from chocolate, you need to choose a suitable photo. This photo should be of good quality. I wanted to make a surprise for my friend Sveta. I will say in advance that the surprise was a success. We agreed that I would make a cake for her, but I would decorate it to my taste.
When I went to my friend’s page, it turned out that it was not so easy to choose a suitable photo. She does not often post her photos on social networks. If you do not have experience, then it is better not to take photos with a lot of small details. You can start with simple drawings, for example, choose not a photo, but a simple black and white drawing of a butterfly, flowers, inscriptions, etc.
Photo processing
Before drawing a portrait from chocolate, if you have chosen a photo, it requires preparation. But do not worry. Everything is much simpler than it seems, even if you have never used Photoshop, I am sure that everything will work out. You only need to experiment with two functions: brightness and contrast. Your task is to highlight the main lines as much as possible. You do not have to download Adobe Photoshop for this, you can use any convenient program. Or use one of the many online Photoshop services, many of them are free.
When you have processed the photo and you like the result, the photo needs to be printed on an A4 sheet. It is great if you have a home printer. If not, then you need to download the photo, for example, to a flash drive and print it at the nearest store that provides these services. In this case, I recommend processing several photos in Photoshop so that you can choose from several photos in case you do not like something.
What did I use for the portrait?
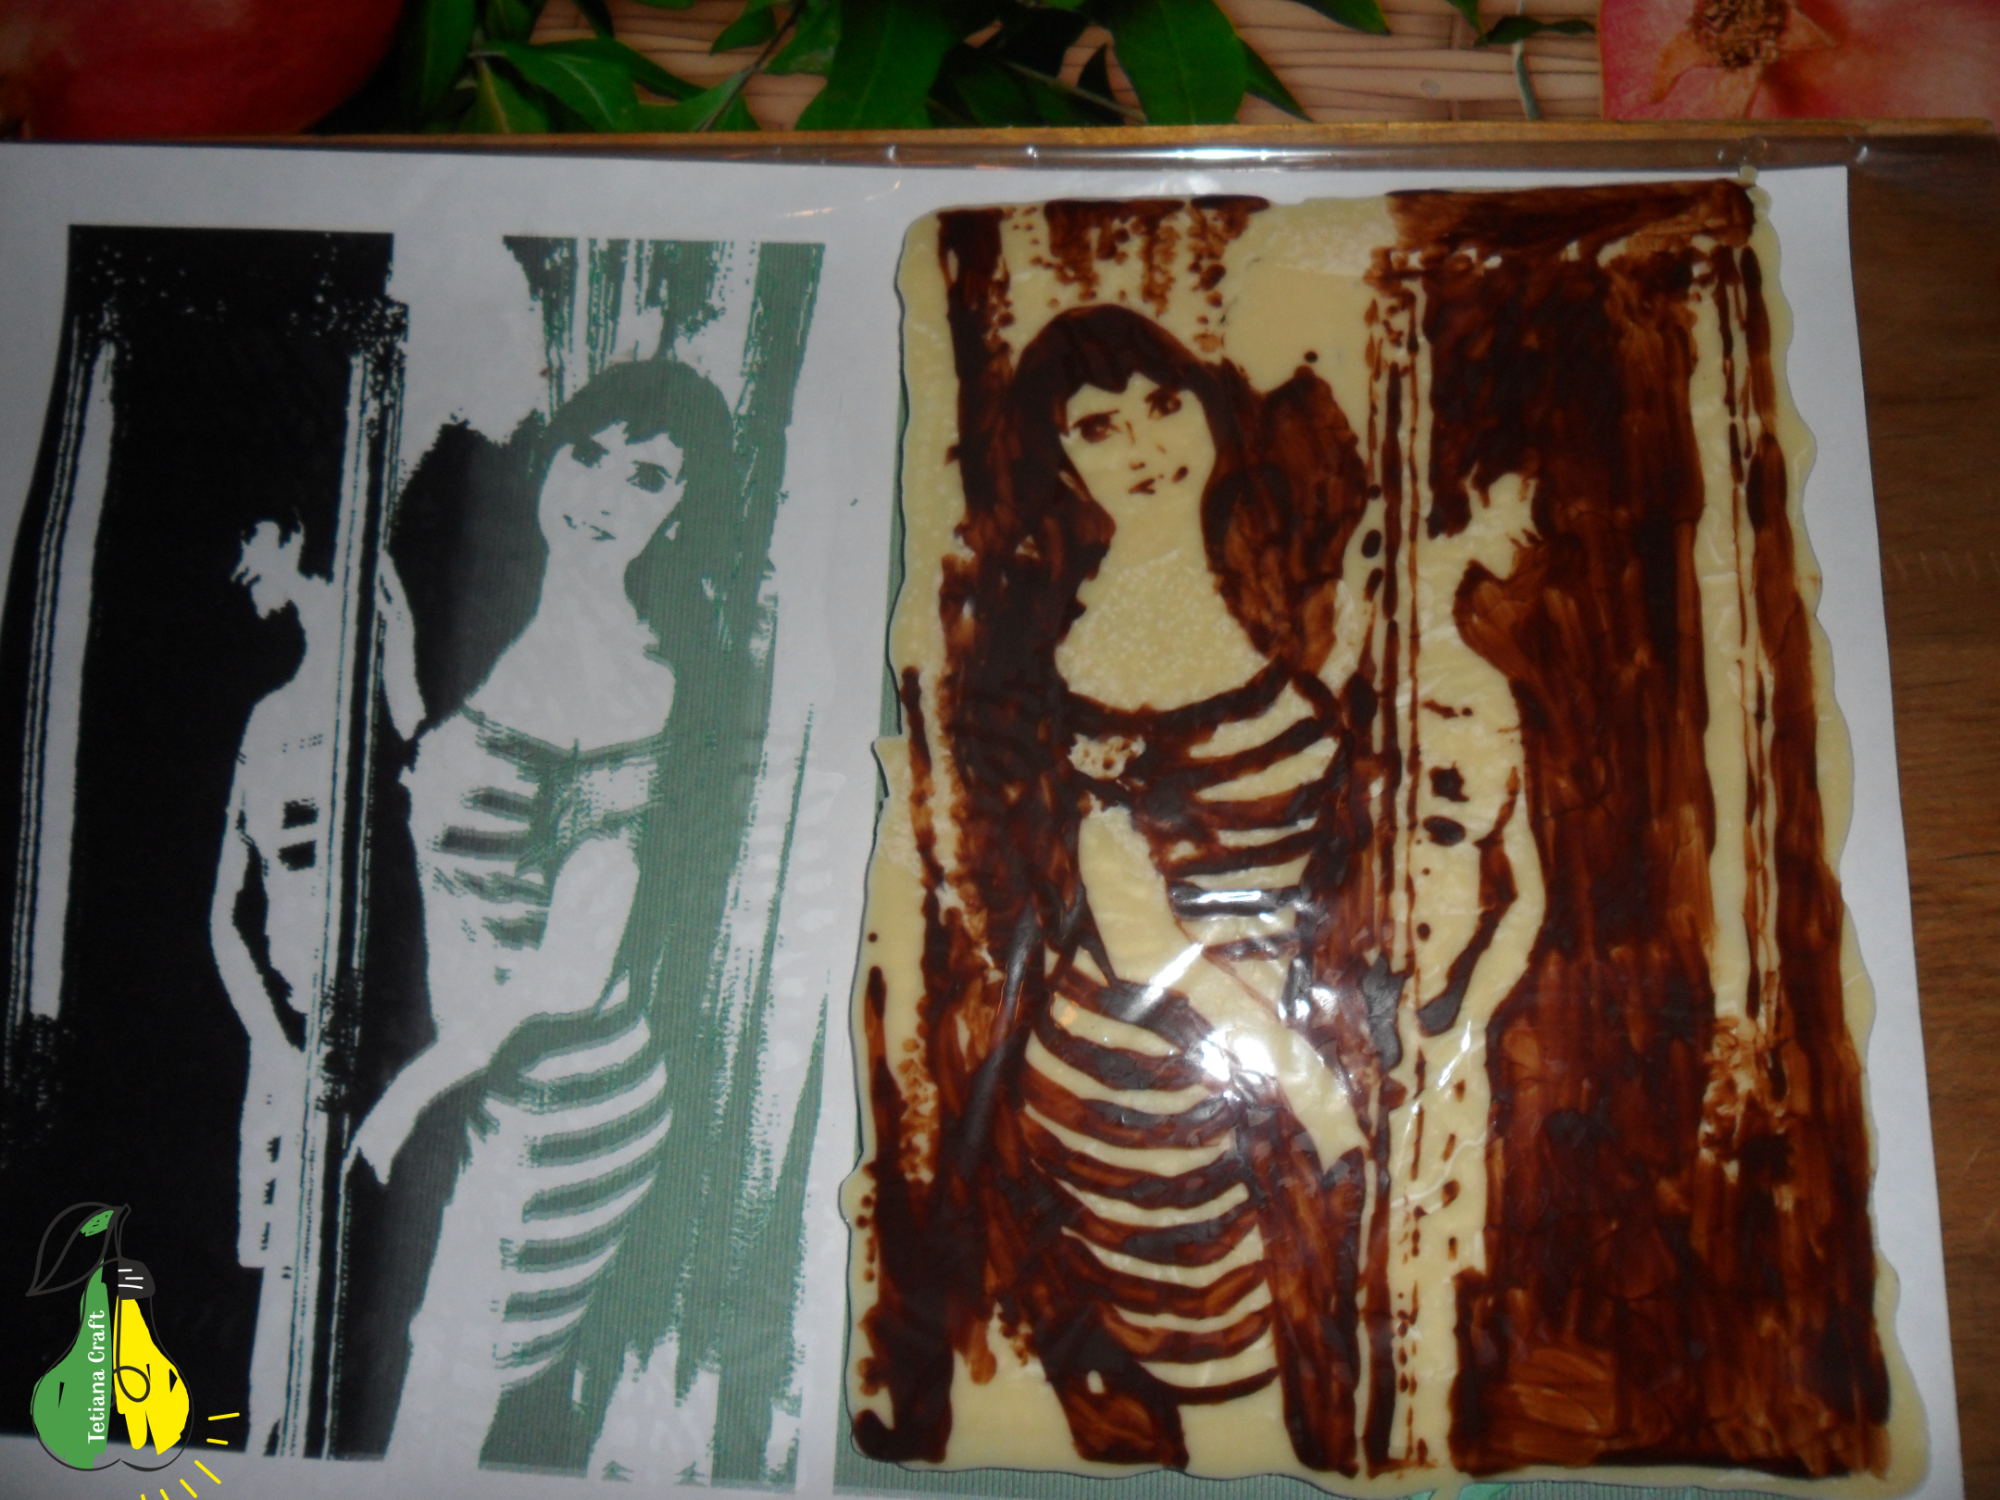
When I printed out the processed photo, I took a thick piece of cardboard. You can also use a kitchen board. I put the printed photo on the piece of cardboard, and a baking sleeve on top of the photo and firmly fixed it with regular tape. Why a baking sleeve? I think that this type of film is the best, it has an ideal smooth surface and is transparent.
I took 2 types of chocolate: dark 70% cocoa and regular white porous chocolate. I melted the chocolate in small portions in a water bath. Periodically, while working, the container with chocolate needs to be heated in a water bath. You can use any dishes. I melted the chocolate in a deep porcelain bowl.
I used brushes for painting with acrylic paints. I bought new brushes especially for this, which I washed well with hot water. There were 2 brushes, one thin for fine details, the other a little thicker.
Creating a portrait from chocolate
This is the most painstaking process. You need to draw all the main lines with dark chocolate as shown in the photo. The most important thing is not to rush and show a little patience. Do not be afraid if the chocolate layer is thin. If you work carefully, the drawing will not smear.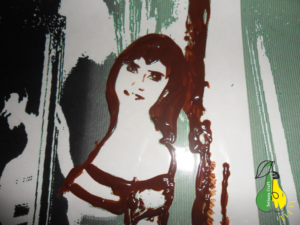
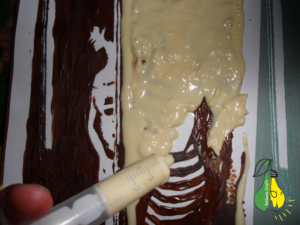
When I had painted over all the dark lines, there was an equally important moment: I needed to fill the unpainted areas with white chocolate. It is very important to put the portrait in the freezer before this stage. If you do not do this, the drawing may flow when you apply the white chocolate. I applied melted white chocolate in several stages, periodically cooling the portrait in the freezer. I used a medical syringe to apply the white chocolate. This was the most convenient option for me. I tried to carefully remove the resulting air bubbles with a toothpick.
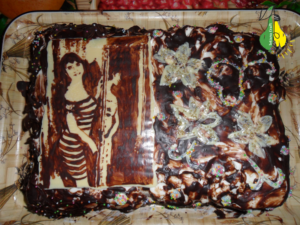
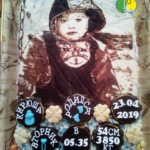
The finished portrait needs to be thoroughly cooled in the freezer. Everything needs to be done quickly. First, you need to carefully turn the portrait over and remove the baking sleeve from the portrait. If you have secured the baking sleeve to the cardboard well, there are no folds and the portrait is well cooled in the freezer, then you will have no trouble removing the film from the portrait. When you do this, you can put the portrait in the refrigerator. This is the result I got.
Where to use a chocolate portrait?
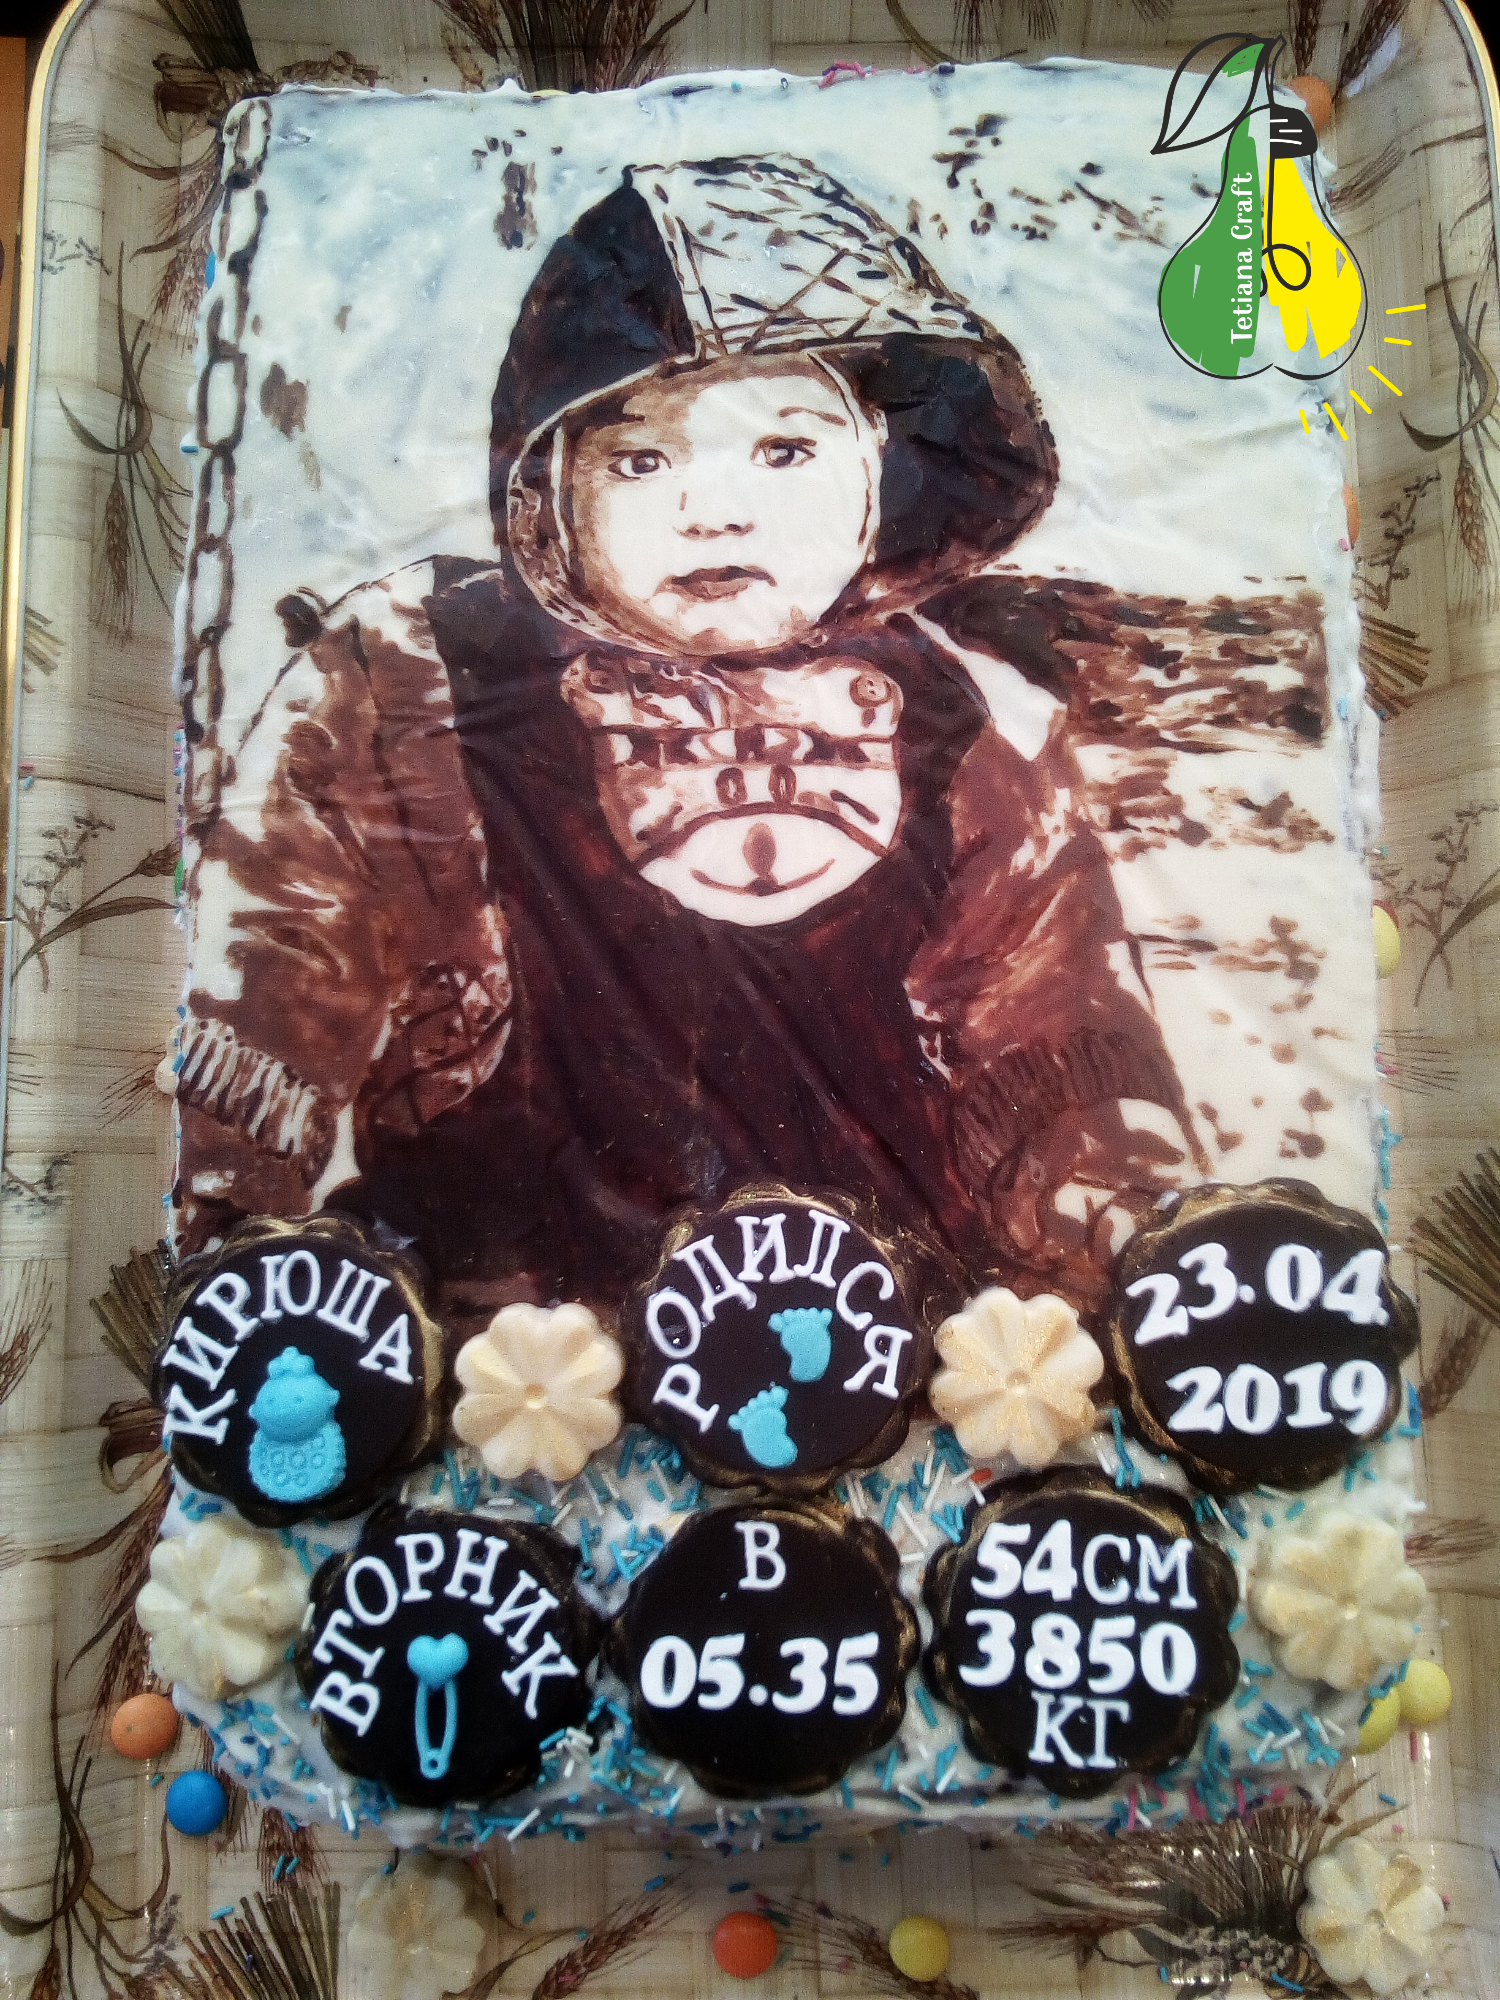
A chocolate portrait can be a separate gift. Then you can apply several layers of white chocolate for density, sprinkle nuts or dried fruits on the back.
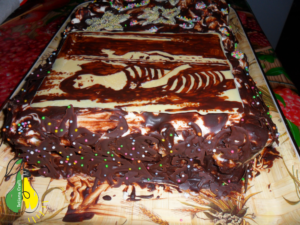
For me, a chocolate portrait became the optimal decoration for cakes that I baked for people close to me. This is how I decorated a cake for my friend Sveta. I can’t bake cakes professionally, nor can I draw portraits, but I found this idea very cute. The most important thing is that my family and friends were happy to receive such gifts from me. You can also try yourself in this business, I am sure that your loved ones will support you and appreciate your efforts.
